Although having the same name, the new Lords of the Fallen is set 1,000 years in the future of its predecessor. This action role-playing game from Hexworks and CI Games enables the player to go on an adventure through a huge, linked world, going through the worlds of the living and the dead.
This game has a lot of different areas for the player to visit, some of which are simple to discover and others that are a bit more difficult. Bramis Castle, one of the final sections the player explores in the game, is one such example.
This guide will walk you through how to get to Bramis Castle in Lords of the Fallen. This guide serves as your compass, revealing the steps and strategies needed to successfully reach Bramis Castle. Prepare yourself as we embark on the path that leads to this fabled stronghold.
Bramis Castle
Bramis Castle is the player’s 23rd and last stop on their journey through Mournstead. Here, the player will be able to collect many key items. The player will get the following quest items and upgrades in the area: The Royal Key, the Saintly Quintessence, and the Swaddling Cloth. As for weapons and shields, the player will get the Eviscerating Spear, the Sword of the Flayed, the Lord’s Bite, and the Shield of the First of the Beats in Bramis Castle.
The player will also get the following armor in the area: the Lord Armour, Lord Gauntlets, and the Lord Leggings. As for pendants, the player will find the Pendant of Infernal Oblivion and the Shrunken Skull Pendant in the area. Lastly, in Bramis Castle, the player will get the Hilvnt Rune and the Smouldering Ring.
How to Get to Bramis Castle
To access Bramis Castle, the player must head from Vestige of Ethryg in Skyrest Bridge. If the player attempts to get to Bramis Castle from the Vestige of the Forgotten Guardian, the player won’t get to the castle because of the blocked wooden door. The players are supposed to cross Skyrest Bridge and then continue to Upper Calrath to access Bramis Castle.
From Skyrest Bridge, the player must do the following to get to Bramis Castle in Lords of the Fallen:
1. From Vestige of Ethryg
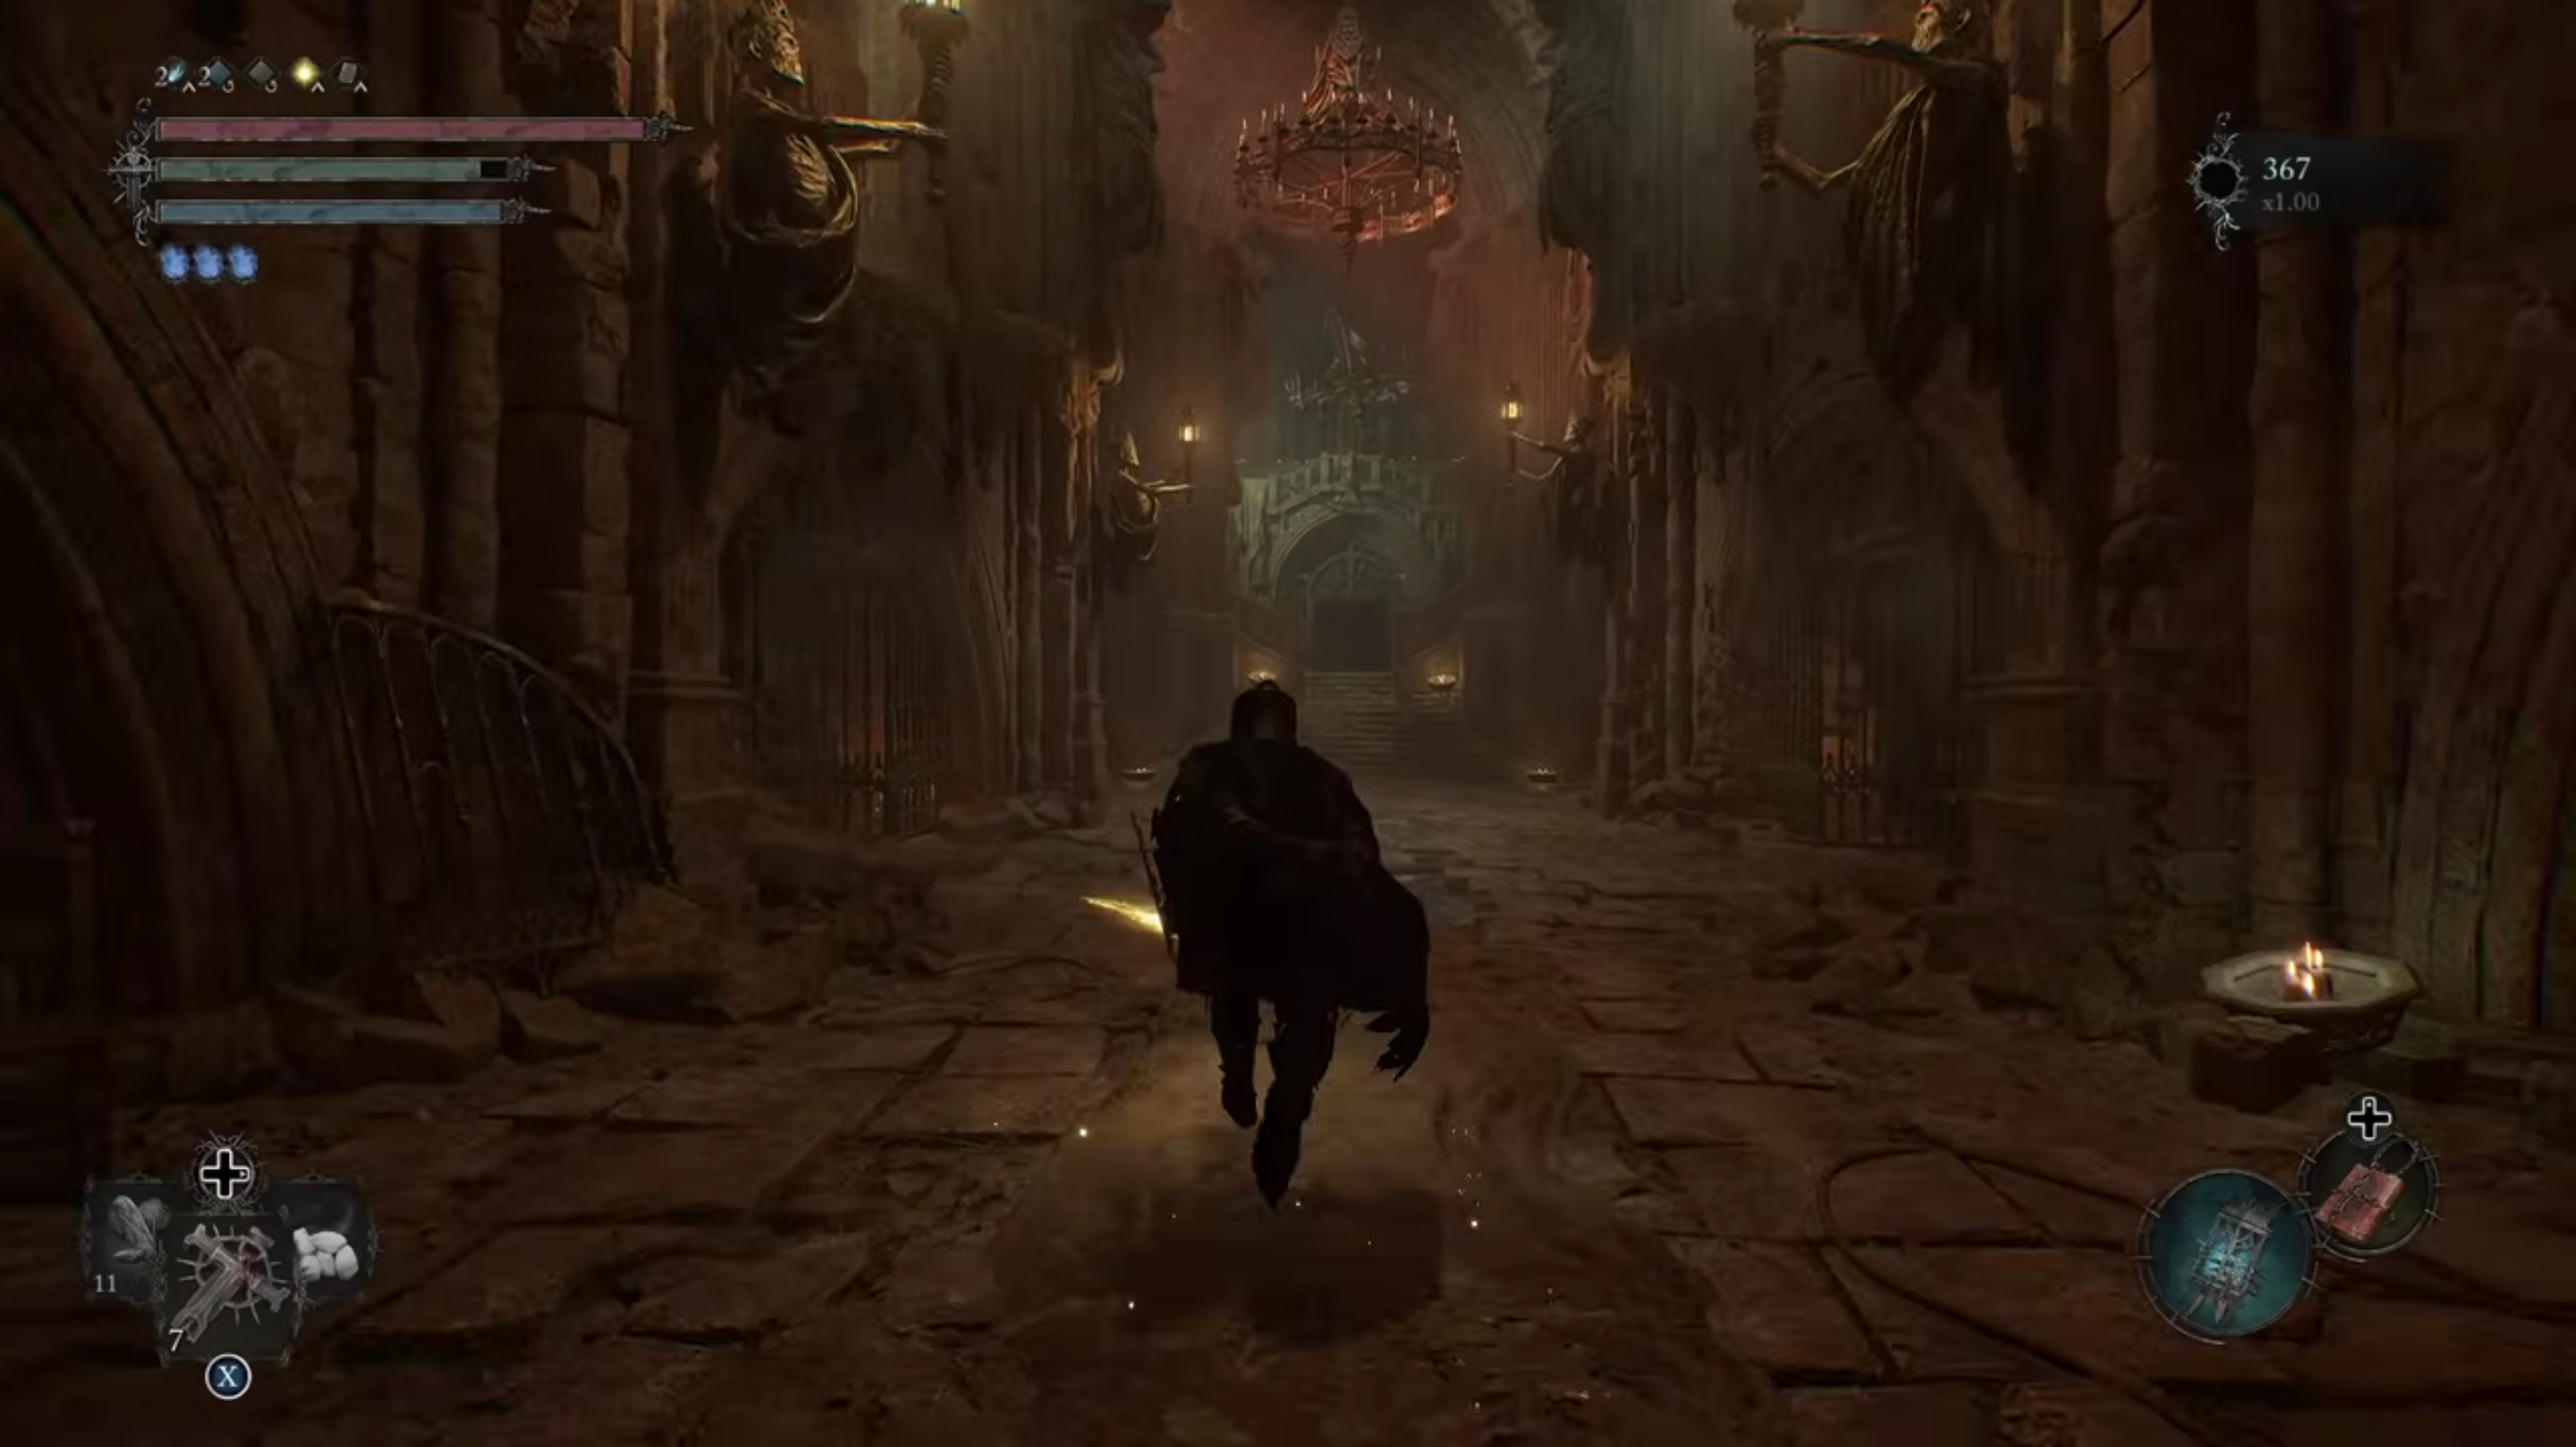
First, the player must warp to the Vestige of Ethryg. Upon arriving, the player must follow the path before the Vestige of Ethryg. In this path, the player must head down a flight of stairs and continue straight down the hallway. At the end of the path, the player must head up another flight of stairs and follow these stairs to the top.
Next, on top of the stairs, the player must follow the path on the left. Here, the player will arrive at Skyrest Bridge. Continue following this path up a winding flight of stairs. On top, the player must head for the next doorway on the right. The player previously fought Pieta, She of Blessed Renewal, in this next area.
After that, the player must head towards the entryway where the player initially entered the area. The player must continue through this path and up another set of stairs. Here, continue heading forward towards another ramp with stairs. The player will encounter a bunch of enemies in this area. Once in this area, the player must head towards the left doorway. If the player went to the area previously, this doorway was initially closed.
2. The Outskirts and Upper Calrath
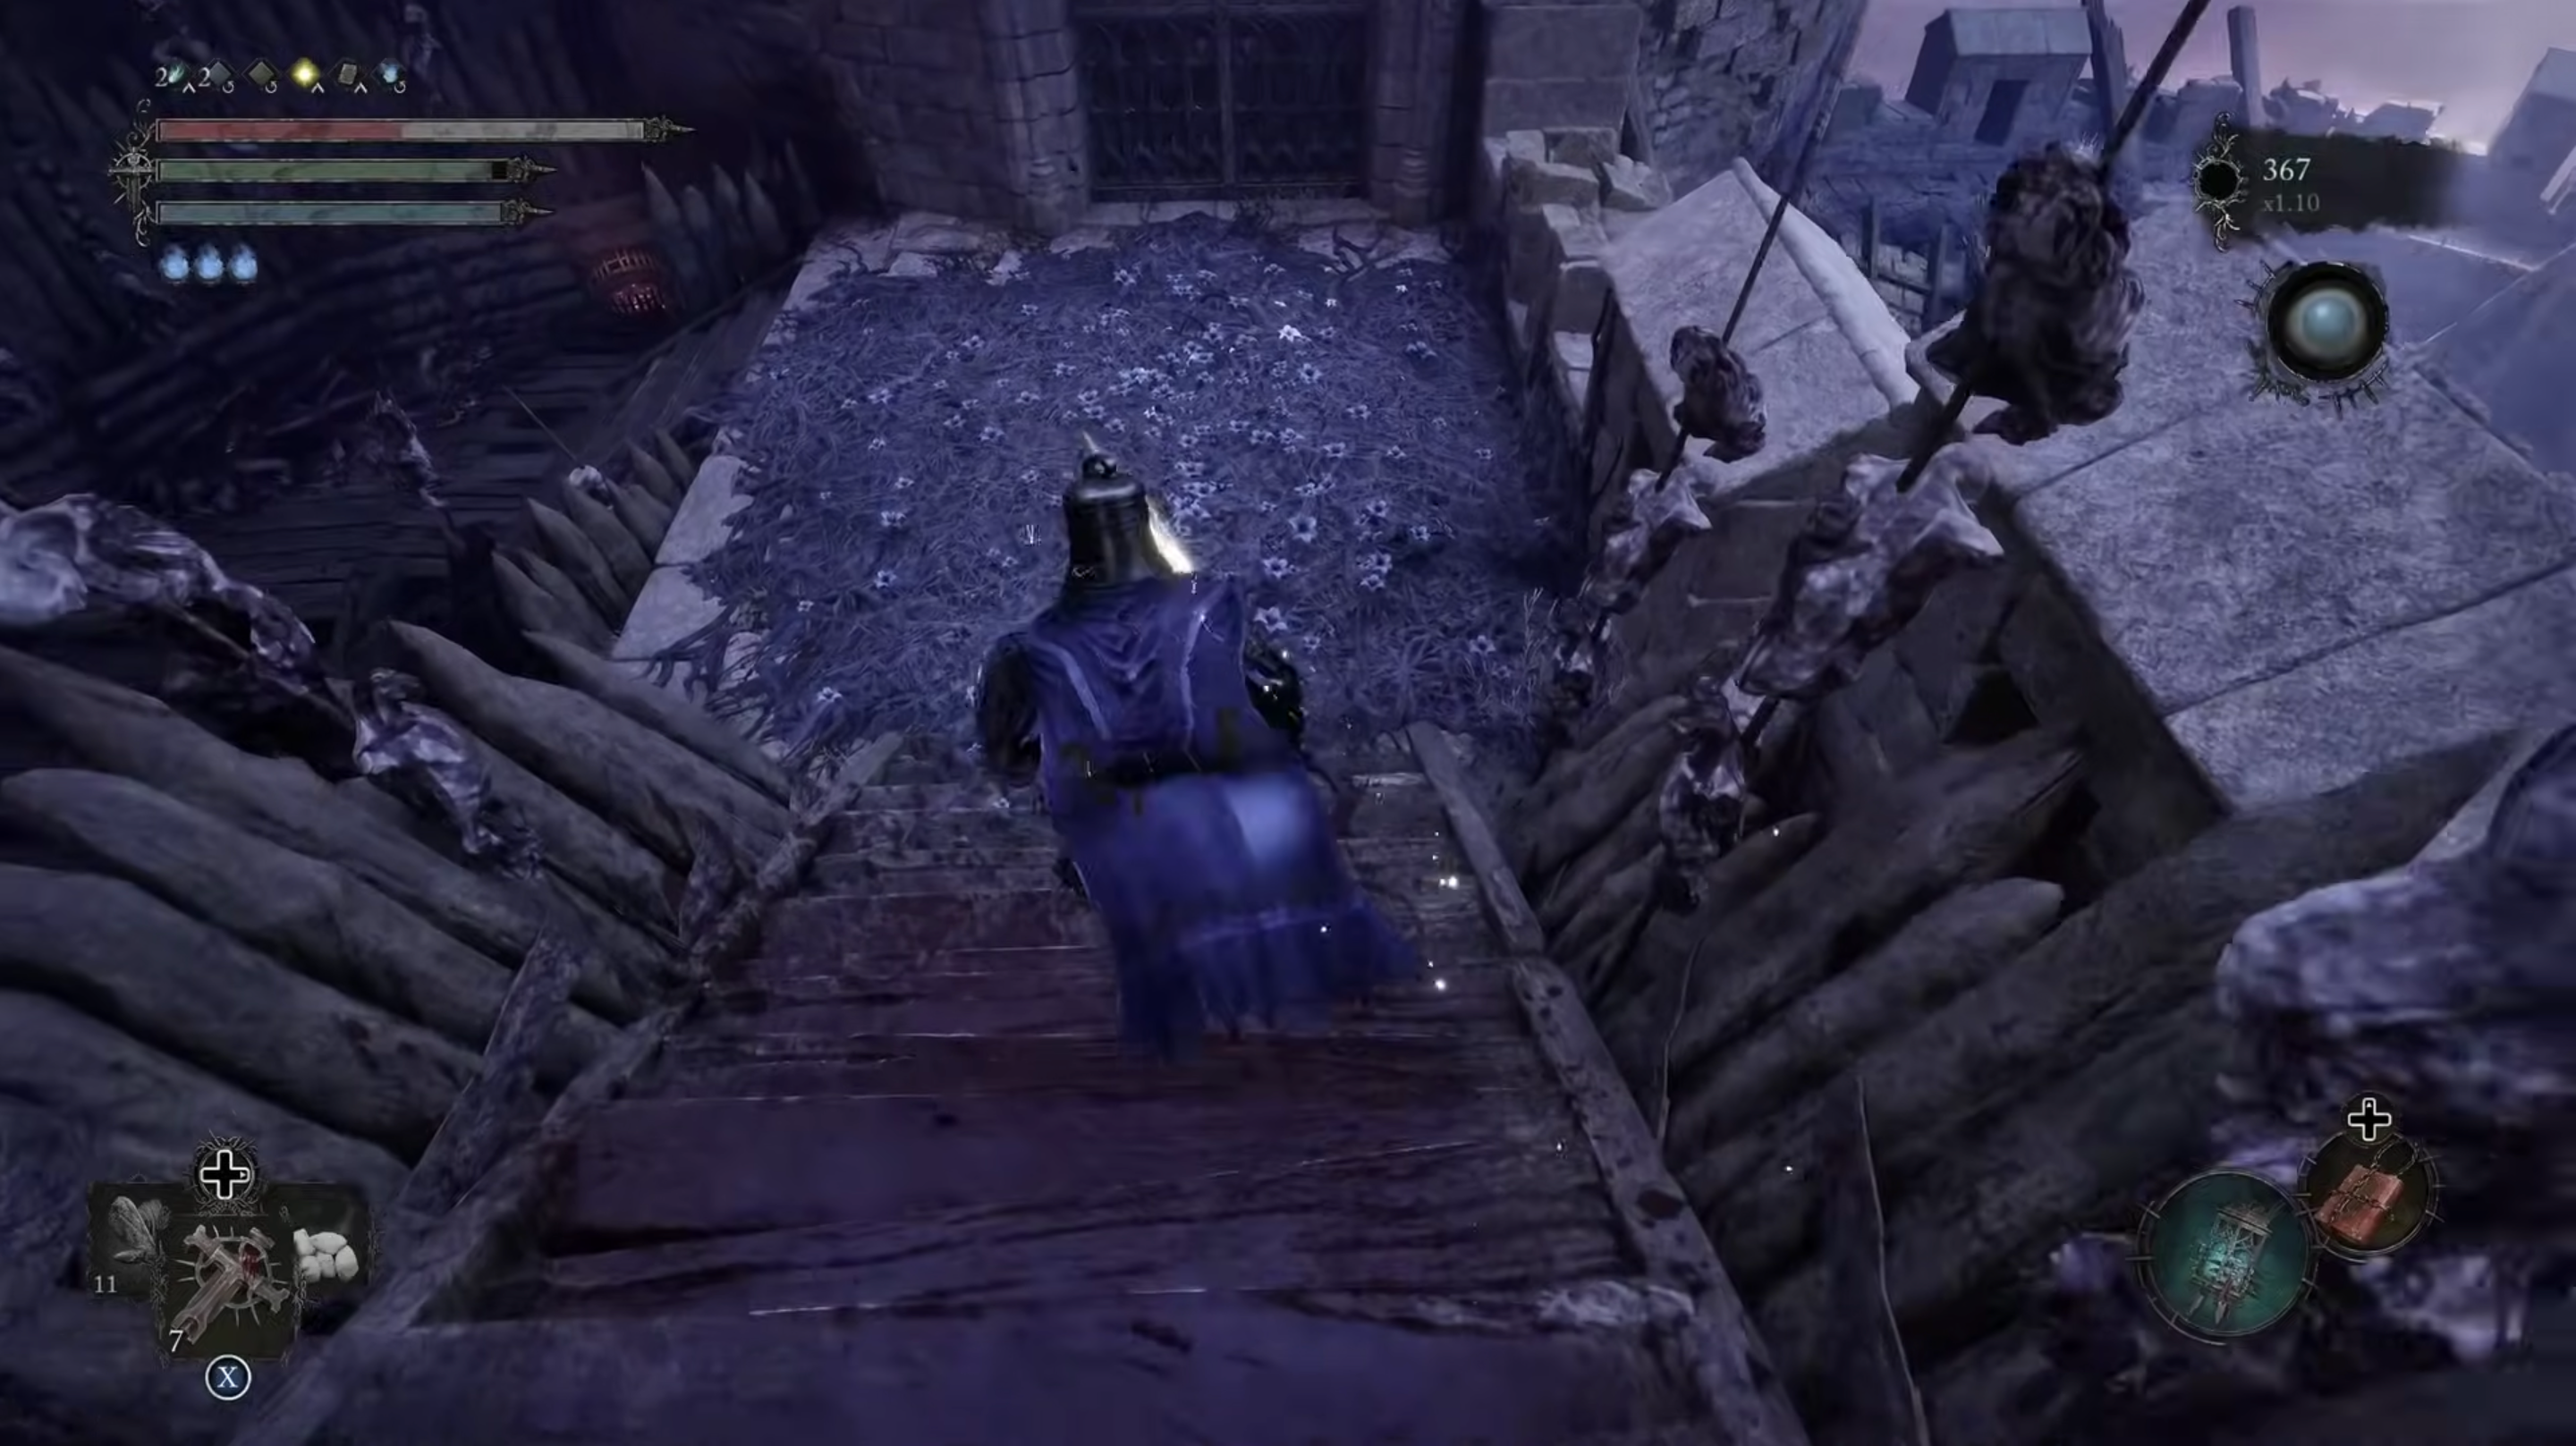
Then, inside this room, the player will find a spiral set of stairs. The player must then head up this flight of stairs. The player must head up the ramp with many planks of wood up the stairs. On top of this, turn right and continue on the path through a doorway. The player must enter the doorway and head down a flight of stairs. Here, the player will find an Umbral Flowerbed and a closed door near it.
Following that, the player must follow the wooden flight of stairs on the left. The player will find a ledge with a wooden ladder just in front of the end of the wooden set of stairs. The player must then climb down the wooden ladder.
Afterward, at the bottom, the player must pass through the doorway just before the ladder. In this room, the player must exit through the right doorway. The player will then reach an open area where the player will encounter more enemies. Here, the player must follow the path on the left.
Through this path, the player must continue heading forward to pass through a slightly narrow path. Here, the player must take the next opening on the right. Outside this opening, an enemy will breathe fire towards the player.
Next, once inside, the player must head for the next path on the left. Near the end of this path, where the player will encounter enemies, the player must take the path on the right. However, the player must soulflay to cross this path. It is recommended that the player plant a Vestige Seedling in this location so that you have a checkpoint in this region.
After that, the player must pass through the arch on the left, where the player will encounter many more enemies. Here, the player must go towards the path on the left, which will head down. At the end of the path, pass through another doorway on the left that leads to an open area.
3. The Lightreaper

The player must defeat The Lightreaper in this open area to get to Bramis Castle. The Lightreaper, like any other Boss in the game, may be defeated by analyzing his moves and precisely timing attacks. This boss is similar to a standard Skinstealer, and many of its attacks are alike. On foot, the Lightreaper relies on a melee mix of attacks imbued with fire and shockwaves that can Ignite the player.
Most of this boss’ melee strikes have a long wind-up time, which the player can use to deal damage. The Lightreaper will also mount and utilize his dragon to breathe flames from mid-air upon the player. The player can evade this attack by anticipating the dragon’s movements and fleeing in the direction where the fire will not strike the player.
Once the player has defeated The Lightreaper, the player will get four Vestige Seeds, 25 Umbral Scourings, one Lightreaper Flesh, and one The Lumbreaper’s Umbral Parasite. The player can also Umbral Rift and soulflay the stigma to get two more Umbral Scouring and the Remembrance of the Lightreaper.
4. Andreas of Ebb
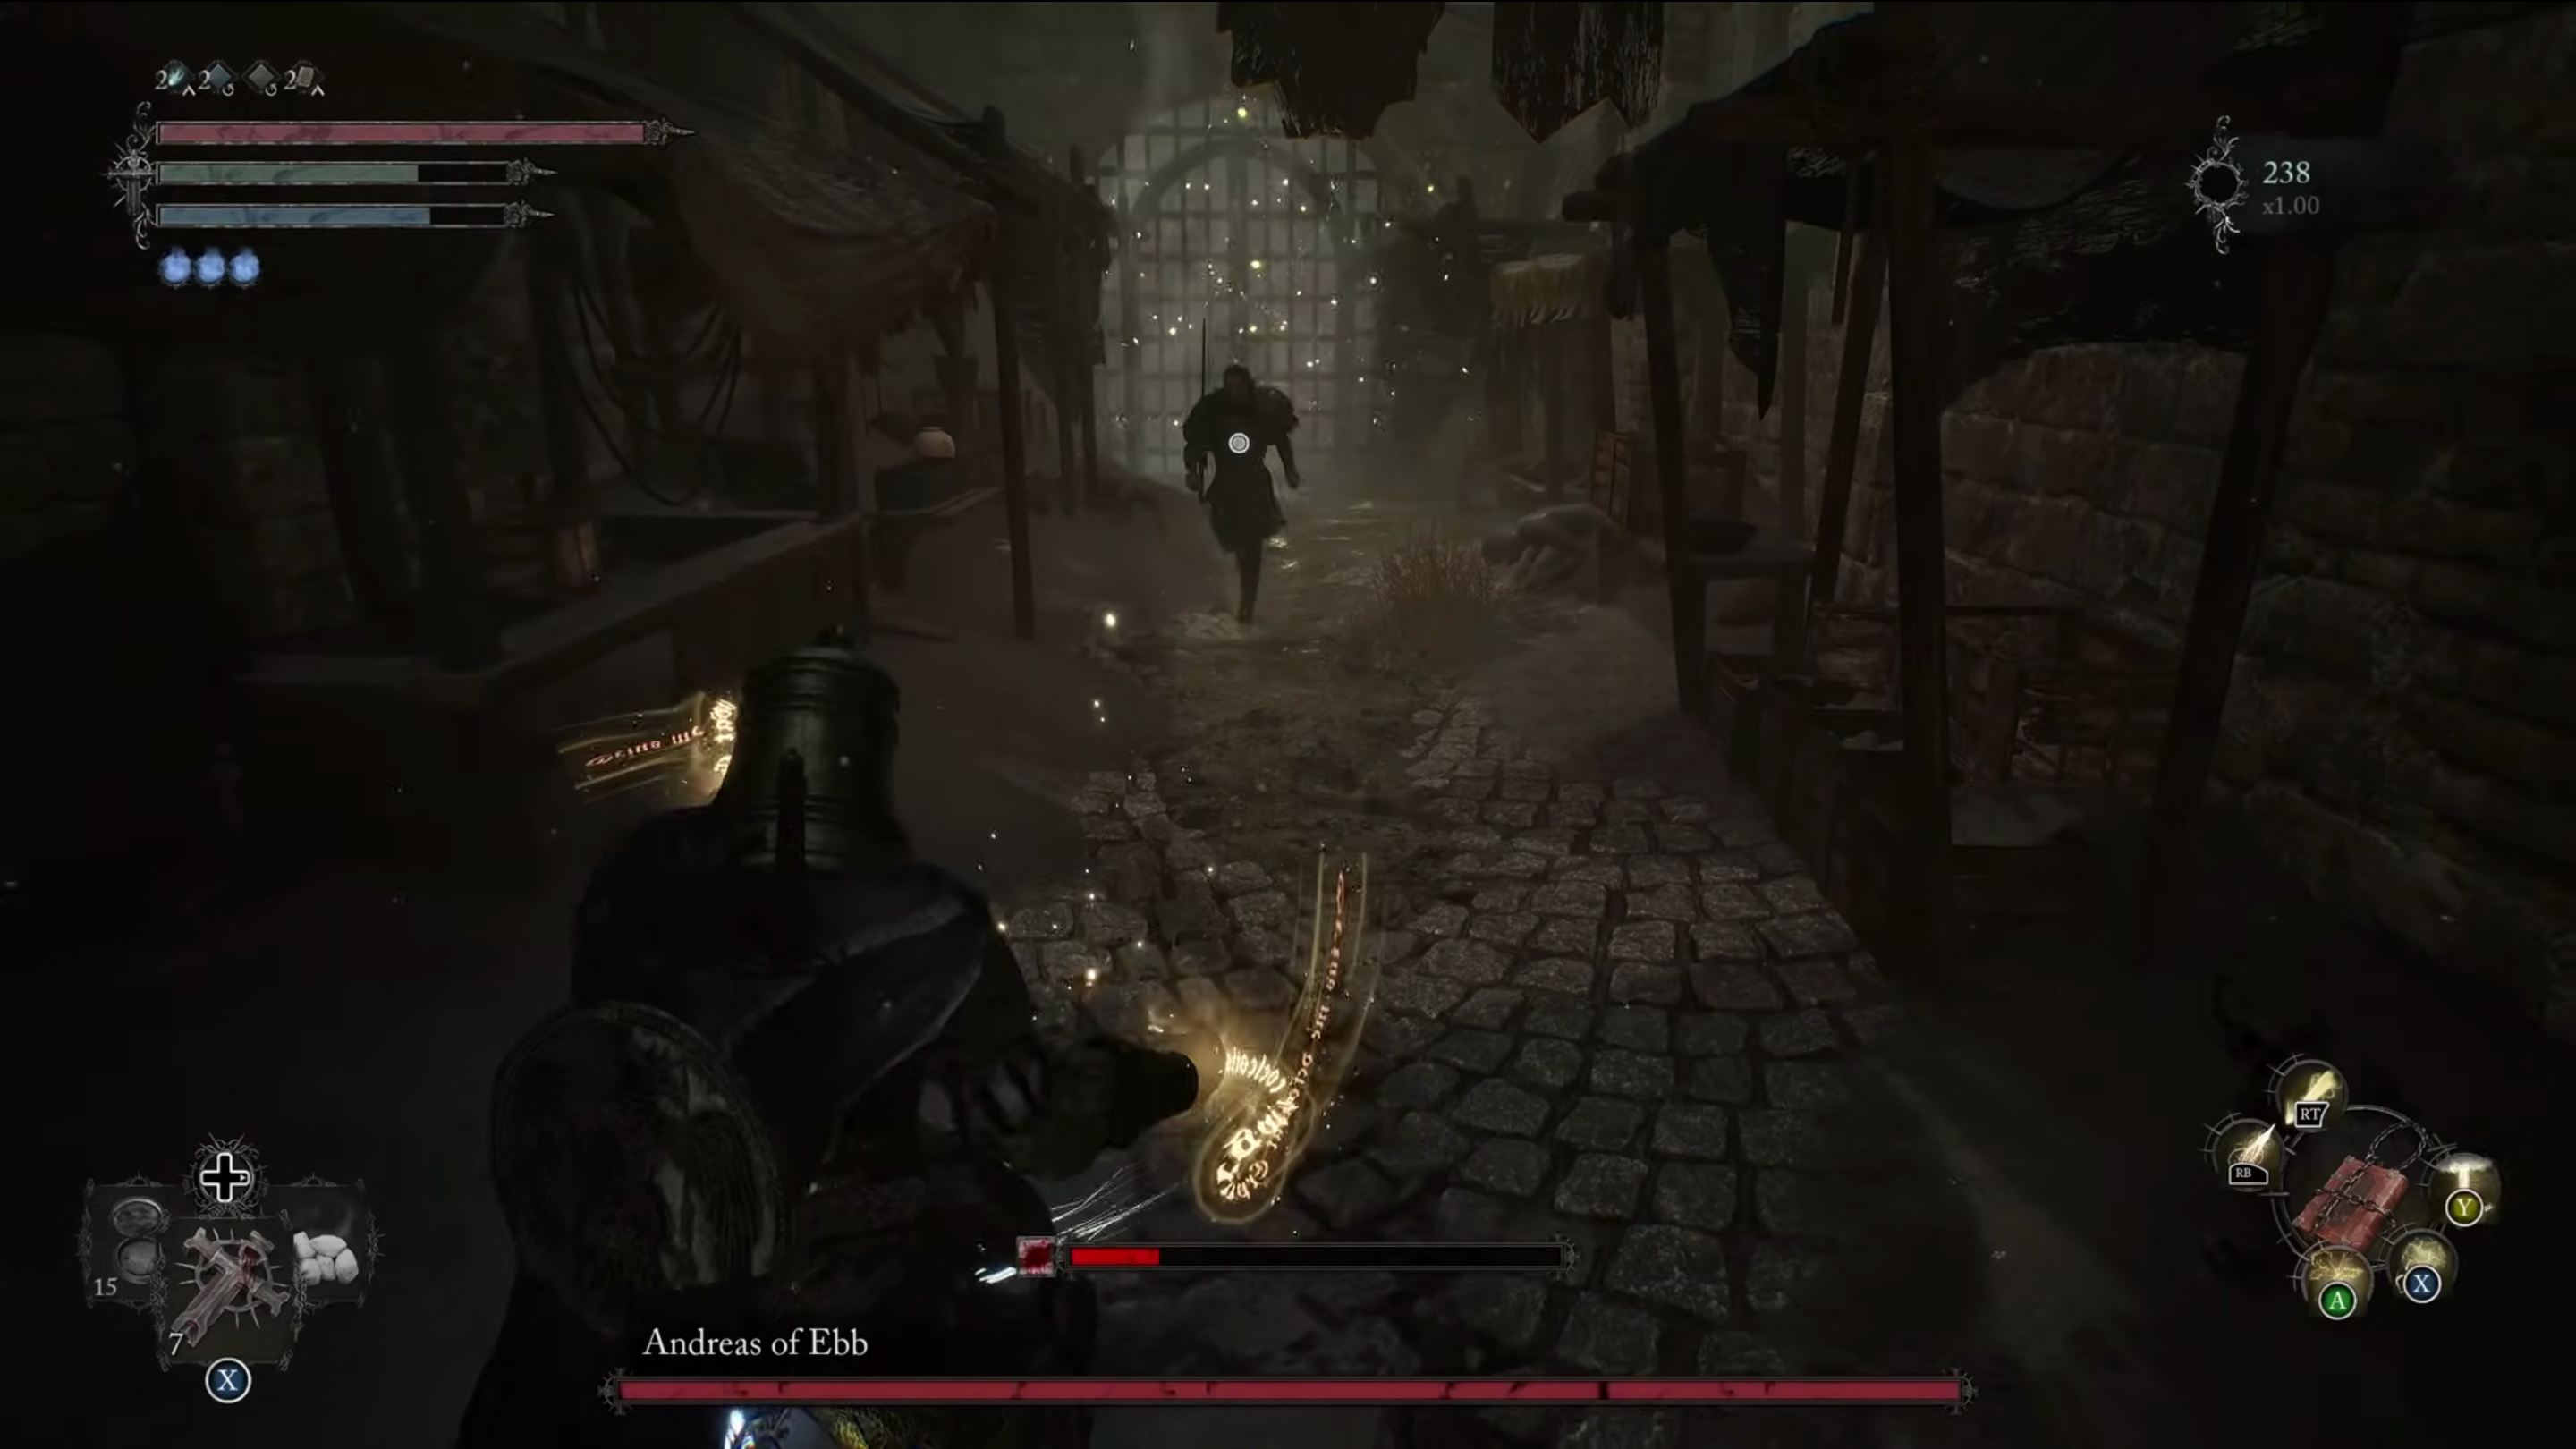
From the doorway the player used to enter this open area, the player must follow the walls on the left to find another opening. Go through this path to find a closed gate. Before the player reaches the gate, Andreas of Eb will drop down and fight the player. This boss tends to deal with multiple attack combinations along with sword thrust.
The player will not have a hard time with this boss, but make sure not to let him corner you, as the area is very tight. Once the player successfully eliminates him, the player will get an Andreas of Ebb’s Sword, a Vestige Seed, an Andreas of Ebb’s Book of Lineage, an Andreas of Ebb’s Ring, Andreas of Ebb’s Leggings, and Andreas of Ebb’s Sleeves.
After defeating Andreas of Ebb, the player must soulflay to cross the gate. Once through, the player must then follow the path on the left. While following this path, the player will face a lot of enemies. Near the end of the path, the player must head towards the open area on the left, which has a bunch of enemies.
Also, an Umbral Tumor obstructs the path to the Vestige of the Forgotten Guardian in this area. To unlock the door, the player must first access Umbral and Soulflay the Umbral Entity. The player can then use the bell lift to return to the Cistern or the Vestige to recover.
Related: Where to Find the Umbral Tome in Lords of the Fallen
5. The Iron Wayfarer
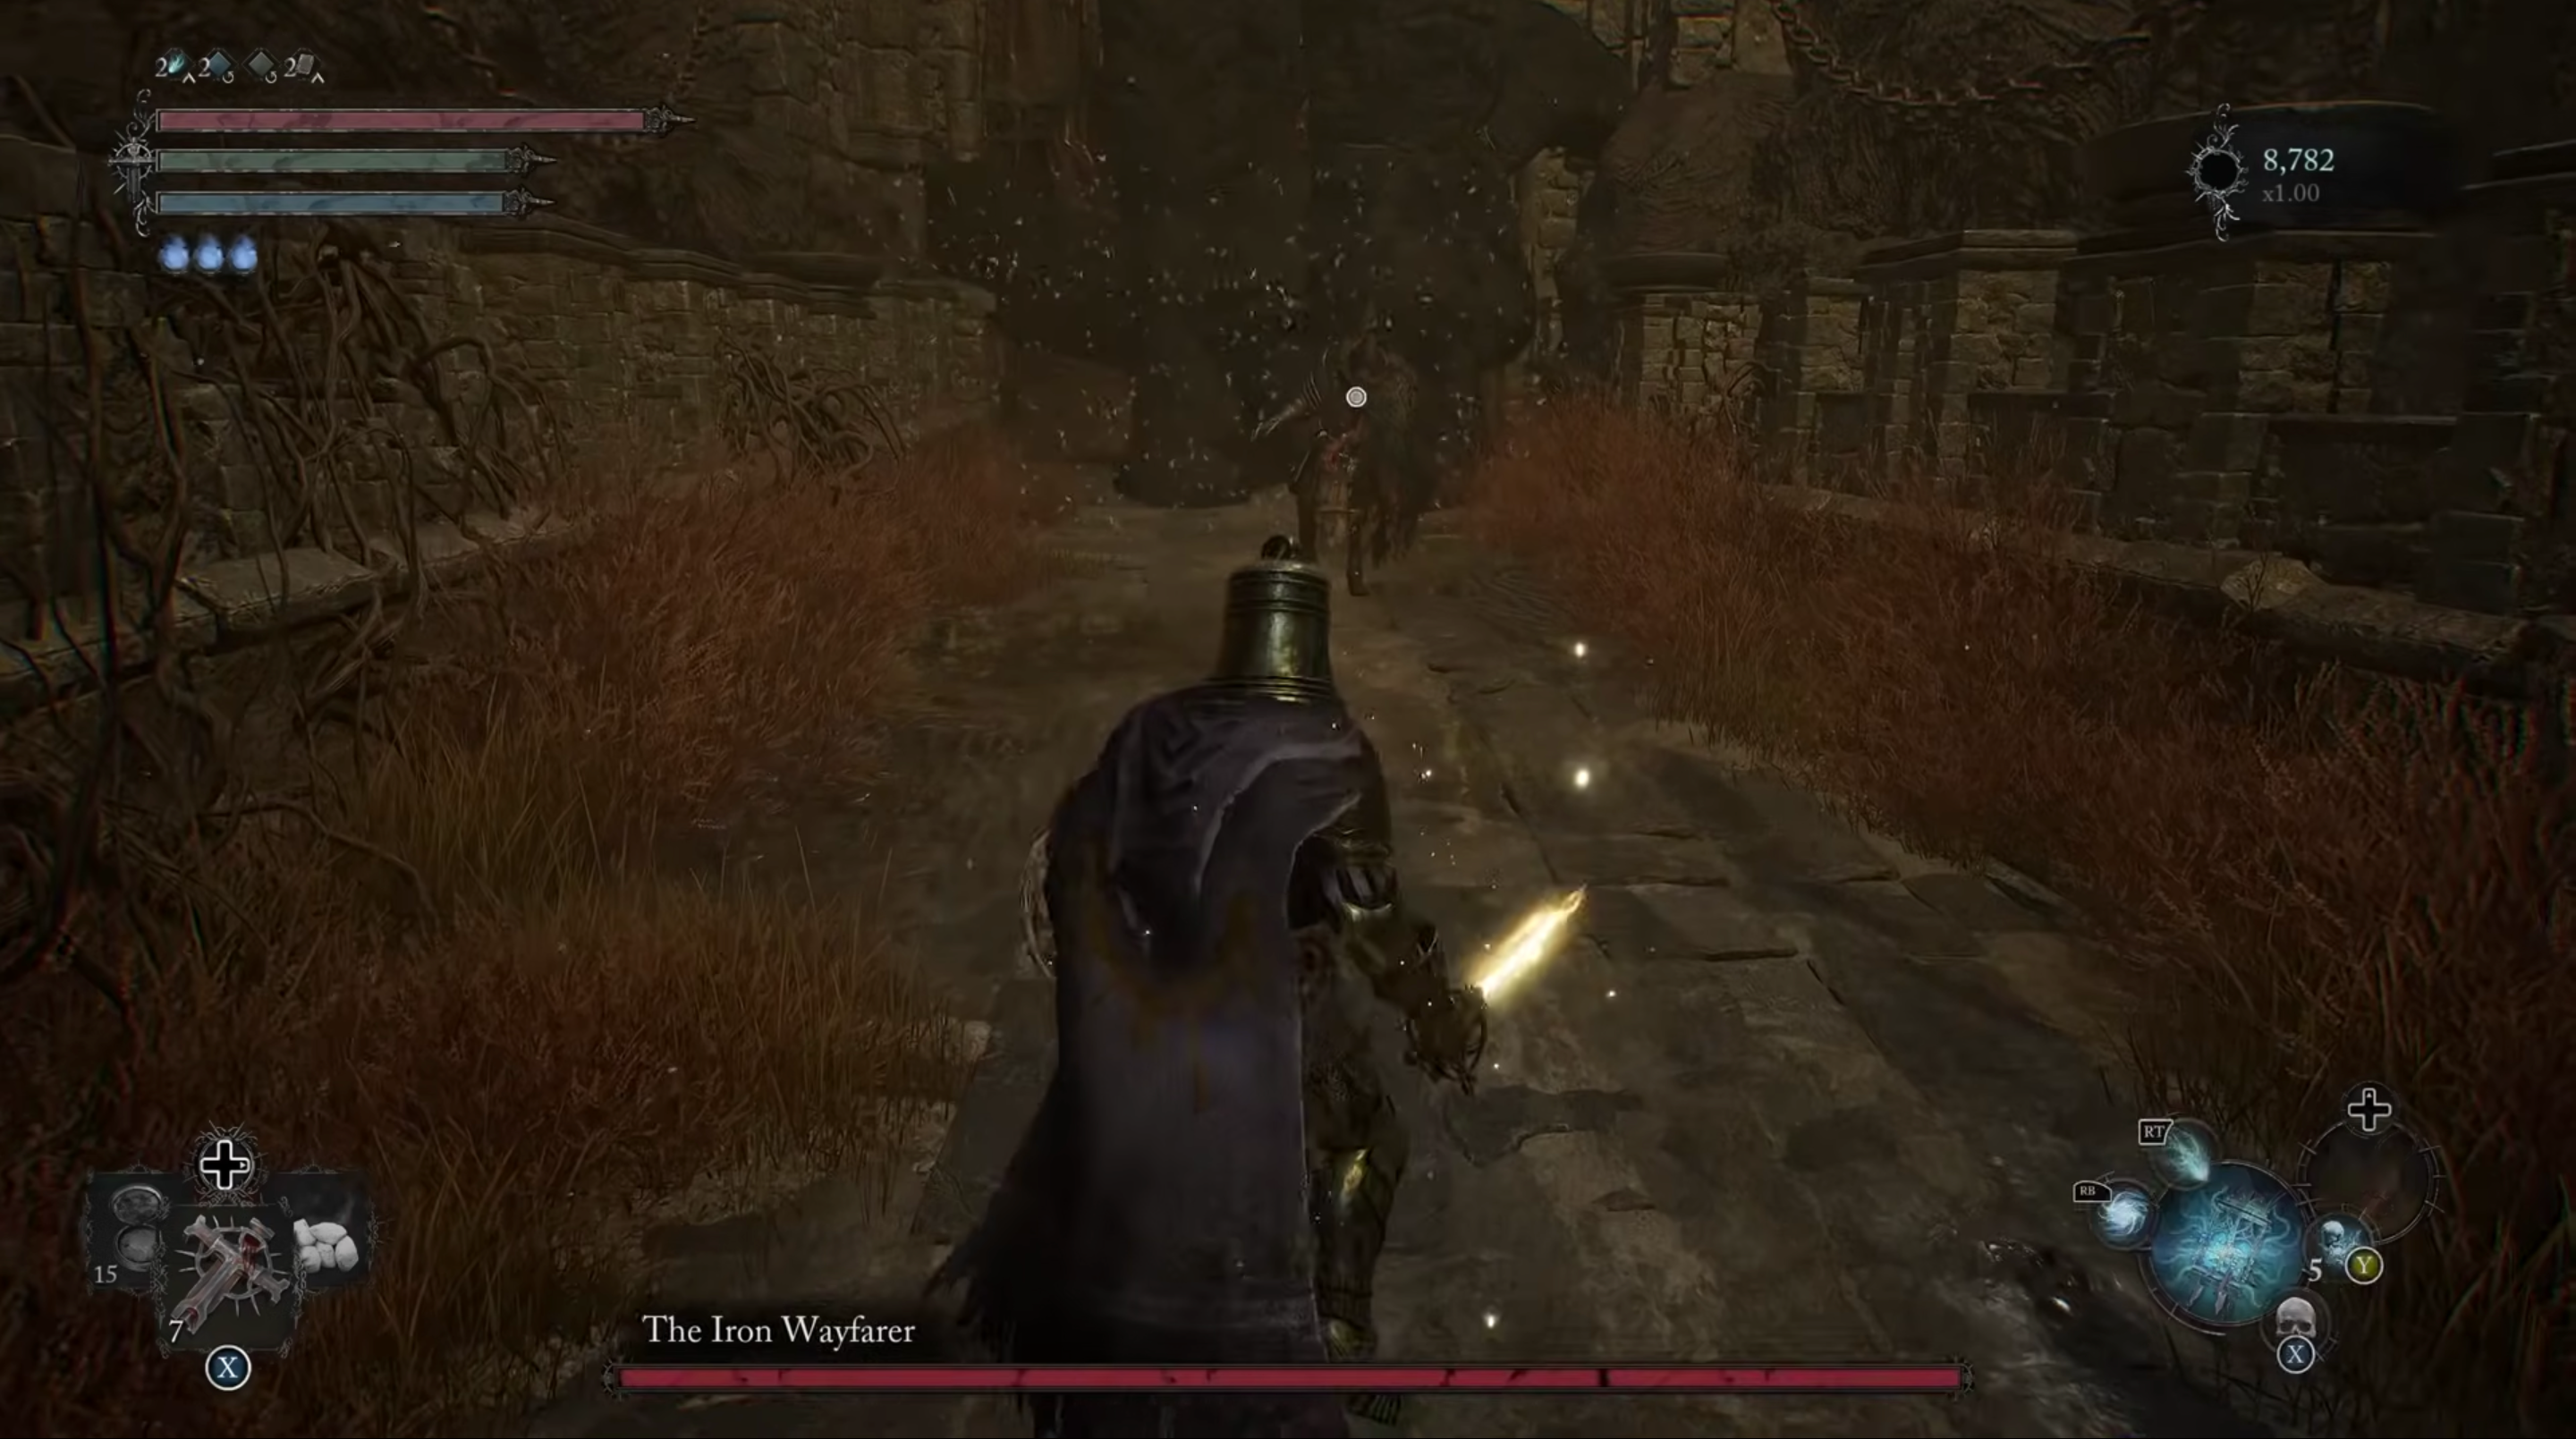
The player will find a stone bridge from the open area with a large barricaded door at the other end. The player must then head here to face The Iron Wayfarer. To continue, the player must first defeat this mini-boss.
It is not difficult to get rid of The Iron Wayfarer. This boss’ primary attacks are fire-infused hammer combinations. The player must be wary of being caught off guard by The Iron Wayfarer’s attack combinations. The Iron Wayfarer can also rush at his target. The player will gain The Iron Wayfarer’s Hammer, one Vestige Seed, and the Rune of Adyr after defeating The Iron Wayfarer.
Once the player eliminates The Iron Wayfarer, they must proceed towards and interact with the barricaded door. On the prompt, select ‘Unlock the gate’. A cutscene will then play where the obstruction disappears from the large door, and the player opens it.
It is worth noting that one of the conditions to get the Umbral ending is that the player must use the Withered Run of Adyr to open the door. To get this item, the player must first defeat The Iron Wayfarer to get the Rune of Adyr. Once done, the player must give it to the non-hostile Remnant in Mother’s Lull. However, it is important to note that in doing so, the player is now blocked from getting Radiance and Inferno endings.
6. Bramis Castle Outskirts

Once the large door is opened, the player must continue crossing the stone bridge. After crossing, the player will arrive at an area with many enemies and boxes. The player must head for the first path on the left. This path is a spiral flight of stairs with large steps. On top, the player will encounter a Proselyte.
Once cleared, the player must pass through an arch with broken floors inside. If the player tries to head towards the platform on the other side of the room, the wooden floor near that platform will collapse, causing the player to fall. To continue, the player must use the Umbral Rift and drop below. The player will find a few Umbral enemies here, like Womb of Despairs and Remnants. Here, the player must Soulflay a platform above near the arch entrance and another platform on the opposite side of the room.
After doing so, the player can now try to cross again. To do that, the player must exit using the gate on the right. Through this, the player will return to the previous open area at the bottom of the flight of stairs. Head up the large stairs and jump across the new platforms to reach the other side of the room. Here, the player will find three Smite Salts.
From here, the player must follow the path on the right. While on this path, the player will find an Emergence Effigy near an arch. The player can find an Umbral Flowerbed nearby if the player wants to plant a Vestige Seedling. Before the Effigy, the player will also find a set of stairs on the right. The player can head up this path to find a chest with an Executioner’s Axe and a ladder. After pushing the ladder, the player can create a shortcut to and from the area.
Next, the player must then continue through the arch. Through this path, the player will be able to head outside. Upon doing that, the player will encounter a couple of enemies. At the end of the path, the player will find another flight of stairs with large steps on the right. On top of these stairs, the player will enter the structure again and fight a few more enemies.
7. Damarose The Marked
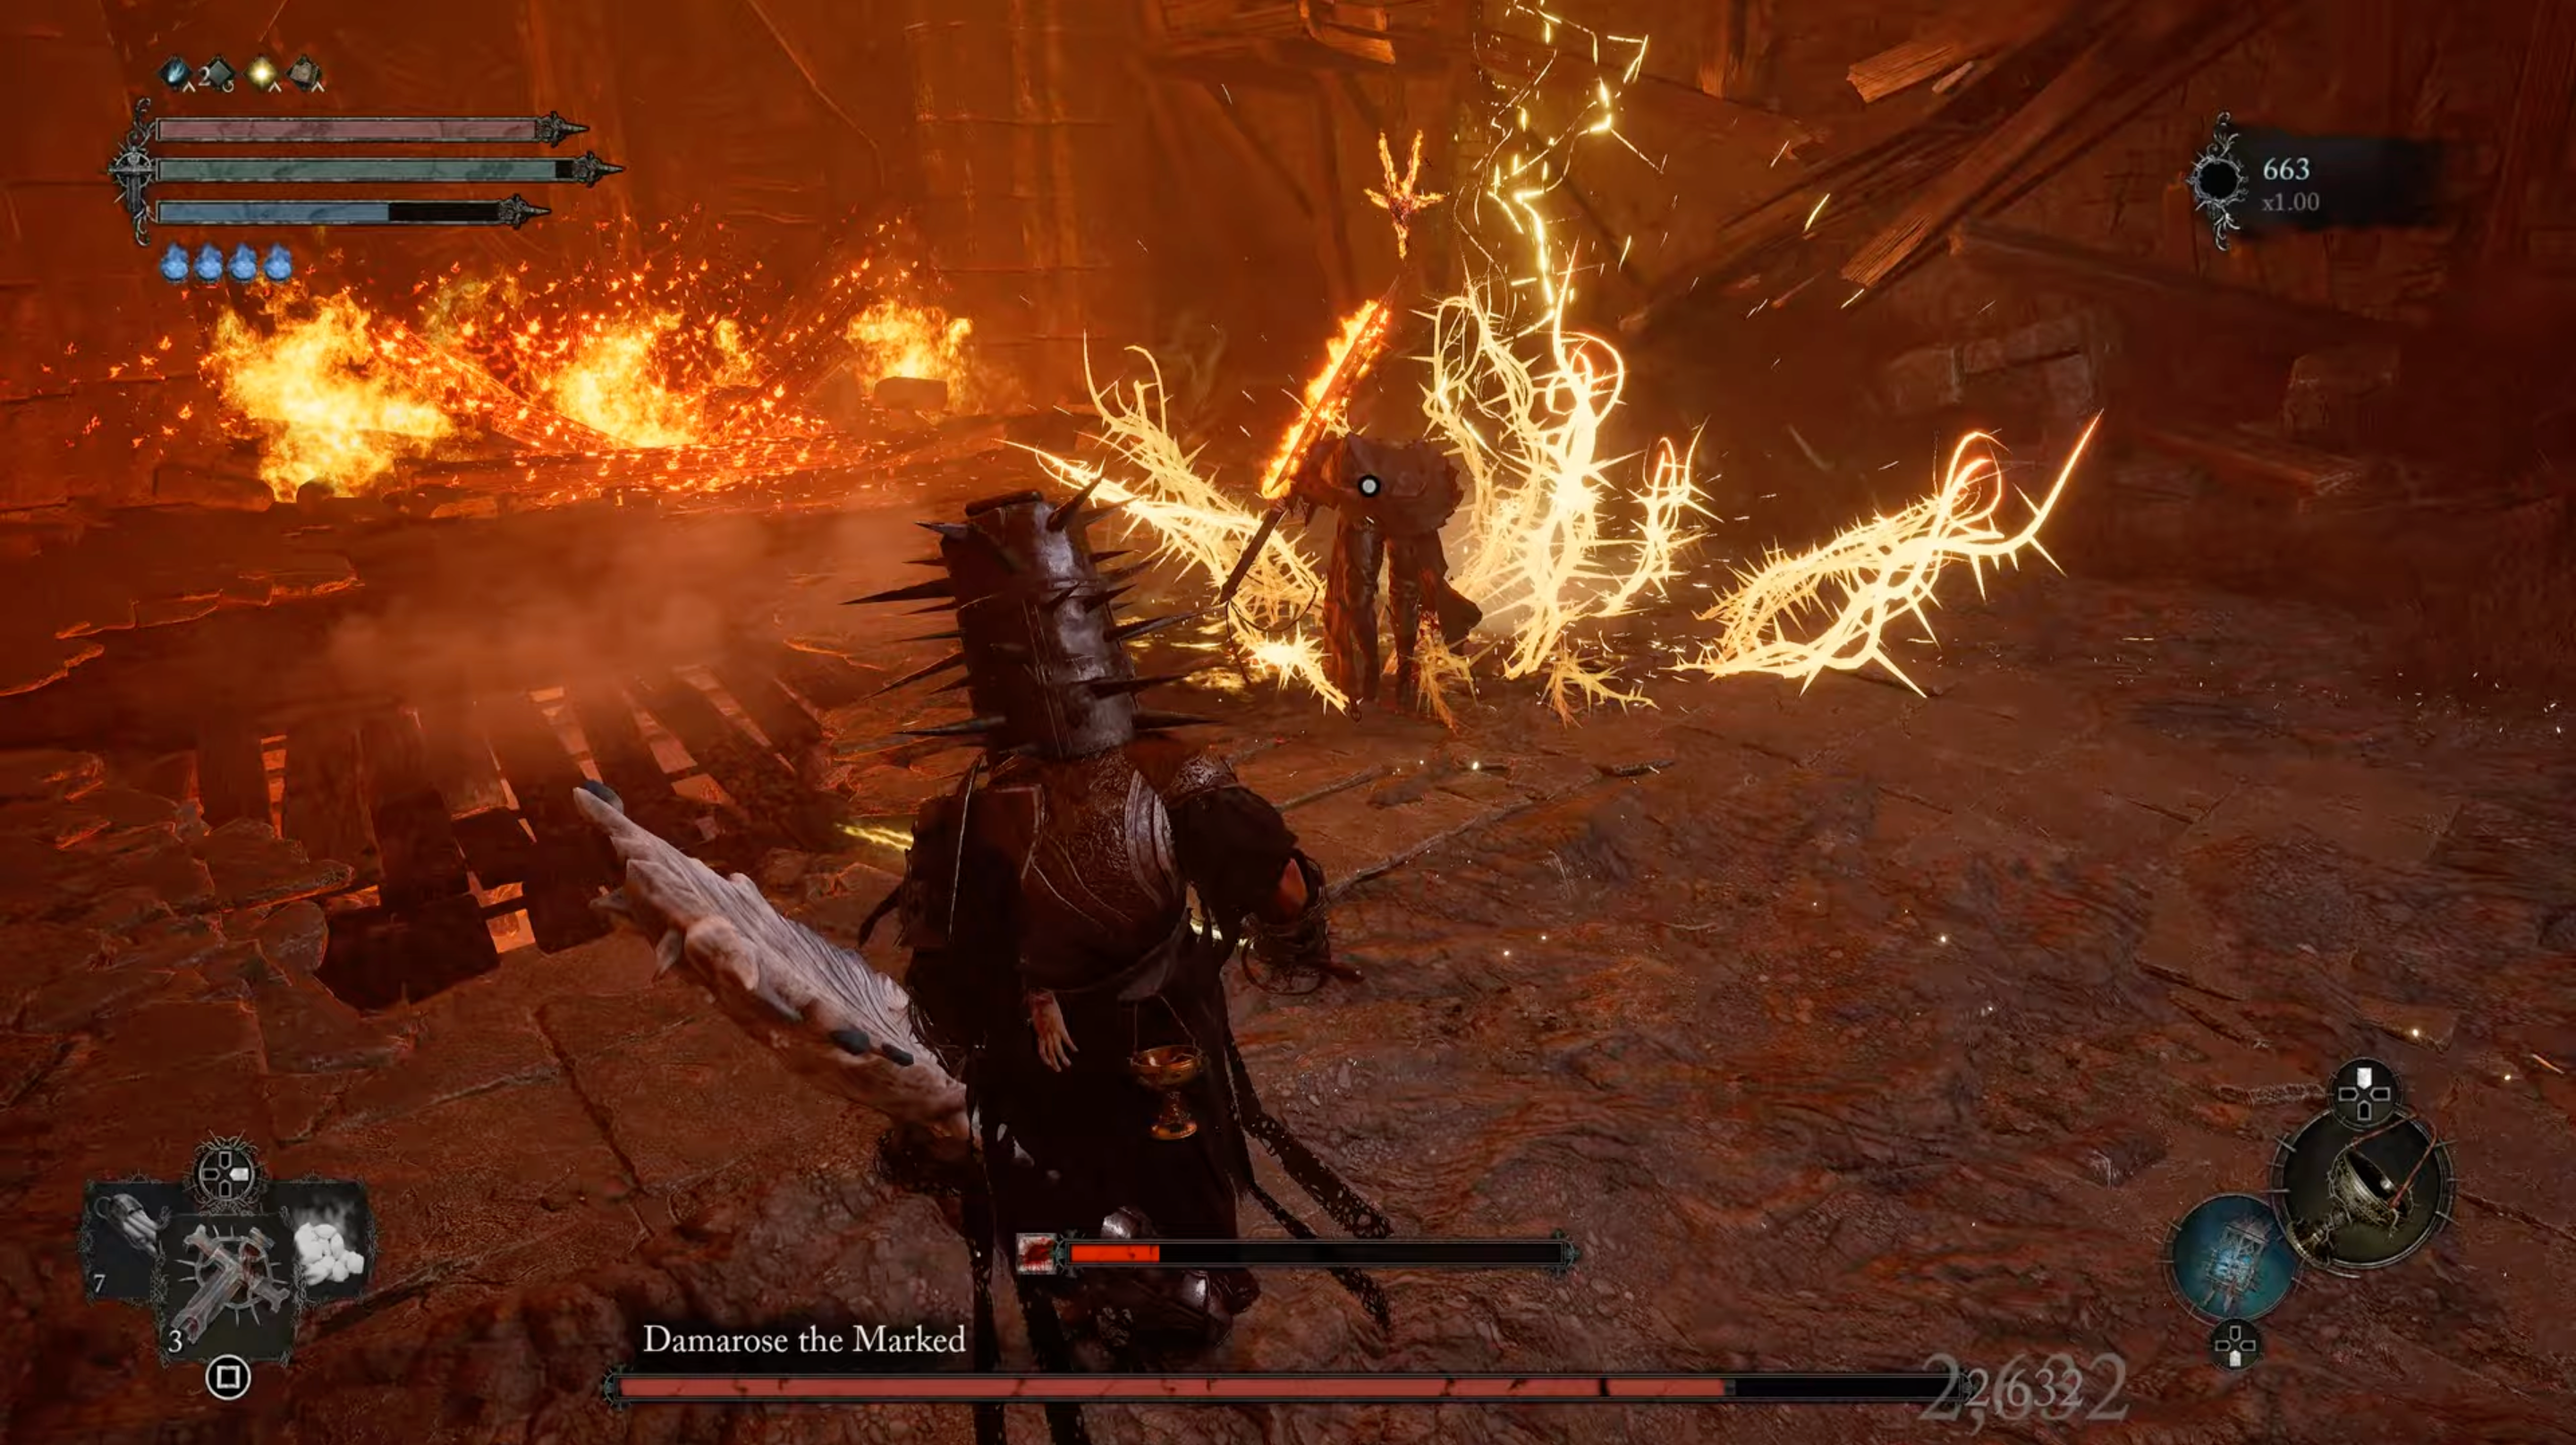
Once the player continues inside this structure, the player will reach a large room with fire on the opposite side. In this room, the player will face and defeat Damarose the Marked. It is worth mentioning that the player can only fight Damarose The Marked if the player doesn’t utilize the Damarose Seedpod on her when attempting to unlock the Umbral Ending. Through doing that, the player will not be able to encounter this boss for that playthrough.
Damarose the Marked can summon numerous runes at once. These runes can create fire magic projectiles surrounding her. When the rune lights, the player must dodge or sprint away. Damarose the Marked also fills her weapon with Fire. This boss’ melee strikes are relatively slow, which the player could exploit.
After defeating Damarose the Marked, the player will earn Damarose’s Cleaver and a Vestige Seed.
8. Finally, Bramis Castle
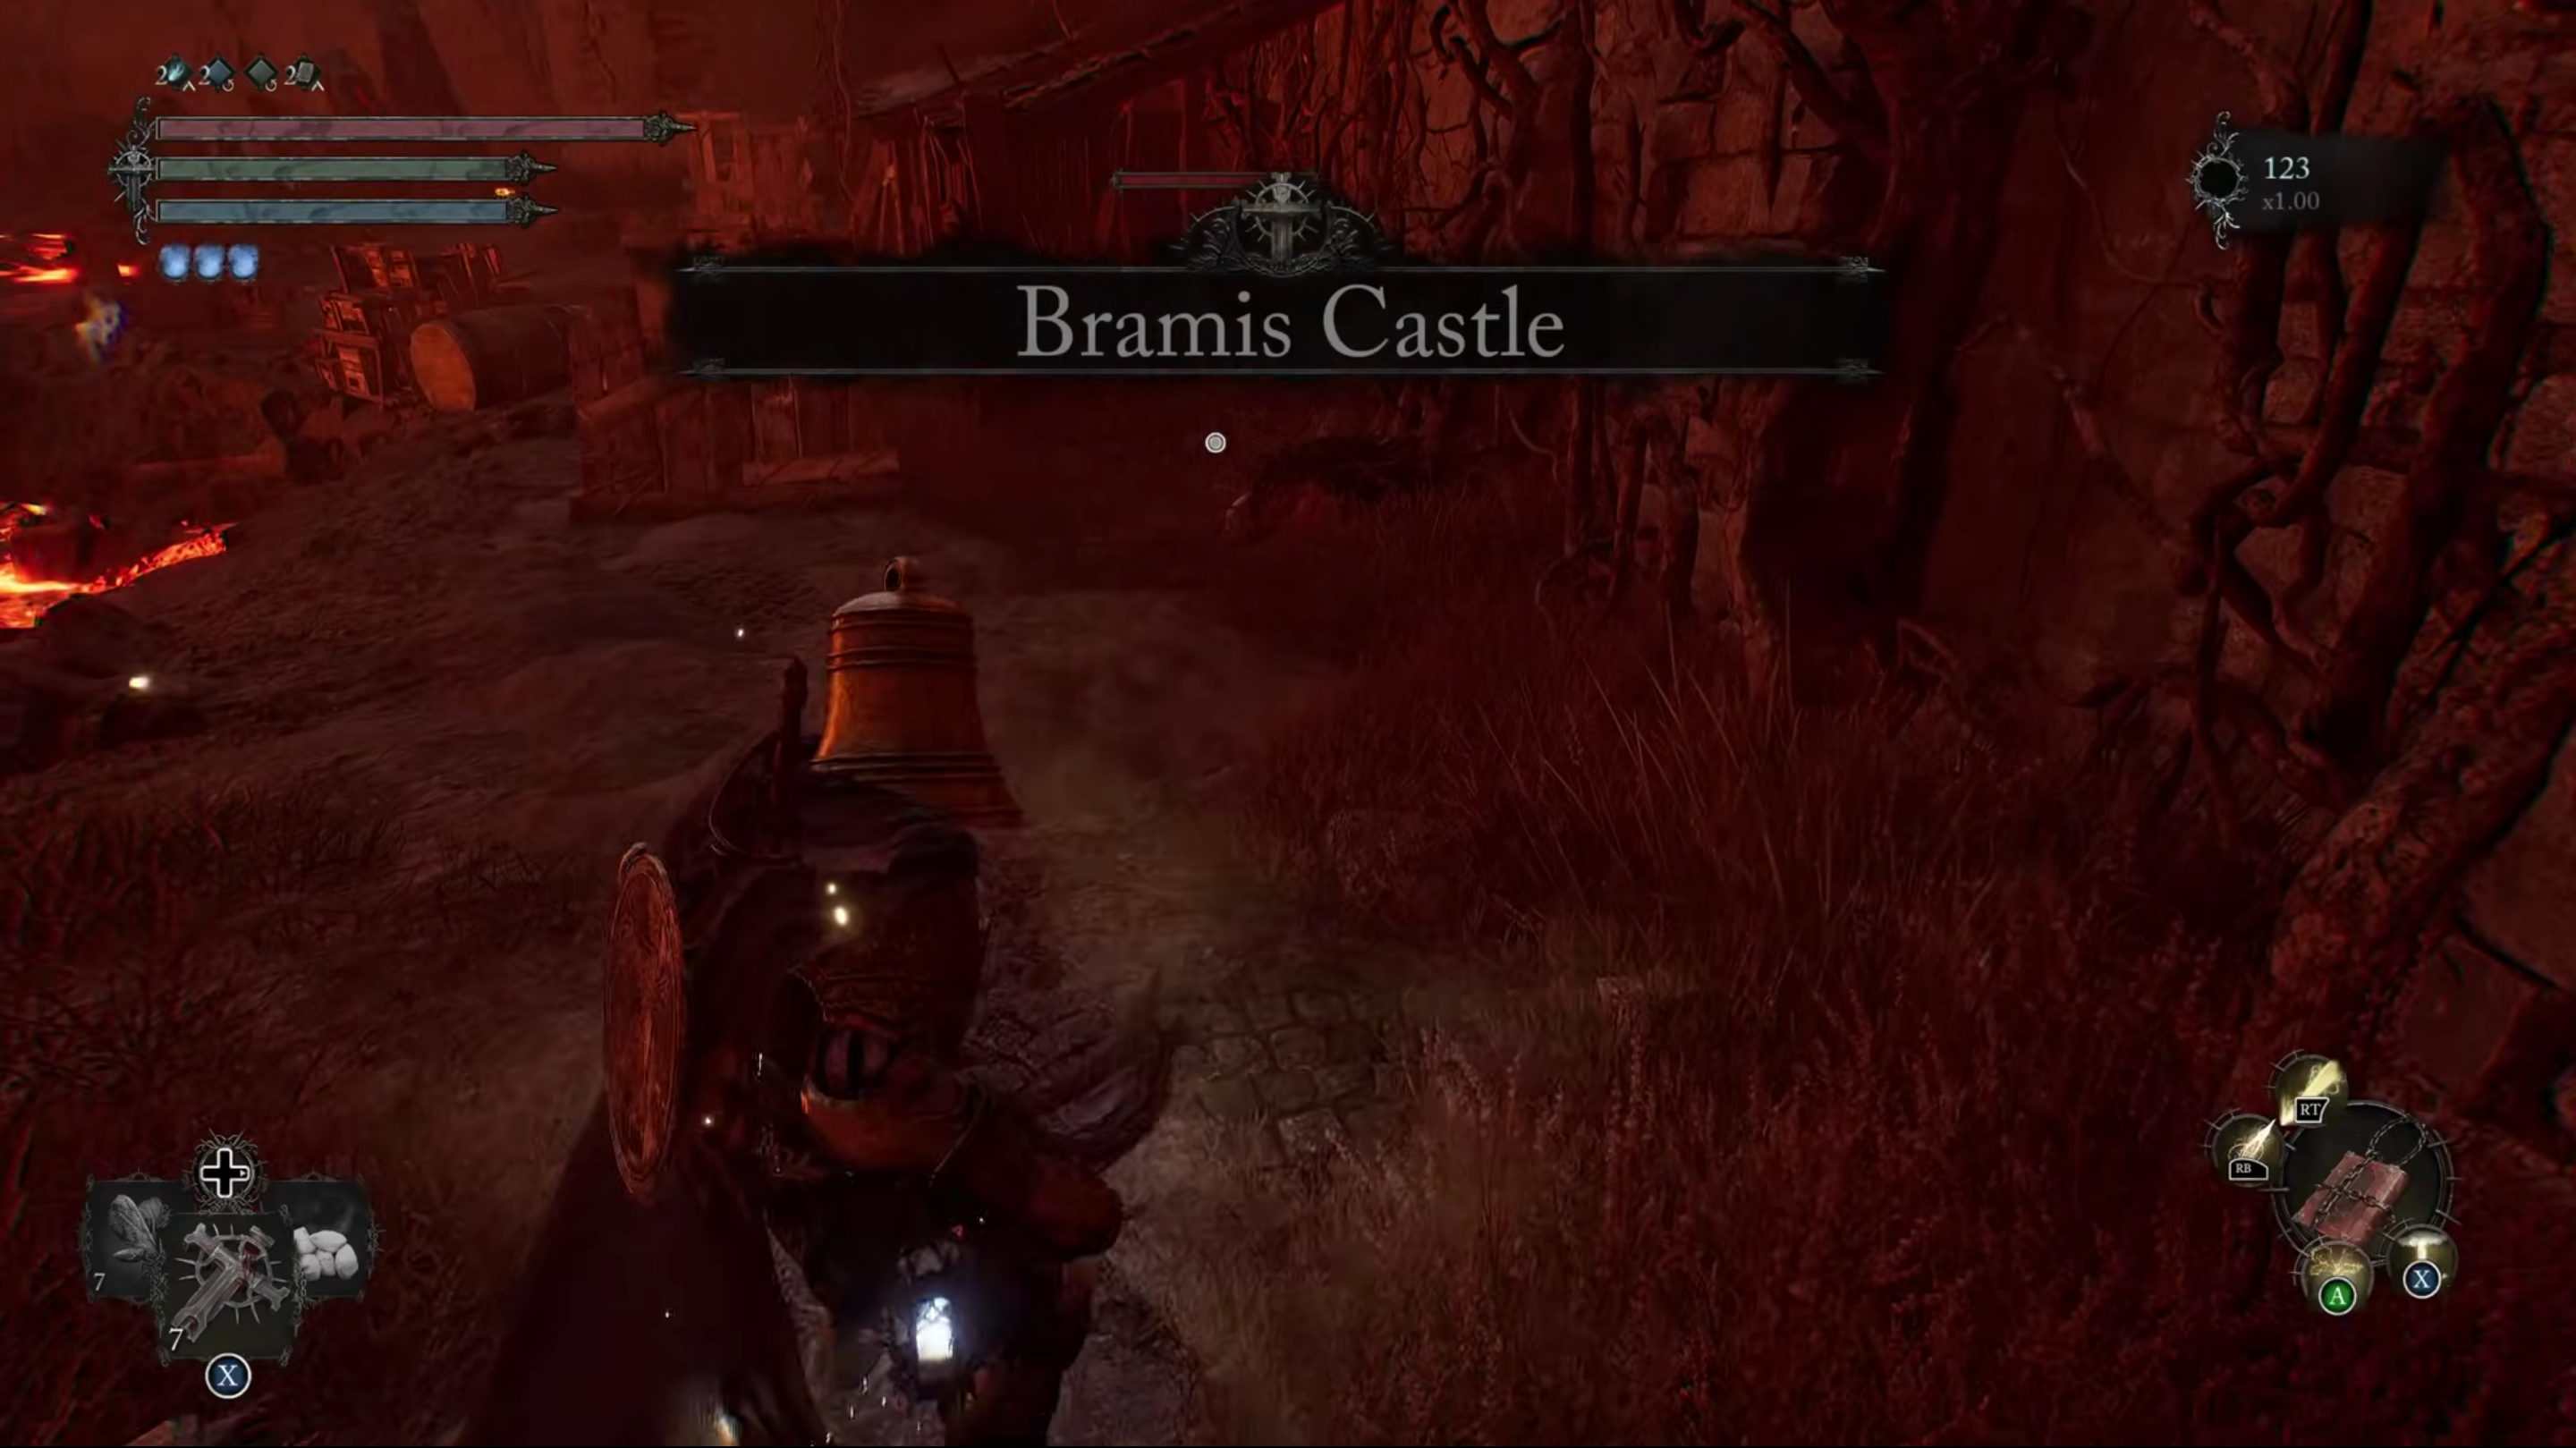
After the player has eliminated Damarose the Marked, the player must head up the wooden ramp on the right. Here, the player must follow the path on the left. While on this path, the player will find the Map of Bramis Castle Barbican in the middle of the floor. At the end of this corridor, the player will find a small set of stairs and a door. Inside, the player will find an Umbral Flowerbed, which the player can plant a seed.
The player must head towards the door ahead and open it. Finally, the Bramis Castle location banner will appear upon going through the door! The player will now get to the inner section of Bramis Castle!
Conclusion
In Lords of the Fallen, traversing the intricate routes to Bramis Castle requires tactical brilliance and unwavering perseverance. The journey, riddled with obstacles and enemies, demands competent problem-solving and fighting abilities. The endeavor to get to Bramis Castle reflects the game’s immersive experience, from analyzing paths to battling formidable bosses.
Finally, perseverance, precise maneuvering, and a great eye for detail will bring the player to the gorgeous fortress, marking not just a major area in the game but also a monument to the player’s resilience and gaming skills.