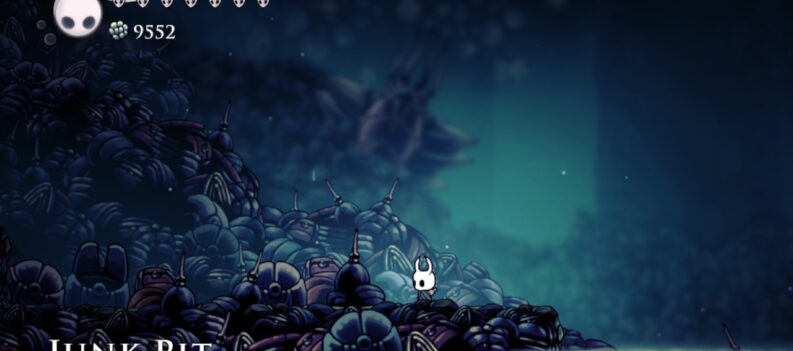
Dashing is a common movement mechanic in video games that allows players to move from one point to another quickly. It can dodge attacks, close gaps between enemies, and even traverse tricky platforms. As a player, the ability to dash can give you a significant edge in combat situations.
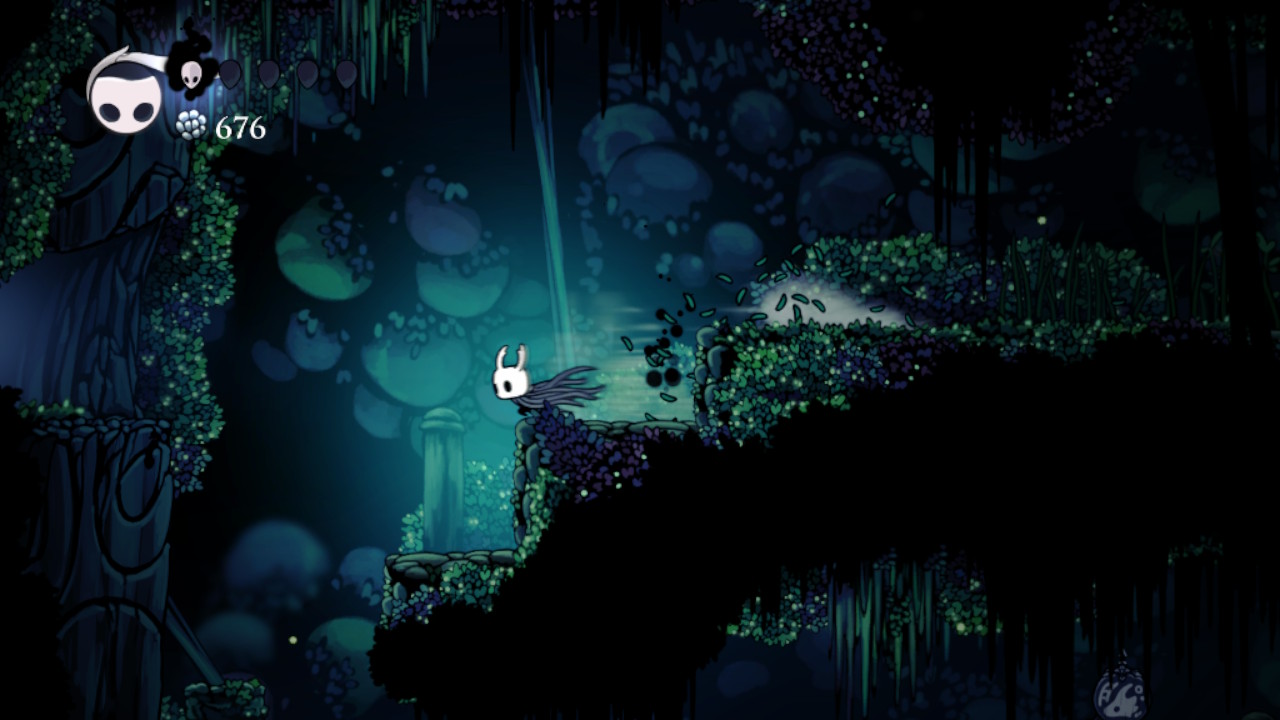
However, when playing Hollow Knight, a popular platformer game, the question arises – how can the player dash in the game, and why can’t I do it? Well, this article will dive deep into Hollow Knight’s dashing mechanism.
Why Can’t I Dash?
If you ask this question, you are probably very early in Hollow Knight. The reason why you can’t dash is because the Knight has not learned it yet. Dashing is an acquired ability in the game. Three forms of dashing can be learned in Hollow Knight: the Mothwing Cloak ability, the Crystal Heart Ability, and the Shade Cloak ability.
Mothwing Cloak Ability

The Knight can dash horizontally forward using the Mothwing Cloak ability to cross gaps that regular jumping cannot reach or avoid enemy attacks.
The Mothwing Cloak ability can be used once in mid-air and has a cooldown of 0.6 seconds. However, it resets upon touching the ground, taking damage, using the Knight’s nail to jump off enemies or objects, or using their Mantis Claw ability to cling onto or leap off a wall.
By default, the player can press the following buttons to use the Mothwing Cloak ability on each of the available platforms:
| PC | C key |
| Playstation 4 | R2 button |
| Xbox One | RT button |
| Nintendo Switch | ZR button |
This ability is most likely the first ability that the Knight will acquire, as it can be learned near the beginning areas of the game.
How to Get the Mothwing Cloak Ability

The Mothwing Cloak can be learned after defeating Hornet near the northwestern part of Greenpath, which can be accessed early on in the game.
Before the Knight can get this ability, the Knight must obtain the Vengeful Spirit spell from the Snail Shaman in the Ancestral Mound on the western side of the Forgotten Crossroads. This spell allows the Knight to conjure a spirit that will fly forwards and inflict damage to enemies.
Aside from Hornet, the Knight will face the following enemies on the way to the Mothwing Cloak ability: Tiktiks, Crawlids, Gruzzers, an Elder Baldur, Volatile Mosskins, Mosscreeps, Squits, Obbles, and Moss Chargers.
To get here, this is what the Knight must do (the journey is quite far, so brace yourself):
- Start from the Bench up in Dirtmouth, go to the left, and drop down the well to enter the Forgotten Crossroads.
- Upon landing, head to the left, jump across the gap, continue to the left, and jump across another gap. On this platform is a Tiktik walking around and a Crawlid down below. Jump across another gap and take the exit.
- Then, jump across the gap where there are a lot of Gruzzers and a few Crawlids. Go to the left, then, at the end of the platform, drop down the gap towards a small platform. Drop down the gap on the left while moving to the left to land on a ledge, then drop straight down the gap on the right to land on a larger ledge. Head for the exit on the left.
- Next, head to the left, where an Elder Baldur will block the path. The Knight must defeat Elder Baldur to continue. Tip: The Knight will not be able to attack the Elder Baldur using the Nail. To defeat it, cast the Vengeful Spirit spell from a distance, then, once the Knight is out of Soul for casting spells, defeat the smaller Baldurs that it spews out.
- After that, continue to the left, drop down towards the small platform, jump towards the bigger platform on the left, jump up the small platform above, and jump towards the platform on the left. Drop down the small platform below on the left, jump towards another platform on the left, then again towards the safe ground on the left. Jump across the gap, head to the left, jump up the platforms, head up the platforms on the right, then head towards the exit on the left.
- Then, the Knight is finally in Greenpath! Be careful not to fall in this room because a large pool of acid is waiting at the bottom. Head to the left, jump across the gap towards the next platform, jump up the small platform above on the left, and then towards the large platform above on the left. Go to the left where there is a Volatile Mosskin, jump across the gap, continue to the left, cross another gap using the small platform, and face another Volatile Mosskin. Jump across another gap where there is another Volatile Mosskin, go to the left, jump across another gap, and head down the platforms on the left. From here, jump towards the thin platform on the left, jump towards the smaller platform on the left, jump up an even smaller platform above, then towards the safe ground on the left where a Mosscreep will spawn. Continue to the left, drop down the gap, and take the exit on the left.
- Next, this is a room where the Knight can heal and save their progress. Head up the platforms in the room, then, on the top-most middle platform; the Knight will find a Bench. Once healed up, take the exit on the bottom left of the room.
- After that, head to the left, drop down the platform, and head to the left, where the Knight will first meet Hornet on a platform above on the left. This platform is unreachable without abilities, so we’ll have to make our way around. Drop down the small platform below, drop down another small platform below on the left, drop down the small platform below on the right, drop down the small platform below on the left, drop down on another small platform below on the right, drop down the long ledge below, drop towards the small platform below, drop down the smaller platform below, drop down the platform below on the left, drop down the platforms below near the pool of acid, then take the exit on the right.
- Then, head to the right, drop down the platform, and head to the right where there is a Squit. Jump towards the platform on the right held up by vines, jump towards the small platform on the right, jump towards the platform above that is also being held up by vines, and strike the vines to break it and let it fall. Jump up the elevated platform on the right and the platform on the right.
- Next, drop down the small platform below on the right, jump towards the platform on the right that is being held up by vines, then strike it to let it fall. Jump towards the platform above on the right, where there are Volatile Mosskins underneath; jump up the platforms above on the right, and go to the right where there is another Squit. Drop down the platform where there is another Volatile Mosskin and continue heading to the right where there is another Squit. Then, jump towards the small platform on the right (be careful not to fall on the spikes below), jump up the small platform on the right, and head up the small platforms to reach a vine platform. Strike the vines to let the platform fall with the Knight. At the bottom, jump up the platform on the left, then take the exit that leads below. It is important to mention that the map for Greenpath can be purchased on the rightmost part of that room.
- Upon landing, head to the left, strike the vines of the hanging platform, then face or avoid two Volatile Mosskins. Head to the right, jump across the gap towards the platform below, go to the right, drop down the next gap to land on a platform resting above spikes, jump towards the platform held up by vines on the left, and strike the vines to let it fall and rest on top of the spikes below. Jump across the spikes towards the platform held up by vines on the right, strike them to let them fall, and float on a pool of acid below where there is a Squit. Follow the small platforms on the left, then take the exit on the left.
- Upon entering this next room, head to the left, where the Knight will again meet Hornet but will quickly leave. There are also several Obbles in this room and a few Mosscreeps. Head to the left side of this room and take the exit in the top left corner.
- Then, continue to the left, drop down the big platform below, jump towards the small platform on the left, and towards the large platform on the left, where there is a Moss Charger. Go to the left, jump across the gap, jump across another gap, and jump up the large platform above. Head to the left and jump across the gap where there is another Moss Charger. Continue heading left, jump across another gap where there is another Moss Charger, and continue to the left where Hornet will appear again but will immediately leave. Jump up the platform and take the exit.
- Upon entering, Hornet can be seen above, then leaves as if inviting the Knight. Follow Hornet to the exit above.
- Afterward, head up this room using the platforms until the Knight finds a closed-off Bench and a toll. On the way up, the Knight will face Obbles and Mosscreeps. Inspect the toll, agree to insert 50 Geo, and the gate to the Bench will be opened. The Knight can now heal and save on the Bench. From the Bench, continue heading up, facing the Obbles and Volatile Mosskins along the way, and take the exit above.
- Next, head to the right, where the Knight will be trapped in a large room and face a Moss Knight. The Knight must defeat this Moss Knight to continue. After defeating it, continue to the right, jump up the small platform, jump up the next platform above on the right, follow this path upwards, and take the exit above.
- Then, go to the left, facing the Squits and Crawlids along the way, then take the exit on the bottom left corner of the room.
- Upon landing, drop down from the small platform, head to the right, drop down from the gap, go to the right, jump across the gap, jump towards the small platforms on the right, then towards the thin platform below on the right. Drop down the gap to the room’s floor, head to the left where there is a Moss Charger, then, at the end of the platform, jump towards the ledge on the wall on the left and take the exit. It is important to note that a Bench and a Stag Station are on the path below before the exit.
- Finally, follow the path to the left, and the Knight will find and face Hornet!
Hornet: Attacks and Strategy

The Knight must defeat Hornet, the princess-guardian of Hallownest’s ruins, to acquire the Mothwing Cloak ability. These are the attacks or moves that Hornet will perform:
- Run – Hornet will run to move around the arena. The Knight will take damage when coming into contact with Hornet.
- Leap – This boss jumps within the arena, which can also deal contact damage.
- Lunge – Hornet will thrust forward with her needle to attack the Knight.
- Aerial Lunge – She will leap into the air, aims at the Knight, and rushes downwards to attack.
- Gossamer Storm – Hornet will release an area-of-effect attack centered on herself and slicing around her. She can also do this attack in mid-air.
- Throw – This boss will launch her needle forwards and then pull it back. The needle can deal damage to the Knight as it is pulled back. The range of this attack almost covers the width of the battlefield.
Hornet switches into a battle stance at the start of the battle. If you react quickly enough during this brief animation, which only lasts a second, she will remain still and be vulnerable to repeated attacks.
There is a brief window of opportunity for attack after Hornet performs her Lunge attack, which is easily avoided by jumping out of the attack’s range. Hornet’s Aerial Lunge attack has the Knight in its sights from the moment she jumps. As soon as she locks her aim, she quickly moves away.
It’s important to note that both the Gossamer Storm and Throw attacks used by Hornet have a limited range and require time to execute. Despite being quick, this might be a chance for healing. If you have time, jump to the middle of Hornet and her needle after she throws it.
Then, immediately jump away when she pulls it back to avoid being hit by her Throw attack. If not, move out of range. She typically uses her Gossamer Storm attack when the Knight is close to her. Simply move or jump out of the attack’s path to dodge it.
She will stagger and take a breath to try to recover after enough damage is dealt. Throughout your battle, this will occur four times. During this, avoid hitting her because doing so will make her recover instantly. Instead, this is the ideal time to heal. Upon her recovery, Hornet will then perform the Leap attack.
After the battle, Hornet will leave but drop something glowing behind. Insect the glowing thing, and the Knight has now obtained the Mothwing Cloak ability!
Crystal Heart Ability
The next dash ability that the Knight will eventually acquire is the Crystal Heart ability. This is one of the most useful and cool-looking abilities in Hollow Knight. The Crystal Heart ability allows the Knight to fly forwards horizontally without stopping. This ability will only stop once the Knight hits a surface or intentionally cancels the ability. So, the Crystal Heart ability is a super dash.

Hold the assigned super dash button while the Knight is on the ground or clinging to a wall to concentrate force to perform the Crystal Heart ability. By default, the player can hold the following button to concentrate forces for the Crystal Heart ability on each of the available platforms:
| PC | S key |
| Playstation 4 | L2 button |
| Xbox One | LT button |
| Nintendo Switch | ZL button |
Release the button to fly forwards once it is fully charged. The Knight will continue to fly forward until they hit a surface when they take damage from enemies or when the player presses the jump or super dash button again.
The Crystal Heart ability doesn’t just fly forward; it also damages enemies when the Knight makes contact with them on the path of the super dash. It will deal ten damage to enemies; if this kills the enemy, the Knight will continue with the super dash and not take damage. On the other hand, the Knight will take damage, and the Crystal Heart ability will be stopped if the enemy isn’t killed.
The Knight can learn this ability once the Knight has reached Crystal Peak. This area is accessed a little bit later on in the game.
How to Get the Crystal Heart Ability

The Crystal Heart ability can be learned at the end of a challenging platforming segment in the eastern part of Crystal Peak. Interact with the old mining golem on the room’s far end to learn this ability.
Getting this ability would be impossible without the Knight first learning the Mothwing Cloak ability, which, again, allows the Knight to perform a short dash forward, and the Mantis Claw ability, which allows the Knight to cling to walls and jump off of them.
It would also greatly help if the Knight learned the Desolate Dive spell. This enables the Knight to strike the ground with concentrated Soul. This spell will help the Knight enter the Crystal Peak for the first time.
The Knight will not face a boss on the way to this ability. However, the Knight will still face a few enemies on the way: Husk Miners, Glimbacks, Crystal Crawlers, and Shardmites.

To learn the Crystal Heart ability, this is what the Knight must do:
- Starting from the bench at the bottom of Crystal Peak, go to the left, and take the exit.
- Next, the Knight will face a Husk Miner. Head to the left and climb up the shaft using the Mantis Claw ability. Head slightly to the left again, and take the exit above.
- After that, take the path on either the left, where the Knight will go up a level and face a Glimback, then head up the path above in the middle, where there are two Husk Miners and another Glimback on another platform above, or take the path on the right where the Knight can head up the next level where there is a Husk Miner. This path, however, requires the Knight to have the Monarch Wings ability (the double jump ability) to reach and continue. Either way, at the top, take the path above on the right.
- Then, go to the left, cling to the conveyor belt on the wall on the left using the Mantis Claw ability to ride it upwards, jump to the next platform, and take the exit above.
- In this next room, there are several Crystal Crawlers. Go to the right, then go up by jumping up the platforms while dodging the lasers of the Crystal Crawlers. Go to the left, where there is a Husk Miner. Climb the path above while evading the Crystal Crawler’s lasers, follow the path to the right, and head up using the small platforms. While evading the Crystal Crawlers, head slightly to the left, and take the exit above.
- After that, the Knight will find a Husk Miner. Head up to the room where there are Crystal Crawlers, Shardmites, and a Glimback. Take the exit at the topmost part of the room.
- Then, head to the right, climb up the shaft, continue to go to the right and take the exit.
- Next, go to the right, drop down the shaft while sliding on the wall, and take the second path on the right. Strike the lever to open a shortcut. Drop down the shaft on the right, at the bottom head to the right, then drop down another shaft. Head to the right and strike the lever to open another shortcut. Head to the right and take the exit.
- The Knight has now arrived at the challenging platforming segment. This room has conveyor belts, revolving platforms, and a sea of crystals beneath. Head to the right, jump across the gap toward the revolving platform, then quickly jump across the gap toward the conveyor belt on the right. Jump up the conveyor belt above, jump towards the revolving platform on the right, jump towards another one above on the right, drop down the gap on the right, and dash to the right using the Mothwing Cloak ability to reach another revolving platform, and jump towards the next one. Quickly jump and cling towards the conveyor belt above the left, jump and cling on the next one on the right before hitting the spikes above, then jump towards the safe platform on the left before hitting the spikes.
- After that, this next part will be filled with the same challenges but with lasers added. So, wait for the lasers to cool down before passing through. Climb the wall on the left, head to the right while dodging the lasers, and follow the path down. Go to the right, jump towards the revolving platform, then across towards a conveyor belt. Continue to the right, jump toward another revolving platform, then dash toward another conveyor belt. Jump and dash towards the revolving platform above on the right, jump and dash towards the next one, jump and dash towards the next one, then jump towards the next small platform. This is easier said than done, but you’ll get it eventually.
- Finally, drop down the gap, head to the left, drop down another shaft, and head to the right. Here, the Knight will find an old mining golem. Approach the glowing part of the mining golem and inspect it. It will explode, and the path back will break. However, the Knight will now learn the Crystal Heart ability.
Shade Cloak Ability

Another ability that the Knight will learn even later in the game is the Shade Cloak ability. This ability allows the Knight to dash through enemies and their attacks without taking damage. The Shade Cloak ability allows the Knight to dash through the impenetrable Shade Gates. If it is an upgrade, it will replace the Mothwing Cloak ability.
As this is the upgrade to the Mothwing Cloak ability, the player can press the same button to perform the Shade Cloak ability while the Knight is on the ground or in mid-air and dash through enemies and their attacks. The Knight can dash through most of the enemies’ projectiles using the Shade Cloak ability to destroy them.
It is crucial to note that while the Knight can use the Shade Cloak ability to dash through foes and their attacks, environmental dangers will still damage the Knight if they try to dash through them.
The Shade Cloak ability has a small cooldown of about 1.5 seconds that is separate from the Mothwing Cloak ability. While the Shade Cloak ability is on cooldown, dashing will revert to the Mothwing Cloak ability, which purely dashes forwards.
It’s also worth noting that the Dashmaster Charm only reduces the cooldown of the Mothwing Cloak ability. This charm does not affect the Shade Cloak ability.
How to Get the Shade Cloak Ability

The Shade Cloak ability can be obtained beyond the sea of Void in the southeasternmost area of The Abyss, the bottommost area in Hallownest. The Knight must stand on top of the Void fountain at the far east end of the room to obtain it.
Before trying to acquire the Shade Cloak ability, the Knight must first have the King’s Brand, as it is impossible to access the Abyss without it. As for other abilities, the Knight must first have the other dash abilities mentioned above: the Monarch Wings ability and the Crystal Heart ability. The Knight must have also purchased the Lumafly Lantern from a shop in Dirtmouth. This item will light up dark rooms.
Even though the Knight does not have to face and fight any bosses to acquire this ability, the journey to it is difficult. Be prepared to become frustrated as you attempt to obtain the Shade Cloak ability. This is because there is a swarm of Void Tendrils and Siblings in the area.
The Siblings are simple to beat; however, do not underestimate them because defeating them will not generate Soul. This will prevent the Knight from healing if the Knight runs out of Soul.

There will be a section where the Knight must utilize the Crystal Heart ability to cross. However, the Knight must first light up the top of the nearby lighthouse because it is packed with Void Tendrils.
To learn the Shade Cloak ability, this is what the Knight must do:
- Start from the Hidden Station Stagway Bench in the Ancient Basin. Go to the left to reach the Palace Grounds, continue to the left, and take the exit.
- Next, go slightly to the left, drop down, continue to the left, and take the exit that leads down.
- Then, follow the path down where there are two Shadow Creepers. Head to the left, where there is a huge gate with the mark of the King’s Brand. Approach the gate, and it will light up and disappear. Enter the newly-opened path.
- The Knight is now in The Abyss. In this room, there are a few Shadow Creepers and a lot of platforms with spikes. Head down to the bottom of the room, where Siblings will keep spawning until the Knight leaves. At the bottom of the room, go to the right and take the exit.
- Afterward, head to the right while evading the Void Tendrils on some parts of the room’s floor. Take the exit on the far right side of the room.
- Next, continue heading to the right, still navigating using the platforms and evading the Void Tendrils. Eventually, several Siblings will appear. Head up the platforms in this part of the area where there are more Siblings to defeat. At the top, enter the room where there are Soul Caches and a lever. Strike the lever to turn on the light in the area.
- Then, head down to the bottom and go to the right, where a large gap exists. From here, use the Crystal Heart ability to dash across super. This is now safe to do because the light from the tower cleared the Void Tendrils in the way. Upon hitting a wall, jump up the platform and head to the right to exit.
- After that, go to the right and jump up the slightly elevated platform. Climb up the wall of the tall platform on the right. Then, Continue heading to the right, drop down the next shaft, head to the right, and drop down the gap.
- Finally, go to the right, where there is a Void fountain. Jump up the top of the fountain and stand there for a few seconds. The Void will then consume The Knight. After that, the Knight will learn the Shade Cloak ability!
Conclusion
These are all the possible dashing variations that the Knight can perform in Hollow Knight. The most basic variation, the Mothwing Cloak ability, can be obtained fairly early in the game. The Knight can obtain the other variations later. Each variation gives the Knight new opportunities to explore more of Hallownest and unravel the kingdom and the Knight’s story.


