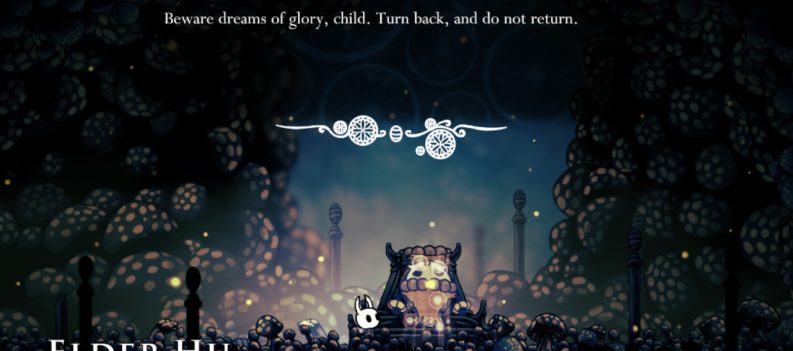
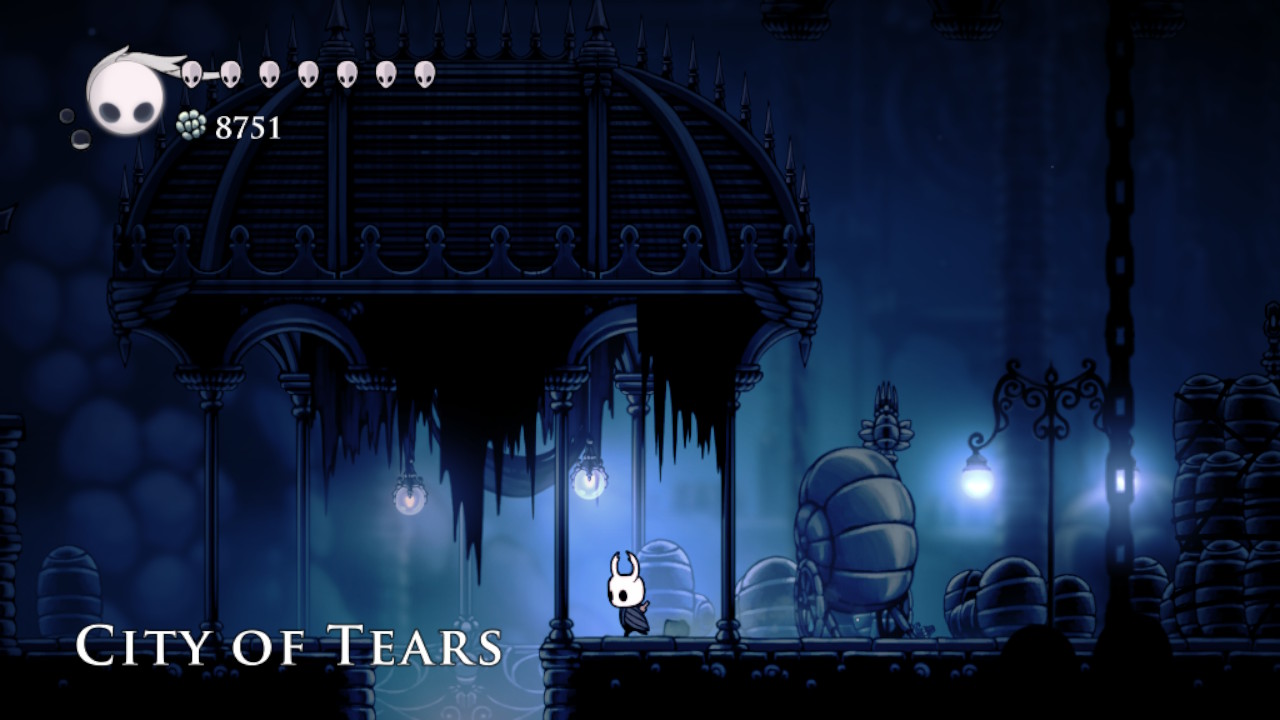
Hollow Knight is a metroidvania action-adventure game that takes the Knight through a dark, eerie world called Hallownest, filled with challenging obstacles and treacherous enemies. One of the largest areas of the game is the City of Tears, a sprawling metropolis that requires overcoming various challenges to access.
Getting to the City of Tears can be confusing, requiring strategy, patience, and a little skill to navigate the game’s complex maze of rooms. In this article, we will explore the steps needed to reach the City of Tears and how to overcome the challenges that stand in your way to reach them.
City of Tears
The City of Tears is the capital of the kingdom of Hallownest. This is found in the middle of the map of the whole kingdom. Its name comes from the fact that it is perpetually raining in the City of Tears from above the ceiling. Its original name, however, is now unknown.
This city has a lot of sub-areas: the Soul Sanctum, which is a research institution in the city where the Knight can face the Soul Master; the Pleasure House, which is the location of the only Hot Spring in the city; the Watcher’s Spire, which is the area where the player can find one of the Dreamers, Lurien the Watcher; the Tower of Love, which is the home of a being of Void called the Collector who loves to collect creatures and keep them in glass jars; and the King’s Station, which is an area with a few Stag Stations but only one of them is working, and the other is ruined and slightly flooded.
The Knight can find the following in the City of Tears across all of its sub-areas: a Simple Key, three Hollownest Seals, four Wanderer’s Journals, nine Geo Deposits, one Vessel Fragment, a Rancid Egg, eight Grubs, the Collector’s Map, the Desolate Dive Spell, the Shade Soul Spell, the Spell Twister Charm, and two Geo Chests.
How to Get to the City of Tears
Being the capital city of Hallownest, the City of Tears is connected to many different areas in the game. However, as you are probably early on in the game, you are probably looking for a way to enter the City of Tears for the first time from the first few areas of the game. To do that, the Knight can reach the City of Tears through the main gate on the western part of the city connected to the Fungal Wastes area.
Before the Knight can reach the City of Tears through the Fungal Wastes, the Knight must acquire the City Crest.
City Crest

The City Crest can be obtained after defeating the False Knight near the middle of the Forgotten Crossroads.
There are no required Spells or Abilities for the Knight to face the False Knight and obtain the City Crest. On the way to their location, however, the Knight will face the following enemies: Tiktiks, Crawlids, Gruzzers, Aspid Hunters, Goams, Vengeflies, Husk Bullies, a Leaping Husk, a Husk Hornhead, and a Husk Guard.
To find the False Knight and get the City Crest, this is what the Knight must do:
- From the Bench in Dirtmouth, go to the right, then drop down the well, the entrance to the Forgotten Crossroads.
- Then, upon landing, go to the left, jump across the gap, continue going to the left, and drop down the platforms where the Knight will face a Tiktik and a Crawlid. After that, take the exit up the platform on the left.
- Next, the Knight will be in a huge room with many Gruzzers and Tiktiks. Drop down the platforms in the middle of the room to get to the bottom. If you want, the Knight can defeat the Gruzzers and Tiktiks. After defeating or ignoring them, take the exit downwards in the middle of the floor.
- After that, drop down the gap on the right, drop down the gap in the middle of the floor, and head to the right. Drop down the platform, drop down the gap on the right to land on a small platform, drop down the small platform to reach the floor on the right side of the room, then, at the bottom, head to the right to take the exit.
- Then, head to the right, drop down the platforms, continue to the right, and jump across the gap towards a small platform where the Knight will encounter an Aspid Hunter. Jump towards the floor below on the right and continue to the right to take the exit.
- Next, head to the right, jump across the gap, continue to the right, and drop down the platforms on the right, where the Knight finds a couple of Goams. Wait for the Goam to retract, jump across its path, wait for the other Goam to head back underground, jump across the gap to the right, wait for the next Goam to retract, and jump across its path. Here, the Knight will encounter a Vengefly, jump across the spikes to get to the platform on the right, jump up the platform where there is another Goam on the right, wait for it to burrow underground, then jump up the platform above on the right and take the exit at the end of the path.
- After that, continue heading to the right, where the Knight will face three Vengeflies, and continue to the right, where the Knight will find more Goams. Wait for the Goam to retract, jump across its path, wait for the next Goam to retract, jump across, wait for the next horizontal Goam on the right to retract to the wall, then quickly jump towards the platform above on the right. Drop down the gap on the right and take the exit.
- Then, jump towards the small platform on the right. From there, jump towards another platform on the right, and take the exit above.
- Next, jump up the platforms on the left and the large platform on the right, where the Knight will find a Tiktik walking around the platform and a Vengefly. Jump up the small platform above, jump towards the ledge on the right, jump up the platform above on the right, then jump up the large platform on the left where there is another Tiktik. Head to the left, jump across the gap towards the platform on the left and take the exit.
- After that, drop down the platforms on the left, where the Knight will face a Husk Guard. Head to the left, where the Knight will encounter two Husk Bullies and a Leaping Husk, then take the exit next to a platform at the end of the path.
- Then, continue heading to the left, jump up the next small platform above, and jump up the three platforms above on the right. Continue to the right, jump up the platforms above on the left, head to the right, and the Knight will enter a huge room with two Husk Bullies and a Husk Hornhead.
- Finally, try to exit the large room on the left, and the gates will drop down to trap the Knight then the False Knight will drop down to fight the Knight!
False Knight: Attacks

The False Knight will perform the following moves:
- Leap
The False Knight will jump up to move around the arena or to prepare for the Slam attack. This boss will not jump two times in a row and will not use this in the battle’s 3rd phase.
- Slam
This boss will stand by to prepare his mace, then swing and slam it on the ground. That will create a shockwave that travels across the arena. During the next phases of the battle, the Slam attack will cause the barrels to fall from above. Later on, the number of barrels will increase.
- Charge
False Knight will run a small distance towards the Knight if the Knight is too far away. At the end of the charge, the False Knight will perform the Leaping Bludgeon attack.
- Leaping Bludgeon
After performing the Leap attack, the False Knight may slam his mace down, targeting where the Knight was when he started the Leap attack. This attack will also cause barrels to fall in the third phase of the battle.
- Rage
False Knight staggers and reveals the Maggot under his armor if enough damage is inflicted. The Maggot will re-enter the armor and launch the Rage attack when it has taken enough damage. False Knight leaps to the center of the arena and slams his mace many times on his left and right for around three seconds.
Barrels fall from the ceiling every time the mace strikes the ground. If the Maggot is left alone for an extended period of time, False Knight will get back up anyway and resume his usual attacks without performing the Rage attack.
False Knight: Tips
After dealing enough damage to False Knight, it will become staggered before the battle enters Phase 2. During this phase, the Maggot’s garbled voice is heard with each assault, and barrels will fall during the Slam attack.
Again, after inflicting enough damage, False Knight will become staggered again, and the battle will enter Phase 3. In this phase, barrels drop during the Leaping Bludgeon attack, and even more barrels will drop after the Slam attack.
Every time False Knight is staggered, the Maggot’s head will pop out. Once that happens, the Knight can heal if necessary and attack the Maggot to continue dealing damage. This is also the Knight’s chance to gain Soul for attacking the False Knight because attacking its armor will not generate Soul.
Because of that, save up the Knight’s Soul by not using Spells and only using them for healing. A counter for this is the Grubsong Charm, which makes the Knight gain Soul whenever hit by enemy attacks.
The dropping barrels do not damage False Knight’s armor, but the Knight can hit the dropping barrels to redirect them. These barrels can then deal damage to the False Knight when angled properly.
After the False Knight performs the Rage attack, a wall section above the gate on the left will become breakable. This will allow the Knight to leave the battle. Leaving then returning, however, will restart the battle.
The False Knight will become staggered, and the Maggot will pop its head out three times. Then, after that, it will perform a final Rage attack. After that, the arena floor will break, and the False Knight will fall to the room below. The Knight can then drop down the hole to follow the False Knight. On the level below, the Knight can continue to attack the Maggot’s head several times to finish the battle finally.
Once the False Knight is defeated, the Maggot will be removed from the armor and drop something glowing. Inspect the glowing thing; finally, the Knight has obtained the City Crest!
Finally, the City of Tears!

Now that the Knight has obtained the City Crest, he can open the path to the City of Tears!
It is required that the Knight has a couple of abilities before reaching the City of Tears, i. The first is the Mothwing Cloak ability, which allows the Knight to perform a horizontal dash forward. Another is the Mantis Claw ability, which allows the Knight to cling to walls and jump off them.
On the way to the City of Tears, the Knight encounters the following enemies: Fungoons, Funglings, Amblooms, a Sporg, and a Fungified Husk.
To finally reach the City of Tears, this is what the Knight must do:
- Starting from the Bench in the Queen’s Station Stag Station, head to the right to exit, and jump up the platforms in the middle of the room to get to the topmost platform. There, head to the right, jump across the gap, and dash with the help of the Mothwing Cloak ability, then take the exit on the right.
- Next, the Knight is now in the Fungal Wastes! Go to the right, jump across the gap with a pool of acid, and continue to the right. There the Knight will encounter a Fungoon. Jump across another gap and go to the right. There you can find two Funglings. After defeating them drop down the gap, and take the exit below.
- Afterward, go to the left, drop down the gap, head to the bottom using the small platforms, go to the right, drop down the gap, and continue to the right. Head up the tall elevated platform by nail-bouncing on the purple mushrooms or with the help of the Mantis Claw ability. Next, drop down the gap on the right, go to the right, drop down the gap on the right, and go to the left, where there is an Ambloom.
- Then, drop down the gap on the left, drop down the gap on the right, and land on a small platform. Drop down the gap on the right where there is a Fungified Husk, go to the right, jump up the platforms on the right, continue to the right, and drop down the gap on the right where there is another Ambloom. Then, drop down the gap on the right, continue to the right, and take the exit at the end of the path.
- Next, drop down the gap where there is another Fungoon, go to the right, jump up the small platform, and jump up the platform above on the right. Go up the platform to the left by nail-bouncing in the purple mushrooms or with the Mantis Claw ability. Head to the left, where a Sporg is on the ceiling above, and jump up the platforms on the left. From there, jump up the platform above on the right again by nail-bouncing in the purple mushrooms or with the help of the Mantis Claw ability. From here, where there are two Amblooms, jump up the small platform slightly above, then take the exit above.
- After that, head to the right and take the exit.
- This final room is a platforming challenge. Head to the right and up the platforms. Jump up the wall of the platform above on the right and climb up with the Mantis Claw ability. Here, where there is another Ambloom, jump up the thin platform. From there, drop down the gap on the right while sticking to the wall on the left. Then, near the wall’s end, quickly jump and dash toward the next wall on the right. Finally, climb up with the Mantis Claw ability.
- Then, jump and dash with the Mothwing Cloak ability between the spikes toward the small safe spot of the platform. From here, jump towards the wall across the shaft and slide down with the help of the Mantis Claw ability. After letting go of the wall, quickly dash towards the next shaft’s wall with the Mothwing Cloak ability. After that, climb up with the help of the Mantis Claw ability. Above this platform is a secret room with a Soul Totem, which the Knight can use to heal.
- Next, drop down the spiky shaft on the right. Then, before the Knight hits the spikes at the bottom, quickly dash to the right using the Mothwing Cloak ability towards the safe part of the platform. From here, drop down the gap on the right to land on a platform with a lever. Strike the lever to reveal an easier and safer path that leads back.
- After that, jump up the wall above on the right and climb up the wall using the Mantis Claw ability. Drop down the spiky shaft on the right, on the open space, quickly dash using the Mothwing Cloak ability towards the wall on the right, climb up using the Mantis Claw ability, jump towards the opposite wall to evade the spikes above, and jump towards the platform on the right.
- Then, head to the right and drop down the gap towards the small platform below. From there, jump towards the smaller platform below on the right. Finally, drop down to the safe platform below on the right. Strike the lever to reveal another safe path that leads back.
- Finally, here the Knight will find a statue of a knight with a socket in its chest. Inspect the statue, and the Knight can insert the City Crest. Select “Yes,” and the path on the right will be opened. Continue on the newly-opened path and take the exit on the right. In the next room, the Knight has finally arrived at the first few rooms of the City of Tears!
Now that the Knight is in the City of Tears, the Knight can explore what the capital of Hallownest offers!