Hollow Knight, a Metroidvania action-adventure game developed by Team Cherry, follows the exploits of a nameless warrior known as the Knight who travels over Hallownest, devastated by a terrible disease.
As the Knight goes around Hallownest, the Knight can obtain new items, abilities, spells, and charms, allowing the Knight to explore new areas and defeat enemies.
Mask Shards are one example of this item. These Mask Shards are required to increase the Knight’s health Masks.
Read: How To Obtain the Mask Shard in the Hive
To create one Ancient Mask, the Knight must collect four Mask Shards. After completing one Ancient Mask, the Knight’s health will grow by one Mask.
Because there are 16 Mask Shards in the game, the Knight can have an additional four Masks of health, for a total of nine Masks (excluding Charm effects and Lifeblood Masks).
There is only one Mask Shard from Bretta, and this article will teach you how to obtain it.
Bretta’s Mask Shard

Bretta rewards the Knight with a Mask Shard in her house, the rightmost house on the right of Iselda, and Cornifer’s house in Dirtmouth in the northernmost part of Hallownest.
Before the Knight is rewarded with a Mask Shard, the Knight must rescue Bretta from being trapped somewhere in Hallownest.
Bretta
Bretta is a beetle living in Dirtmouth but stranded somewhere in Hallownest, waiting for someone to free her. She develops feelings for the Knight after the Knight saves her.
Read: How To Obtain the Mask Shards in the Forgotten Crossroads
She blushes if the Knight sits beside her on the Bench for a while. You can find several sketches and dolls of the Knight and a diary in which she discusses the Knight inside her Dirtmouth home.

Bretta is stuck at the end of a maze in the southeasternmost section of the Fungal Wastes and the Mantis Village area. In the Fungal Wastes and the Mantis Village, the Knight faces a variety of creatures.
It is worth noting that finding Bretta after killing the optional boss in the Mantis Village, the Mantis Lords, will be significantly easier since all of the Mantis Youths and Mantis Warriors will become passive to the Knight and will only attack the Knight if provoked.
Read: How To Obtain the Mask Shard in the Waterways
It is required that the Knight has the Mothwing Cloak ability, allowing the Knight to perform a horizontal dash forward, the Monarch Wings ability, which enables the Knight to perform a secondary jump mid-air, and the Mantis Claw ability, which allows the Knight to cling to walls and jump off of them, before attempting to find Bretta. Finding Bretta will be a piece of cake with these abilities.
Finding Bretta
To find Bretta in the Fungal Wastes, this is what the Knight must do:
- Start from the middle of the main area of the Mantis Village (the room where it says Mantis Village on the map), head to the right where the Knight will run into a Mantis Youth, head up the tall platform above the pool of acid using the Mantis Claw ability or the Monarch Wings ability, continue to the right, drop down the gap, jump towards the next platform, continue to the right, and take the exit.
- Upon entering the next room, the Knight will find a Mantis Warrior. Continue to the right, where the Knight will encounter another Mantis Youth. Drop down the gap, drop down to the bottom of the shaft, and proceed to the left.
- Jump across the gap where there is a Mantis Warrior below. Continue to the left, drop down the gap, and head on the path below using the small platform (look out for the acid pool). Take the exit on the bottom left. It is worth noting that there is a Bench on the other side of the exit to heal and save.
- After that, proceed to the left and drop down the gap on the left. Drop down to the right, drop down the gap on the left, and continue to the left. Finally, drop down using the small platforms.
- Next, proceed to the right and drop down the platforms to the bottom. Then head to the left, where there is a statue at the bottom, where the Dashmaster Charm can be found.
- Then, proceed to the wall on the left with a hidden narrow path at the bottom left. Continue heading to the left through the hidden path. There the Knight will encounter two Shrumal Warriors and a lot of Shrumelings.
- Proceed to the room’s wall on the left, and climb up with the Mantis Claw ability. At the top, jump to the right and perform a secondary jump using the Monarch Wings ability to get to the wall on the left above. Climb up this shaft again with the help of the Mantis Claw ability. Then jump towards the platform above on the right, where the Knight will run into a Sporg.
- After that, jump to the wall on the right and climb up the wall with the Mantis Claw ability. At the top, jump and dash with the help of the Mothwing Cloak ability, towards the wall on the left. Climb up the wall with the help of the Mantis Claw ability, and jump to get to the platform above on the right.
- Next, proceed to the right and dash in between the spikes to get to the wall on the right with the Mothwing Cloak ability. Slide down the shaft while clinging to the wall on the right with the Mantis Claw ability. Dash towards the wall on the left before reaching the bottom and hitting the spikes.
- Slide down the shaft while clinging to the wall on the left and dash towards the wall on the right before hitting the spikes at the bottom. Slide down the shaft while clinging to the wall on the right. Dash towards the wall on the left before hitting the spikes.
- Slide down the shaft while clinging to the wall on the left. Dash towards the platform on the right before hitting the spikes at the bottom of the shaft.
- Then, jump to the right and reach the slightly elevated platform. Head up the wall on the right with the help of the Mantis Claw ability. Jump to the safe spot on the wall on the shaft’s left before hitting the spikes above.
- Then, jump to the safe spot on the wall on the right above the spikes. Continue climbing up the post and jump to the left wall before hitting the above spikes. From there, keep climbing up the shaft.
- Jump to the safe spot on the wall on the right before hitting the spikes above. Climb the shaft, then jump to the thin platform above on the right.
- After that, drop down the narrow shaft on the right while clinging to the wall on the left. Then dash toward the platform on the right before hitting the spikes at the bottom of the shaft.
- Finally, head to the right, jump up the slightly elevated platform, and the Knight will find Bretta!
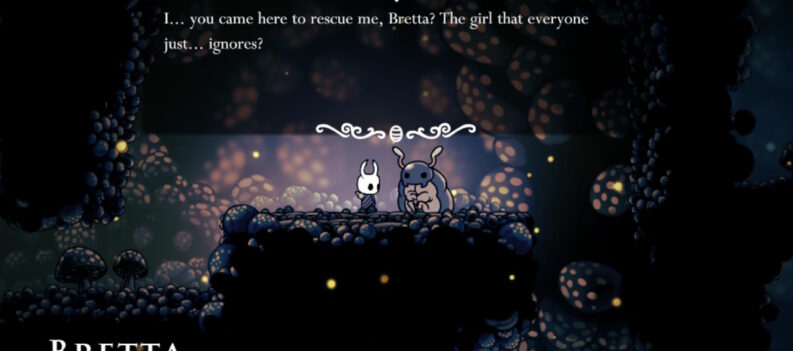
After you find her, talk to Bretta, and she will say that she does not know she ended up there, and is surprised that the Knight rescued her as everyone ignores her.
After talking to Bretta, head to the right, where the floor at the end of the path will break, and the Knight can safely exit the maze.
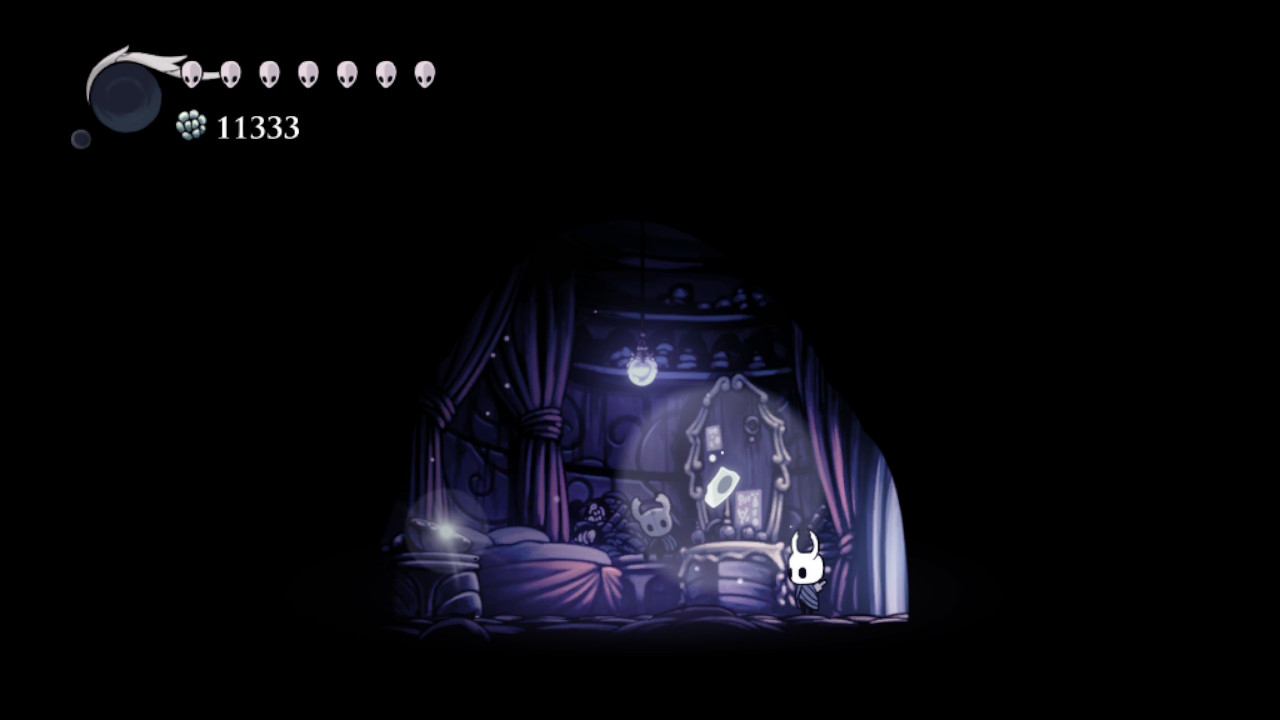
You unlock Bretta’s house, the rightmost house, when you return to Dirtmouth. When the Knight enters Bretta’s house, the Knight will be rewarded with a Mask Shard!
After acquiring the Mask Shard from Bretta, the Knight requires three more Mask Shards to add one more to the Knight’s health!