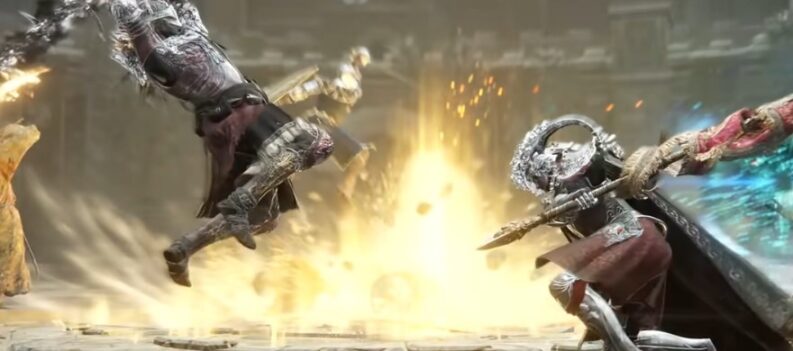
In a game with dozens of unique and overwhelming boss fights, Fia’s Champions certainly continue the long, storied line of interesting designs FromSoft is known for, though this fight in particular stands above the rest in terms of its outright uniqueness.
Rather than a fight against a god, a living jar, or an incomprehensible beast, this boss fight is actually against five mostly randomized invader-style characters, except Lionel the Lionhearted and Sorcerer Rogier, characters you have likely met before as friends in battle if you have ever fought Margit or Radahn.
Fia’s Champions Overview

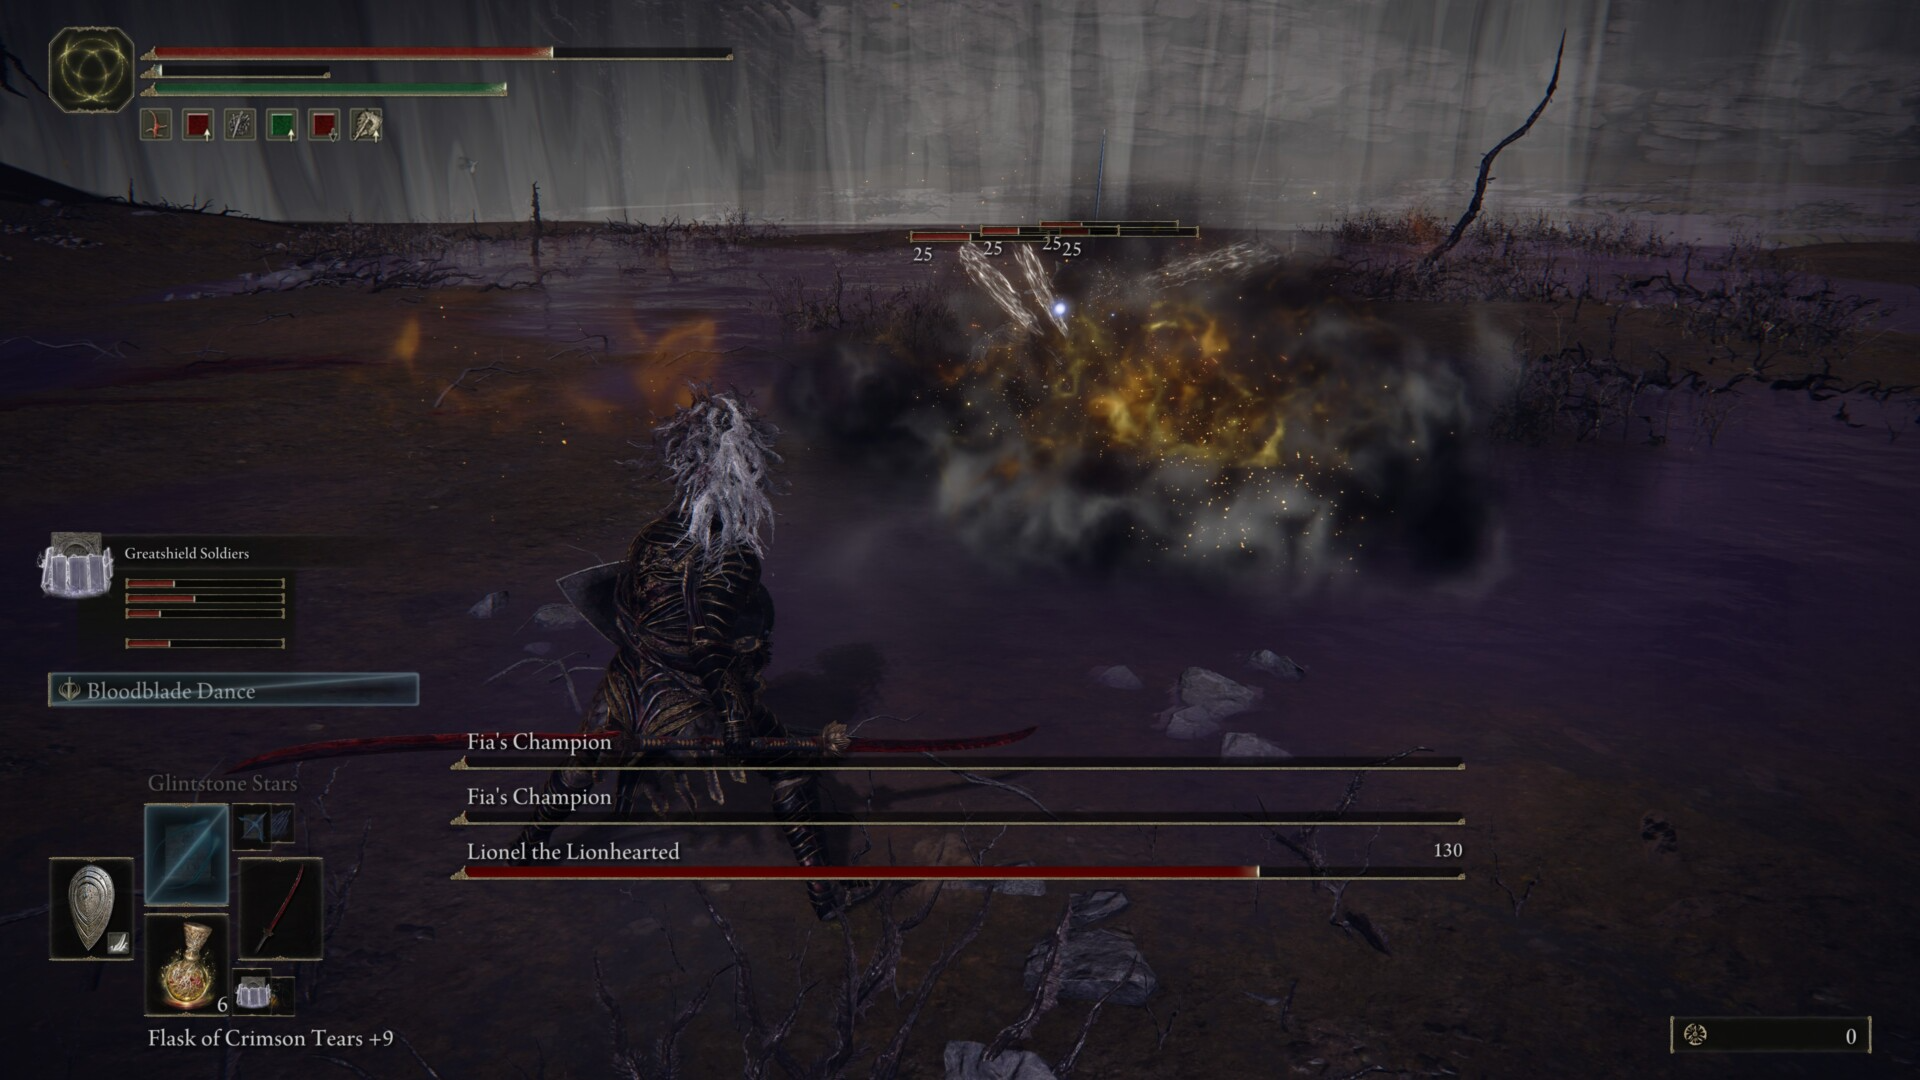
The fight is separated into three waves, where the first and second waves consist of single champions. Finally, in classic Soulslike fashion, the difficulty quickly spikes as the game pits you against Lionel the Lionhearted, Sorcerer Rogier, and another Fia’s Champions for the final wave.
If you go into this fight under-leveled or underprepared, expect to see You Died on-screen often. The fight against Fia’s Champions is difficult to prepare for, difficult to beat even once you are ready, and satisfying once you are finally through.
While this fight is not as epic in scale as the fights against Radahn or Malenia, it certainly makes up for it by demonstrating the skill it takes to win an extremely outmatched fight. Lionel is a tough foe alone, but it can seem nearly impossible with Sorcerer Rogier and three random Tarnished Champions at their side. Luckily, this guide is here to help you.
This Guide will show you exactly what you need to do to get past this boss, continue Fia’s Questline, earn 40,000 Runes, and possibly grab several extremely useful items that can help with many other bosses and enemies in your quest to become Elden Lord.
Are Fia’s Champions Players?
Since the enemy of the first stage of the fight and the subsequent second and third foes in the final stage are random, and some players speculate it may be cameos, a system used by FromSoft to copy a players loadout and use them for invader fights so that it feels more authentic, but it is not yet certain. It certainly bodes as a good warning because optimized, player-made builds can be much more deadly than anything truly random. Either way, fear not, as, in this fight, you will not be fighting actual players, only AI Tarnished.
Elden Ring Fia’s Champions Location
Fia’s Champions are located in Deeproot Depths. This location can be reached after defeating the Valiant Gargoyle in the Sofria underground area and resting in a coffin to travel to the underground area of the Deeproot Depths. Once you’ve located the “Across the Roots” Site of Grace, you will know you are close to the boss fight.

Pre-fight Strategy

First, you will want to prepare for the fight, though what proper preparation means is widely disputed. Considering that the enemies in the fight vary so widely, it makes it difficult to be prepared for everything at once without hindering yourself.
Some see it as easy, but others swear by the difficulty spike they feel in going toe to toe with Fia’s Champions.
It is a fair view, considering that for all of the powerful spells, weapons, and armor, a randomized enemy has a better chance of being insanely overpowered than it does being a pathetically weak foe. It is best to come prepared for the worst Elden Ring can throw at you, so consider these Pre-fight strategies.
Change your strategy, depending on the wave.
High damage single-target weapons will be good for the first two fights, though you may want to look into a weapon with a wider attack arc for the final phase to deal widespread damage. Do not forget to bring a great shield for added defense.
If you are interested in pure offense, go for aggressive parries and use a dagger for lethal stabs once the enemy is stance-broken. Be careful, as if an enemy has a whip, you cannot parry or block the attack.
Kill the sleeping dragon in Greyoll’s Dragonbarrow
Be sure to have killed the massive sleeping dragon in Greyoll’s Dragonbarrow if you need extra runes. Since it will not attack, you can use bleed damage to kill it quickly without any resistance.
The ‘boss’ drops 80,000 Runes — perfect for a quick tune-up to your build to dish out extra damage or so that you can level your vigor enough to be able to endure the straining fight ahead.

Invest some points into vigor and poise
Having high vigor and high poise is a surefire way to get a solid advantage on the Champions so that they can not punish you by overwhelming you too quickly. This is also a good strategy for most bosses and enemies in Elden Ring overall, so if you ever have extra runes or carry weight to spare, never be afraid to buff up these stats, as they are some of the cores of defensive combat.
Come prepared with a versatile build.
Having a varied build can be crucial to your success in this fight, with each of the enemies having its strengths and weaknesses. Sorcery, unfortunately, is a low-power option due to all of the magic damage Rogier and Lionel can soak up and how vulnerable it makes you. Come prepared with several weapons; a defensive shield, and an offensive parrying shield, for maximum efficiency and combative range.
Practice makes perfect, almost.
For Randomized Invaders
If you need somewhere to practice fighting randomized Invader enemies, go to the Great Jar in the north-jutting peninsula of Caelid, where you can pick up one of the strongest talismans in the game, the Great Jar’s Arsenal, after winning three one-on-one fights with the invader enemies. Two Deathbirds with one stone (see what I did there?)!

Parrying Guide
If you are not afraid to get your hands dirty, go to Stormveil castle and buy the Buckler Shield from Gostoc.
Then, try following the Volcano Manor Questline or the words of White Mask Varre, and try out some PvP. Don’t worry; you do not have to win. You only have to practice your parries against other Tarnished.
If that task seems daunting, the enemies at the gate encampment just ahead of The First Step provide a wide range of practicable, low-damage attacks for you to learn the timing of the parries. Before long, you will likely have developed a good skill for parries, and it will make the fight ahead of a breeze.
Exploit Champions’ vulnerabilities
Due to acting like Invaders and being Tarnished, the Champions are susceptible to all status effects, especially the infamously powerful sleep, bleed, and madness effects. They can be parried if you know their attack patterns well enough.
Overall, the first two-fight stages can be difficult to prepare for perfectly but are not difficult if you can parry or output enough damage to stun the Champions before they can harm you too heavily.
Colossal Swords excel in this fight, but only with proper spacing. You can even deal huge damage to both HP and Poise to several targets at once.
With these practices in mind, you will likely notice a drop in the difficulty of the boss fight if you have honed your skills to a point.
Fight Strategy

Conserve your HP and FP for the last wave
The first of Fia’s Champions are randomized, followed by Sorcerer Rogier, Lionel, and a duo of randomized Champions. The first fight can be easy or truly punishing, depending on how lucky you get with the random loadout of the Champion. Luckily, it is only a one-on-one for now.
Next comes Sorcerer Rogier, a fragile but dangerous enemy who can drain your Flasks if you are not ready for his ranged attacks or his swift Rapier. After that, there are still two other champions alongside Lionel, so the first two waves need to be played carefully and dealt with as swiftly as possible.
A three-on-one fight is hard enough, made especially more difficult whenever it only takes place after two previous fights. This often wears down players before they can even get to the final stage. However, there is a silver lining, as stage one and two enemies can be dealt with easily enough, so play it safe and finish the fights fast.
Bring a great shield to the fight.
Go for parries if you are confident, but a great shield will excel for this fight if you prefer an easier strategy. Just be careful of elemental or magic attacks.
Go for Sorcerer Rogier’s Weaknesses, but beware of his strengths.
Once you are past the first champion, you move to phase 2 of the fight, a one-on-one with Sorcerer Rogier. Do not worry. He is not too tough. He has low defense and poise, so stun locking him or outright killing him is not difficult. Beware, however, as he can deal heavy damage against you even when shielding and interrupt your healing with Crimson Tear flasks with ranged sorceries. His fast slashes with his signature Rapier make it difficult to parry, and he can quickly overwhelm you.
Considering the ease of stunning him and poise-breaks, and the fact that his ranged spell attacks can be hurtful to your overall number of flask charges, you will want to fight with him over as soon as possible. You will need those to tide you over during the next fight phase with Lionel and the other Champions if you slip up and take extra damage.
Avoid Lionel until you dispatch the other 2 Champions
Once your old ally, and fellow member of the Roundtable Hold, Sorcerer Rogier, is dealt with, there remain the issues of Lionel the Lionhearted and the other two champions who come at his sides.
You can take an offensive approach and try to kill the other Champions as quickly as possible, or play it safe behind a Greatshield, waiting for the perfect moment to strike.
Be wary of Lionel’s projectiles.
As for Lionel the Lionhearted, he will intermittently release deathly skull projectiles, which will chase you for quite some time, and can cause the Death status effect.
You can probably guess what that effect does. Watch out whenever you see a pale-blue spark from his chest. He may be a tanky, largely melee-focused fighter, but the toss-up of blighting skulls makes him and two randomized Champions a dangerous trio if they all happen to be ranged somehow.
Defeat other champions before going for Lionel
Lionel has good reach, high armor, and even better damage, so when it comes down to it, it is best to fight him only whenever all other Champions have been defeated. Once it is just you and him, learning his attacks to perform lucrative parries or stance-breaking guard counters will be your best bet.
Making the case for Ashes of War
If you are stuck in the fight and have come to this guide seeking the easiest, cheesiest way to beat the boss, look no further than Ashes of War like Flame of The Redmanes, Gravitas, or I Command Thee Kneel.
Gravitas deals decent damage, as well as dealing that damage in a wide ring around the player. Flame of The Redmanes, on the other hand, deals some of the best, quickest, and easiest poise damage in its class, even being able to stun bosses like Malenia or Loretta with only a few hits, as well as dealing fire damage in a wide arc.
Once any enemies are poise-broken, you can move in for an easy stab, made even more effective by weapons with high critical stats, such as the Misericorde, found in Stormveil Castle. During the entire stab animation, you are invincible, which is an excellent opportunity for a quick breather before going back into combat.

The Misericorde, when infused with the Flame of The Redmanes and a good enough shield, will likely be one of the easiest ways to finish all of the enemies off.
Just remember the order in which you should fight them and when you can get them grouped up so that your Ash of War can connect with all of them at once.
Rewards
While the rewards for beating Fia’s Champions are not exactly stellar compared to some of the later-game fights. Here is exactly what you get:
- 40,000 Runes
- Fia’s Mist: While 40,000 Runes are not anything to write home about, Fia’s Mist certainly is. When cast, you release a cloud of mist that deals the Death Blight status effect — a dangerous effect on those who aren’t careful and certainly a welcome addition to any Death builds.
On top of the rewards, you can continue Fia’s questline afterward, something you cannot do unless the boss has been defeated.
And with that, you know everything about Fia’s Champions and the strategy to defeat them. Did we miss any other good tips to defeat Fia’s Champions? Please share your thoughts and suggestions in the comments section.