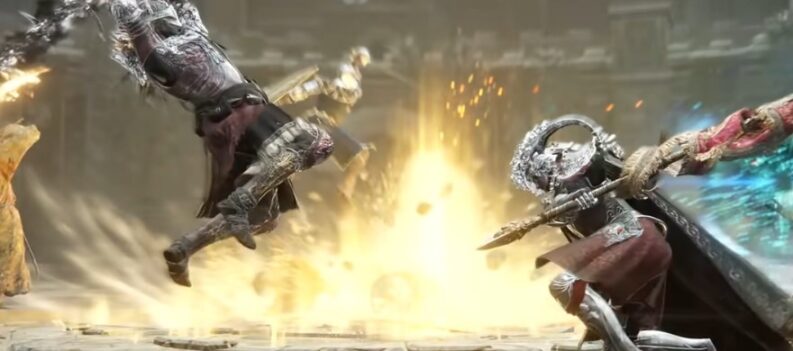
Mohg, Lord of Blood, is one of the last shardbearers most players will fight in Elden Ring, and despite being an optional boss, his fight is one of the thematically and visually coolest bosses in the game, becoming the favorite of many players. The contrast between the bloody ruins of the boss arena and the starry sky is striking, and Mohg’s attacks create streaks of flaming crimson red across the ground.
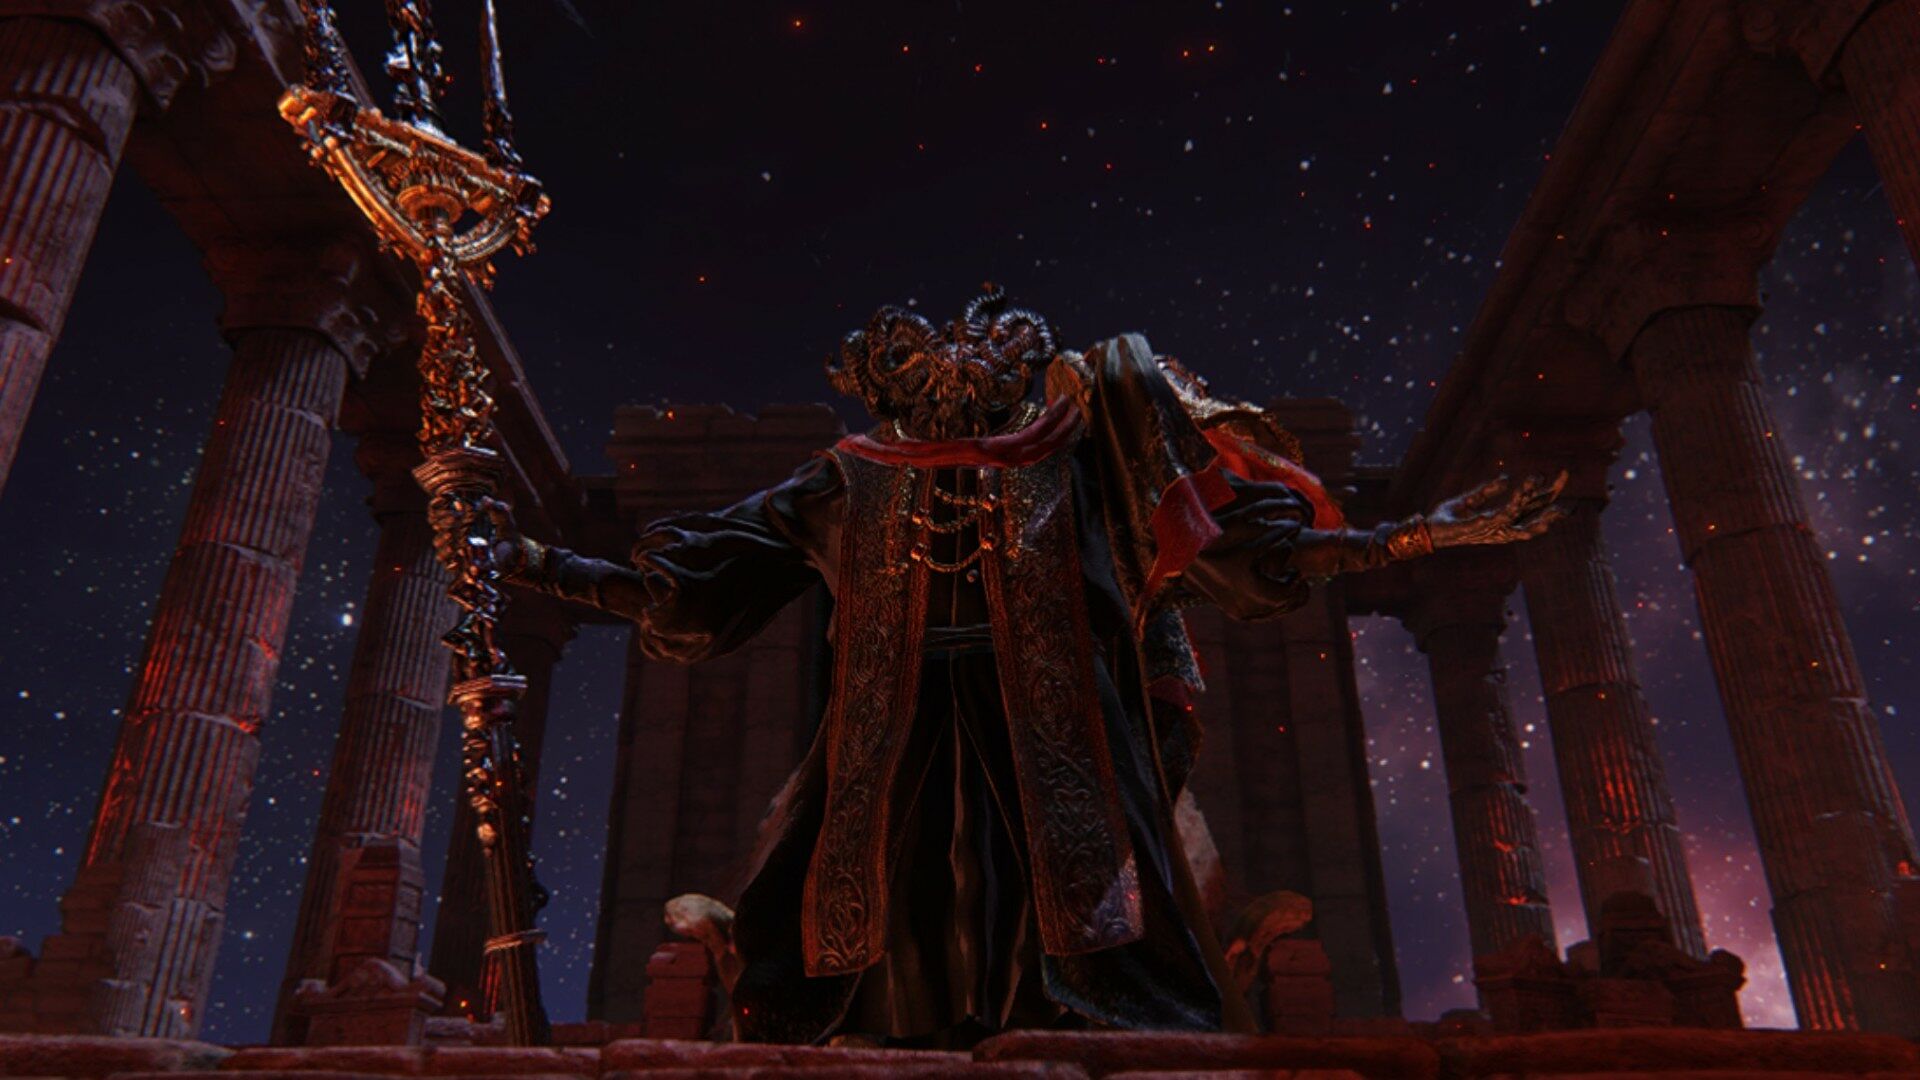
However, visual details aside, this Omen demigod can be quite a challenge for many players due to his aggressive attack patterns and bleed attacks. To make this fight more bearable, we’ve prepared this guide for you so you can defeat the Lord of Blood.
Mohg, Lord of Blood Overview

This unique, bloody fight is separated into two phases, with a devastating transition from the first phase to the second, which could result in a “You Died” screen for players who are not prepared to fight the Lord of Blood.
Going into this battle under-leveled could result in a swift defeat due to Mohg’s violent attacks. Before attempting this, boss, ensure your Vigor is at a decent level, as you will need a decent amount of health for this fight. Mohg also has an overwhelming 18000 HP, so equip your best weapons, spells, and armor.
For an easier time, it will also help to get Mohg’s Shackle in the Subterranean Shunning-Grounds under Leyndell. You’ll also want to take some time to get the Purifying Crystal Tear mixed in the Flask of Wondrous Physick. These two items are exceedingly valuable since they can completely overturn the fight over to your side. More information can be found in the Pre-Fight Strategy section.
Is Mohg, Lord of Blood Mandatory?
Mohg, Lord of Blood is not mandatory and can be completely ignored by the player. The entirety of the area Mohg resides in is also fully optional. However, you’ll miss out on a great farming spot for Runes, Mohg’s Great Rune, and one of the best fights in Elden Ring.
Mohg, Lord of Blood Location
There is a Stake of Marika right outside Mohg’s boss’s site and a Site of Grace nearby.

You can find Mohg at the peak of Mohgwyn Palace in the underground Siofra River, an area littered with Putrid Corpses and a bunch of Blood Spirits. Though the site can be accessed fairly early, the enemies can be quite dangerous if you aren’t at a high enough level, and while you can run past many of them, Mohg will still be a powerful boss waiting for you at the end of the area.
Pre-Fight Strategy

Before you face the boss, do a bit of preparation to save some time and frustration. Here is what you need to do.
Come prepared with Mohg’s Shackle and the Purifying Crystal Tear combo
As mentioned earlier in the overview section, these two items can turn the tides in the fight almost instantly if used correctly. First off, let’s talk about Mohg’s Shackle.
This valuable item, similar to Margit’s Shackle, will forcefully slam Mohg into the ground for a few seconds, allowing you to get some free hits in, potentially staggering him completely. This item only works during his first phase, so please be mindful of using it before his Bloodboon Ritual. It can also only be used two times before it no longer works.
You’ll also want to take some time to get the Purifying Crystal Tear mixed in the Flask of Wondrous Physick. This will prevent Mohg’s Ritual Countdown and Bloodboon Ritual from damaging you as much as the attack normally does. It can be obtained by defeating the NPC Invader Eleonora, Violet Bloody Finger. She can be encountered at the Second Church of Marika.
Equip physical and fire reduction armor or talismans
As stated in his title of Lord of Blood, Mohg relies heavily on blood and fire magic. Get the best blood and fire-resistant equipment you own and equip it to maximize your chances of victory.
Bring 3 Flasks of Crimson Tears, at the very least
While we explained how to almost nullify Mohg’s Bloodborne Ritual massive damage absorption, you might not have the time or patience to obtain the Purifying Crystal Tear. If this is the case, at the very least, it is necessary to equip 3 Flasks of Crimson Tears. If you do not, you will die in Mohg’s Bloodbone Ritual.
Choose a good Bleed weapon to use
Even though Mohg is the Lord of Blood, he cannot escape the power of Bleed damage in Elden Ring. Mohg can, ironically, be hemorrhaged fairly easily, which can help you end the fight faster than without any Bleed weapon. So get whatever your best weapon is, give it a good Bleed Ash of War, and get ready to slash away.
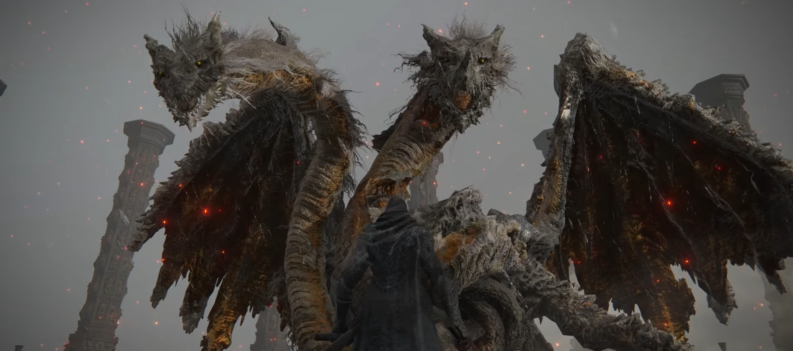
Read: How to Beat Lichdragon Fortissax in Elden Ring
Stock up on Stanching Boluses to alleviate Bleed damage
Conversely, Mohg can also inflict hemorrhage on you using his Bloodfame Talons. He uses them often during Phase 1, and in Phase 2, he uses them with every strike of his Trident. It could be fatal if you end up being hit by them too much. Bring as many Stanching Boluses as possible to prevent this by alleviating the blood loss meter before it fills up completely.
Bring a weapon that isn’t too short
Some of Mohg’s bleed attacks make it a pain to get hits in due to the area of effect flame attack he places down commonly. For Tarnished, who is wielding a smaller-sized weapon, such as a dagger or whip, it might be better to switch to another weapon during his first phase. Find something in your inventory with a longer reach, like a spear or longsword. Although this sounds unnecessary or more trouble than it is worth, it can help immensely and even save you a couple of healing flasks.
Fight Strategy

Phase 1
Use Mohg’s Shackle as soon as you can
Since this item can only be used during Mohg’s first phase, take advantage of it and shackle him early on. Use it once when you are close enough and get heavy hits in. You should be able to get three heavy hits at the very minimum. When he breaks free, use it again and repeat. If that does not break his stance, keep doing heavy hits, and you will stagger him. In most cases, this should bring him close to 50% health.
Be careful when swinging at him
It can be easy to get carried away while fighting Mohg due to some of his attacks making him stand in place for some time, but this can kill you. Be aware of your position at all times. Ensure you are not standing in his Bloodflame; your hemorrhage bar will fill up and cause colossal damage.
Keep a close eye on his attacks
Although Mohg’s attacks are highly telegraphed and slow, they all do not end similarly. Many times, he will use the same trident sweeping attacks. However, he sometimes mixes up the end of the attack by adding more combos.
If you are a Tarnished who wields a heavy weapon, failure to identify the end of his attacks could result in death. Be very wary of when he finishes attacking before you attack him. Tarnished with faster, smaller weapons, he could avoid his attacks either way due to how fast small weapons are.
Run behind him when you can
As mentioned in the tip before this one, Mohg can create Bloodflame pools that can cause heavy damage to you. However, he usually makes this attack cause damage in front of him, so when he does this attack, run behind him to prevent being hurt and get some hits in.
Take advantage of his Ritual Countdown
Mohg’s Ritual Countdown will always be present in every attempt to fight him. He will chant “Tres, Duos, Unnus,” meaning three, two, one. On every chant he does, he will be completely defenseless from behind. Move behind him and hit him with all you can.
Phase 1 to Phase 2 transition:
Use your Flask of Wondrous Physick
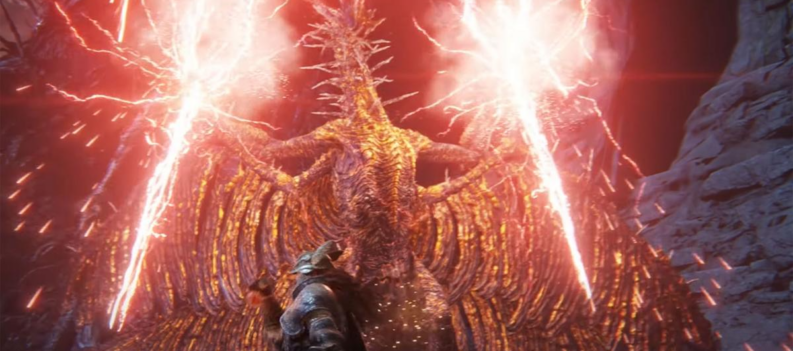
After Mohg finishes his countdown, he will grab his spear with both hands and chant “Nihil!” three times. Equip your Flask of Wondrous Physick with the Purifying Crystal Tear, and drink it. Make sure to use this before he begins chanting “Nihil!” to prevent too much damage from being taken. If you do not have the Purifying Crystal Tear, get ready to spend 3 of your Crimson Tear Flasks.
Use his chanting to your advantage as much as you possibly can
If you did use the Purifying Crystal Tear, you will take little to no damage from Mohg’s chanting. This will allow you to move freely without worries of dying. Use these precious seconds to your advantage by applying buffs, dealing damage to Mohg, or applying debuffs on Mohg. Once he finishes his ritual, Mohg will regain about 25% of his health points.
Apply as many buffs as possible
Whether you are a magic or melee user, this small intermission is perfect for applying your buffs. A boiled prawn, obtained from Blackguard’s shop, can go a long way by preventing Mohg from doing as much damage as he usually does. Exalted Flesh, which can be crafted, can also add huge value by doing more damage to Mohg.
Lastly, a Pickled Turtle Neck, which is also craftable, is worth consuming. Due to Mohg’s quick, aggressive attacks and the short time the player has to recover, it is not uncommon to lose stamina. Using the Pickled Turtle Neck can regain stamina faster and potentially prevent death.
Phase 2:
Stay as close as possible to Mohg to avoid Bloodflame damage
Although Mohg has been greatly empowered in his second phase, there are still a few weak spots that you can use. His normal attacks will now splatter Bloodflame everywhere, but not right before Mohg. If you can get up and close to him, you can avoid the damage of his Bloodflame and slash away at him.
Disengage and run away when necessary
With that said, it is nearly impossible to fully avoid every single pool of his Bloodflame that he spreads around, and the Tarnished will inevitably get hurt sooner or later. The Bloodflame pool in question will also increase the Hemorrhage meter on the player, so disengaging is of utmost importance when it is nearly full.
Keep a watchful eye on the meter, and do not get greedy as hard as possible. When you need to, make distance from Mohg, and when possible, use Stanching Boluses to reset the Hemorrhage meter and heal.
Maneuver your way into a safe spot
During his second phase, Mohg will also grow wings that he uses in his back. One of his Phase 2 attacks, in particular, can be game-ending; he takes flight and plunges directly towards the player, which is already devastating and rarely leaves the player alive.
The area where he launched down will have a delayed explosion, dealing high amounts of damage. You can avoid this or at least prevent too much damage by strafing to their right side instead of rolling and running away before the explosion happens. This attack is specifically designed to catch rolling players, so beware of any accidental rolls, as they can end that attempt instantly.
Rewards
- 420,000 Runes
- Mohg’s Great Rune: This Great Rune allows you to use the Blessing of Blood so that whenever those blessed by it kill an enemy, the user of the Great Rune will be healed by 10% of their maximum HP.
- Remembrance of the Blood Lord: Mohg’s Remembrance can be used for 30,000 Runes or cashed in with Enia in the Roundtable Hold for Mohg’s Trident or Bloodboon Incantation.
Now that you know everything about the Mohg and his powers, go out there and give it all against this bloody demigod.
Did we miss out on any tips or suggestions? Please let us know in the comments section.