If you are a game developer, and you are using Roblox as a training ground, then you might have experienced how difficult it is to make a game teleporter.
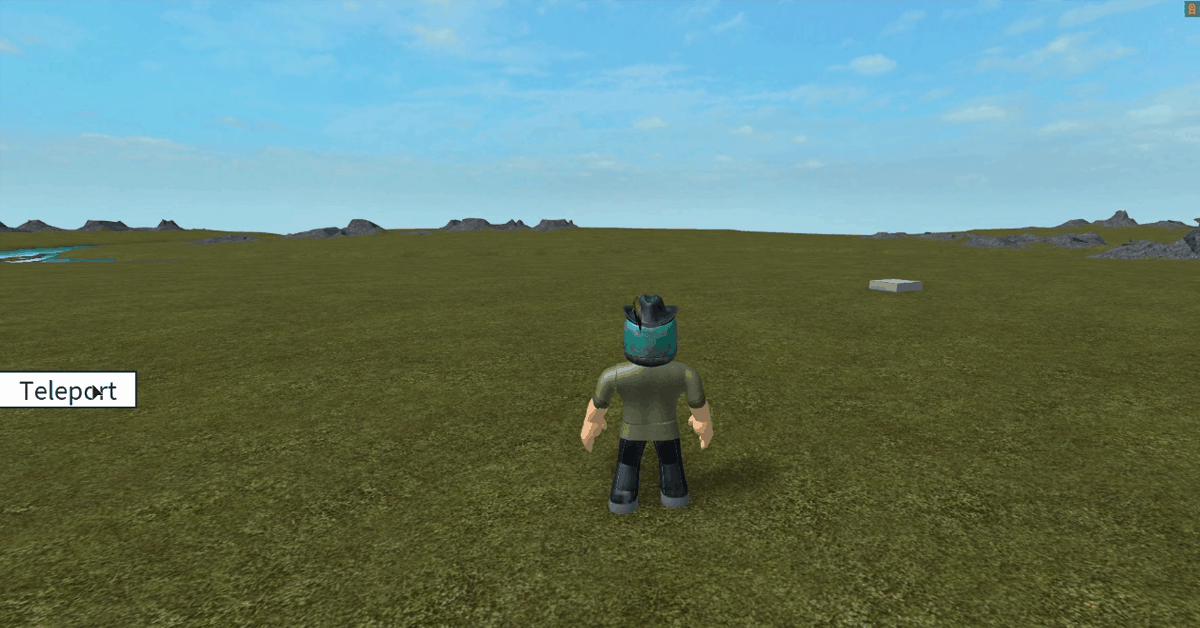
Roblox is great for both amateur and professional developers to create interesting creations and unique games. But enough of that, let’s focus on the main thing at hand, and that’s creating a game teleporter.
There are two ways to create a game teleporter and we will cover both of them.
How to Make a Game Teleporter – Roblox
Basically, you can either create a game teleporter with a part or a GUI. Depending on what you are trying to achieve, choose either one.
Most would prefer to use the GUI teleporter.
This is how to make a part game teleporter:
- Create a new part in your suite.
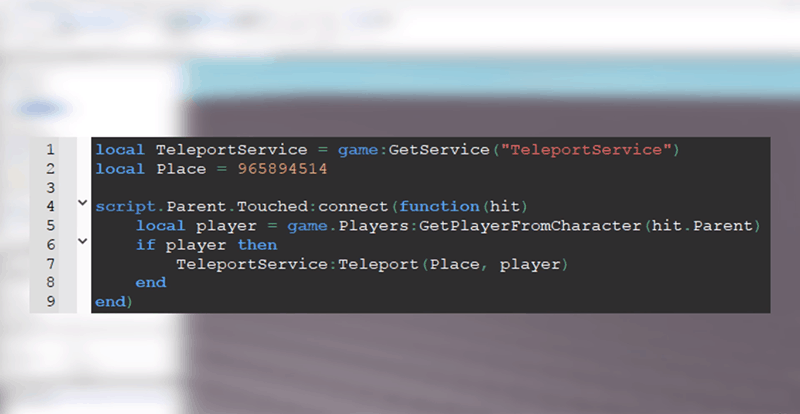
- Insert this code into it:
local TeleportService = game:GetService(“TeleportService”)
local Place = (place ID here)
script.Parent.Touched:connect(function(hit)
local player = game.Players:GetPlayerFromCharacter(hit.Parent)
if player then
TeleportService:Teleport(Place, player)
End
end)
After that, do this:
- At local place, you will need to put the place of your game. To find it go to your Roblox game, then look at the link.
- There will be a number after games, copy the number and put it there.
- Voila! You have a part game teleporter.
With GUI is as straightforward as well. Just follow these steps:
- Create a screenGUI.
- Make a text button for it.
- Insert a local script into the button.
- Paste this there:
Local TeleportService = game:GetService(“TeleportService”)
Local Place = (place ID here)
Local player = game.Players.LocalPlayer
Script.Parent.MouseButton1Click:connect(function() TeleportService:Teleport(Place, player)
End)
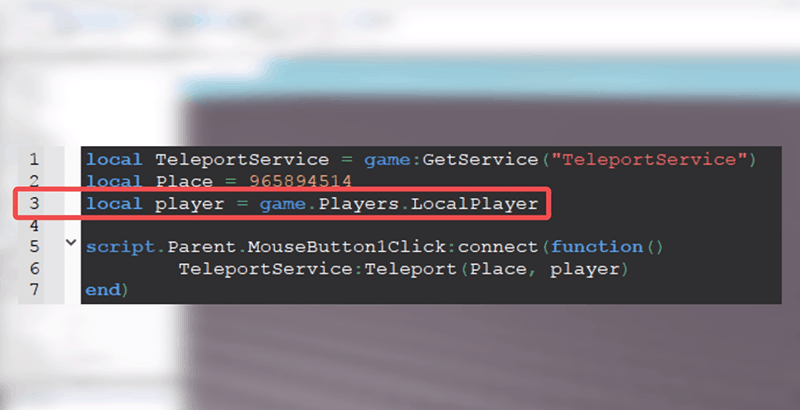
Make sure to add the ID from your preferred place. That’s it!
Now, keep in mind that there are some ways which are far better to do then the methods above. However, based on their difficulty, we choose something simpler and not that optimized.
Nevertheless, this is a great way to learn how game teleporting works in Roblox. You can easily learn the concept of how it transfers characters from one place to another.
READ NEXT : Which was the First Roblox Game to Reach 1 BILLION Downloads?


