After solving all the light-up tile puzzles in Seirai Island, especially the one around the lake of Amakumo Peak, a new area will be revealed. This location is an underground ruin that was flooded and became the lake at the center of the collapsed mountain.
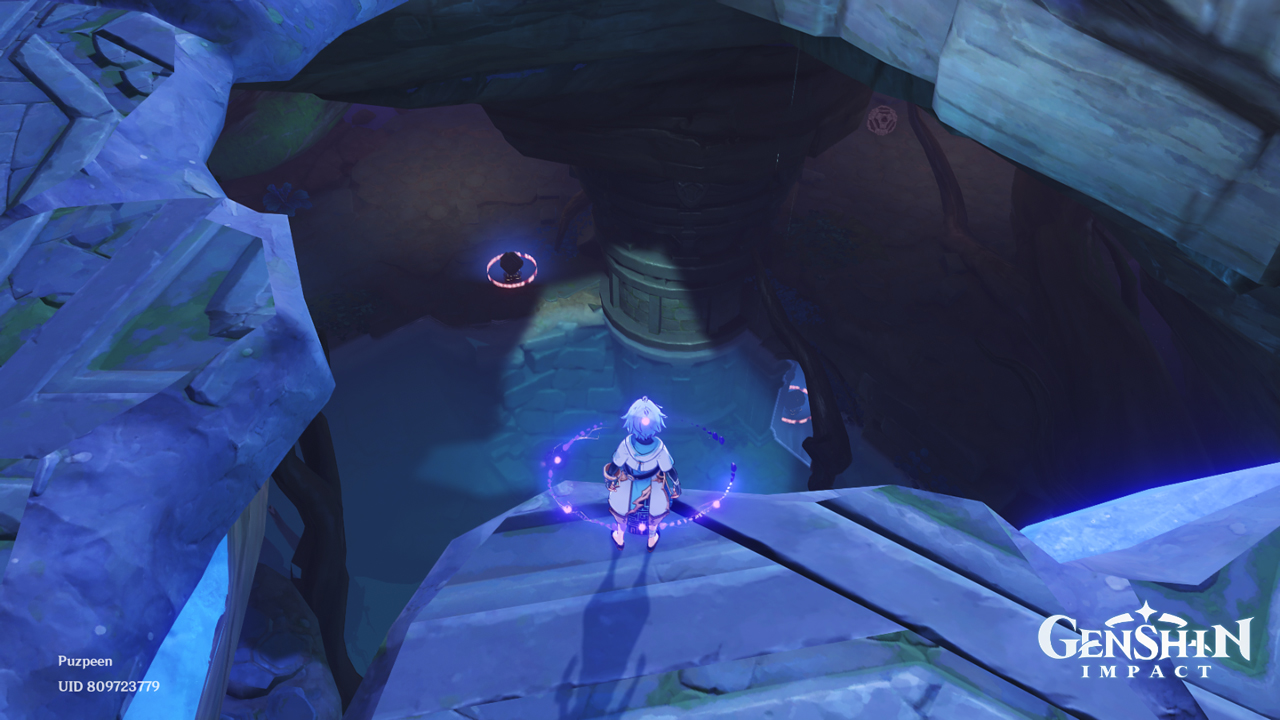
When you go down the ruin, you will encounter monsters and mechanisms that will be the puzzle you need to solve. And if these exist, treasures can be found in the area.
This guide will walk you through the steps needed to solve the underground puzzle in Amakumo Peak.
Right at the opening where you need to get down to, you will find 3 Ruin Sentinels that you need to defeat.

There is still water flooding the ruin when you go inside, which can be drained by activating a switch nearby. This mechanism is sealed and will be accessible once you defeat another set of Ruin Sentinels guarding it.


Down in the lower levels of the ruin, you will find doors closed off by a barrier.
Drop further down to where a door with a red barrier is. Beside this door is a mechanical switch with a red symbol, closing and opening the barrier. This will be the first puzzle.


There will be 3 Seelies in this underground ruin you have to guide to its final resting place. The said resting places will only be accessed once you solve the puzzle to navigate those areas.
First Puzzle – Seelie No. 1
The first puzzle involved four barriers and three switches, including the red barrier to this area and the red switch outside.
Inside this area is another door with a yellow barrier and a switch with a symbol of the same color and stairs that go up.


If you go up the stairs to the right of the door with a yellow barrier, you will find doorways with an open yellow barrier and a closed red barrier.


Going back downstairs and activating the switch to open the yellow barrier will reveal another switch with a red symbol. These two switches will be used to open the barriers upstairs.

Since you opened the yellow barrier downstairs, the yellow barrier upstairs will be closed. This also means that interacting with the two red switches will open and close the other red barriers.

To get past the barriers upstairs, all you have to do is:
- Open the yellow barrier downstairs to access the red switch inside. This will also close the yellow barrier upstairs.
- Get inside and interact with the red switch to open the red barrier upstairs.
- Before going up, interact with the yellow switch again to open the barrier upstairs.
Now that both barriers are open, you can guide the first Seelie to its resting place.

Second Puzzle – Seelie No. 2
There will be a hole on the floor to get to the next area past the first puzzle.

Right below, you will find a yellow switch, a room sealed with a red barrier on the left, and a stairway going up to the right.

Interacting with the yellow switch will close or open a yellow barrier just above the stairs.

Going up, you will find two doorways you need to open to get through. One has a red barrier, and the other is yellow.

These doorways will lead to a room with another pair of doorways with yellow and red barriers at the other end, a red switch, and a hole on the floor going to the room downstairs that is closed off by a red barrier.

Interact with the red switch to open the red barrier below and go down that area back to where the yellow switch is and then interact with it.
This will close the two doorways with both yellow and red barriers.

Go back to the room upstairs by climbing up the wall through the floor hole. The barriers are now open, and you can proceed to the next area.

Third Puzzle – Seelie No. 3
To get to the next puzzle, follow the Seelie. This last puzzle involves several areas you need to go to and back to complete it.
Area 1
The main area of this puzzle includes a large doorway closed off by a blue barrier on the left. There is an area closed off by a yellow barrier on the right and two doorways with open red and blue barriers.


The large doorway with a blue barrier is the area you need to access to complete the entire puzzle.

Area 2
When you go through the two doorways with the opened red and blue barriers, you will see an area to your right closed off by a red barrier. To your left is a section that leads to stairs that go upward.


Area 3
The third area will be the upstairs section, where you will find two rooms with the switches you need to interact with.
The open room has the red switch, while the other room with the closed blue barrier has the yellow switch.


Steps in Solving the Last Puzzle
In Area 3, interact with the red switch first to open the barrier in Area 2 below. This will give you access to the blue switch inside.

Go back down to Area 2 and go to the section with the blue switch and interact with it to open the blue barriers closing off the rooms in Area 1 and Area 3.

Go back up to Area 3 and interact with the yellow switch. This will open the yellow barrier in Area 1.


Return to Area 2, then go to the blue switch section. Go a little further into that room, and you will see the doorway sealed by the yellow barrier in Area 1.


Now you are back in Area 1 with the blue barrier on the large doorway opened.
Go inside, open the chest, get the Electroculus, and activate the switch mechanism.


Doing so will drain the last remaining water that is flooding the ruin.

Drop down to the bottom area and guide the last Seelie to its final resting place.

Waiting for you at the bottom of the ruin is a precious chest, a Luxurious chest, and the Seelie’s structure which will reveal a common chest.


