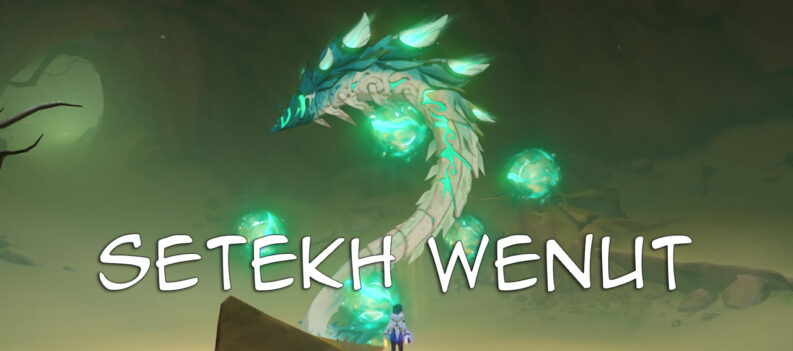
When trying to unlock Tsurumi Island, you need to complete the quest series titled Through the Mists. The first quest for this series is the “A Particular Author,” which involves searching, maintaining, and making offerings to three different Perches on the Island.
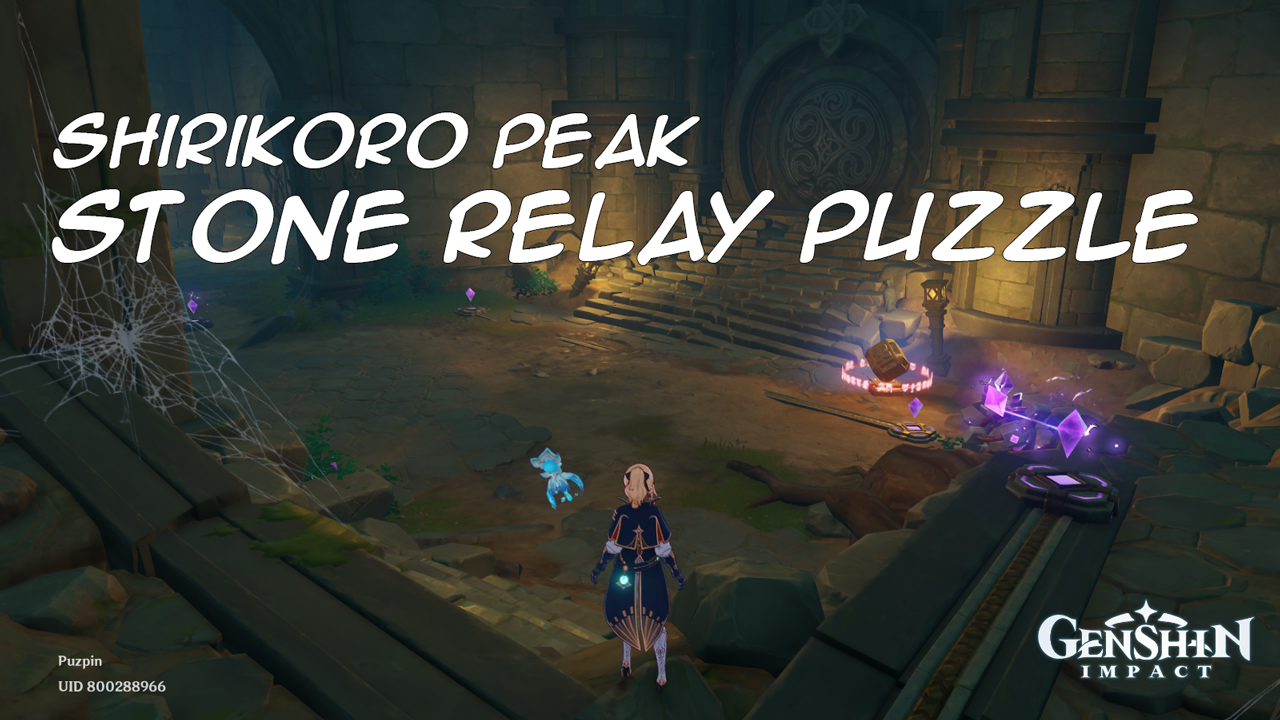
When doing the task for one of the Perches, the one located inside a hollow mountain in Shirikoro Peak, you need to access an underground ruin to collect the special feathers for the Perch. To navigate through the said underground ruin, you need to solve Stone Relay Puzzles to open two round doors.
How to Solve the First Stone Relay Puzzle
When you get to the first round gate, there will be two Ruin Sentinels in front, and, of course, you need to defeat them first to solve the puzzle peacefully.

The Discharge Stone, which is the source of the electric current that you need to relay, is in the area south of the round door. It is the same area you passed through to get to the door.

Take the Relay Stone between the Discharge Stone and the Cumulation Stone, and the current will directly connect the two.
If you look closely at the Cumulation Stone, it is placed on a platform with a structure that leads into another area and has another Cumulation Stone. This structure is a conductor that easily relays the electric current from the Cumulation Stone on one end to the other end.

When you go to the area where the round door is, you will see on the side that the stone on the other end of the previous one is already sending out electric current to the Relay Stone next to it.
You take that second and relocate it, but the distance between the end stone and the Cumulation Stone near the door is still too far. This means you are still going to need another Relay Stone. Since you took one from the first area, you can use it next to the second Relay Stone.


The next thing to do is go to the area to the left of the Round Door. There will also be an end-to-end Cumulation Stone here, and you need to take the Relay stone next to the Discharge Stone. Place this stone on the space between the two end-to-end Cumulation Stones.


Once the electric current flows through all the stones, the seal around the switch that opens the round door will be removed, and a treasure chest will appear.

Be careful when entering the round door because a Ruin Guard will be waiting there. Defeat it first and proceed into the area.

Accessing the Stones for the Second Puzzle
You find two other round doors inside when you enter the round door. One on the right, which is open, and another one that is right across the door you went in from.

The second Stone Relay Puzzle in this area is for the door right across the first round door. However, the electric conduction mechanisms are in a small area at the center flooded with water.

To drain the water, you need to remove the seal on the switch in front of the open round door, which you can do by guiding three Seelies to their resting places. These are the three statues you can find right next to the switch.

Two of the three Seelies are easy to find. Above a broken pillar in front of the first round door where you fought the Ruin Guard.
The second Seelie is right on the side of the opened door.

However, the third Seelie is not easily visible because it is trapped under the rocks in the corner of this underground ruin.

After guiding all Seelies, activate the switch to drain the water, and you will see the electric conduction mechanisms for the second puzzle.
How to Solve the Second Stone Relay Puzzle
When the water that is flooding the lower area is finally gone, go down there and defeat the Ruin Sentinels so that you can start solving the puzzle.

There will be two sets of mechanisms involved in this second puzzle. Each set is a Discharge Stone that should send electric current to the two-end Cumulation Stone on the floor and then to the one on the wall that leads up to the upper area.

For both sets, place a Relay Stone between the Cumulation Stone on the floor and the wall to transmit the electric current.

Go back up and place another Relay Stone between the regular Cumulation Stone and the two-end Cumulation Stone.
The ones on the left front side of the round door are easy to link.

However, the ones on the other will be a challenge to link because they are a bit too far apart, and their surface is not on the same level.
The trick here is to jump and glide between them and place the Relay stone in-between as you glide down.

Once the electric current has been appropriately relayed, the seal on the last door switch will be lifted, and you can now open the round door.

A luxurious chest will also appear as a reward for solving this puzzle.