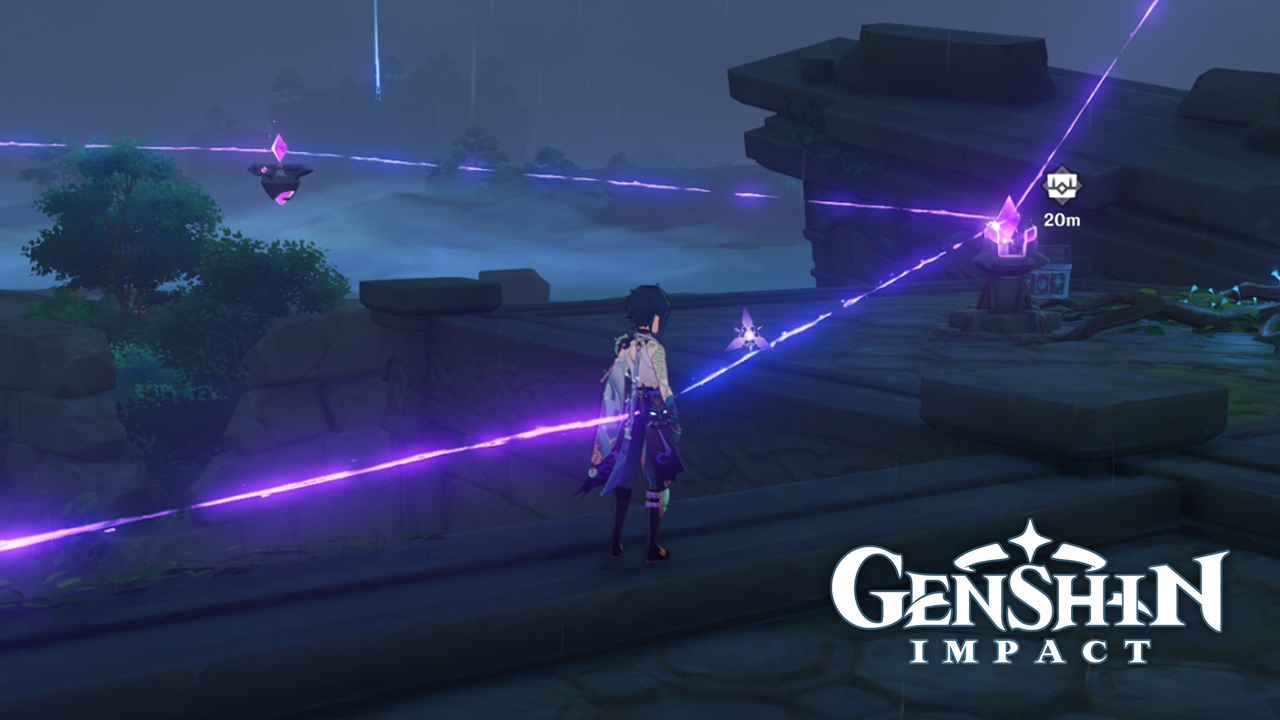
In the peninsula or island northeast of Watatsumi, where the Palace in a Pool domain is located, a Stone Relay Puzzle can be found and serves as one of the tricky challenges that adventurers have to solve. This smaller island is a ruin of a large structure with underground sections or chambers, and the Stone Relay puzzle involves solving other mechanisms found underground.

Within the ruin on the surface, you will find a Cumulation Stone and three Discharge Stones, one of which is situated on top of a broken column in the area.

If you enter the room with the arched doorway, you will find two Relay Stones inside. You don’t need to retrieve these at this point because moving away from the Discharge, and Cumulation Stone will only reset the puzzle and return the Relay Stones to these original locations.

To relay the electric current from the three Discharge Stones to the Cumulation Stone at the center, you first have to solve two puzzles found in the underground ruin. This gives you two more items to help link the Stones together and relay the Electro energy.
First Puzzle: Electro Totems
The first thing you need to do is go to the underground ruin and find the area with a Mysterious Pillar and a sealed Lightning Probe mechanism.

Interact with the pillar or select “Pay respects at the statue” when you get near it. This mechanism will be activated, and an Electro Seelie will appear.

The Electro Seelie will go inside a room closed off by a metal gate and then go out to another area.
Open the metal gate of the room where the Electro Seelie went by pulling the lever on the right side of the doorway.
A Ruin Sentinel will be inside and will attack you. Defeat this first so that you can continue.
If you can’t find the Electro Seelie after it has moved to a different location, you can interact with the Mysterious Pillar to turn it off and on again. This will summon the Electro Seelie once more.
This time follow the Seelie and take note where it pauses.
In the first room it enters, it will go beside an Electro Totem on the left side and then move to the Totem on the right.

The Electro Seelie will then go outside and move to an adjacent area where two more Electro Totems can be found.

This time, the Seelie will first go to the Electro Totem on the right side and then move to the one on the left before disappearing to a different location.
The pattern of how the Electro Seelie moved from totem to totem is the order you should light the said totems using Electro elemental attacks.
Again, in the first room, you should see the light Electro Totem on the left first and then on the right.

In the second area, light the totem on the right first and then the totem on the left.

Lighting the Electro Totems in the correct order will remove the seal around the Lightning Probe mechanism.

Second Puzzle: Lightning Probes
Now that the Lightning Probe next to the Mysterious Pillar has been unsealed, you can now make the needle move towards the arrow of the mechanism’s base.
You can do this by getting your active character infused with Electro or summoning an Electrogranum and standing in front of the arrow. The nearest Electrograna you can summon is from the Thunder Sakura Bough in front of the domain’s door.

You can also have Beidou stand in the direction where the arrow is pointing while pressing and holding her elemental skill.
You will see an open window by the wall behind the Mysterious Pillar.

Go inside the closed area through that window, and you will find another Lightning Probe inside.
Adjacent to the window is a closed room with a Relay Stone and a Phase Gate inside.

Across the window is another door closed by a metal gate, which you can open by pulling the lever that is beside the doorway.
Open this gate and summon an Electrogranum from the Thunder Sakura Bough outside the gate you just opened.

Return to the Lightning Probe inside and point the needle in the same direction as its base’s arrow. Doing this will open the metal gates closing off the last room on both sides.

If you rotate the Phase Gate, it will activate, and going through it will send you to a room where you can find an Electroculus and a Luxurious Chest.

But make sure to carry an Electrogranum when you pass through the Phase Gate because the room with the rewards will have an Electro barrier that may prevent you from entering.
After collecting the Electroculus and the treasure, pass through the Phase Gate again to return to the room below and retrieve the Relay Stone.
Final Puzzle: Stone Relay
This will now be the actual Stone Relay puzzle that you first saw up on the surface.
Now, from the room with the Phase Gate and Relay Stone, head to the area with the second Thunder Sakura Bough, and up the stairs, you will see the Electro Seelie.

Go near it and follow this curious thing until it goes outside and rests on its final location.
The Electro Seelie will move through the holes on the ceiling or floor, as you also should properly follow it and avoid the risk of it returning to the area where the Mysterious Pillar is located.

The Seelie’s final location is on the broken column near the Discharge Stone. Being pure Electro energy, this thing will link the Discharge Stone to the Cumulation Stone below.
The next thing to do is go inside the rooms below the Cumulation Stone and take the two Relay Stones that you can find there.

Place the Relay Stone between the Cumulation Stone and the Discharge Stone on the southern part of the ruin. It is the one that is next to the pool.

You can do this by jumping or gliding down from the broken column or broken wall and pressing the button to place the Stones midair.
Place the third and last Relay Stone just enough distance away from the last Discharge Stone for the last link. You can check this by placing the Relay Stone in your desired location and distance and see if a link between the two appears.

If the Discharge Stone and Relay Stone have been linked, go to the Thunder Sakura Bough behind the ruin and summon an Electrogranum.

Go back to the puzzle and stand between the third Relay Stone and the Cumulation Stone. The Electro energy in the Electrogranum will link the last two stones and solve the puzzle.


