You won’t go wrong with these Lockdown spots on Lotus.

It’s no secret that Killjoy does her best work on the Defending side when playing just about any map in VALORANT.
Like most Sentinel Agents in the game, Killjoy’s kit is built to hold bombsites and delay enemy team pushes, making her a great Agent for players looking to play more passively within bomb sites.
Killjoy also possesses the game’s most powerful retake ability in Lockdown. When placed in optimal spots around maps such as Lotus, you can easily cover entire bombsites and force the enemy team to fall back while your team retakes bombsites on the map.
We will show you the best spots to place Killjoy’s Lockdown on Lotus to help you Defend or Retake bombsites on Lotus without too much trouble.
Killjoy Lockdown Lotus A-site Defending/Retake
Retaking A-site on Lotus can be very tricky. While you can use A-Link to get to the A-site faster, the entire A-Rubble/A-Root area will probably already be covered by the Attacking team on post-plant at this point.
And then there’s the issue of having too many angles to clear when you arrive on site. There is A-Hut, A-Rope, A-Silent Drop, A-Tree, and many other covers and tight angles.
The good news is that you can easily cover most of A-site with Killjoy’s ult by placing it in a corner next to the box at A-Top.


Killjoy Lockdown Lotus B-site Attacking Defending/Retake
B-site is much easier to retake on Lotus when using Killjoy’s Lockdown. You can just place the Lockdown device in the corner at B-Upper, and you’ll be able to cover the entire B-site with Killjoy’s Lockdown.
While Killjoy’s Lockdown counts down, you and your team can slowly start taking space within B-site to set up your countermeasures.
If you saved your Nanoswarm Grenades, now is the best time to use those to cover B-Main or A-Link.


Killjoy Lockdown Lotus C-site Attacking Defending/Retake
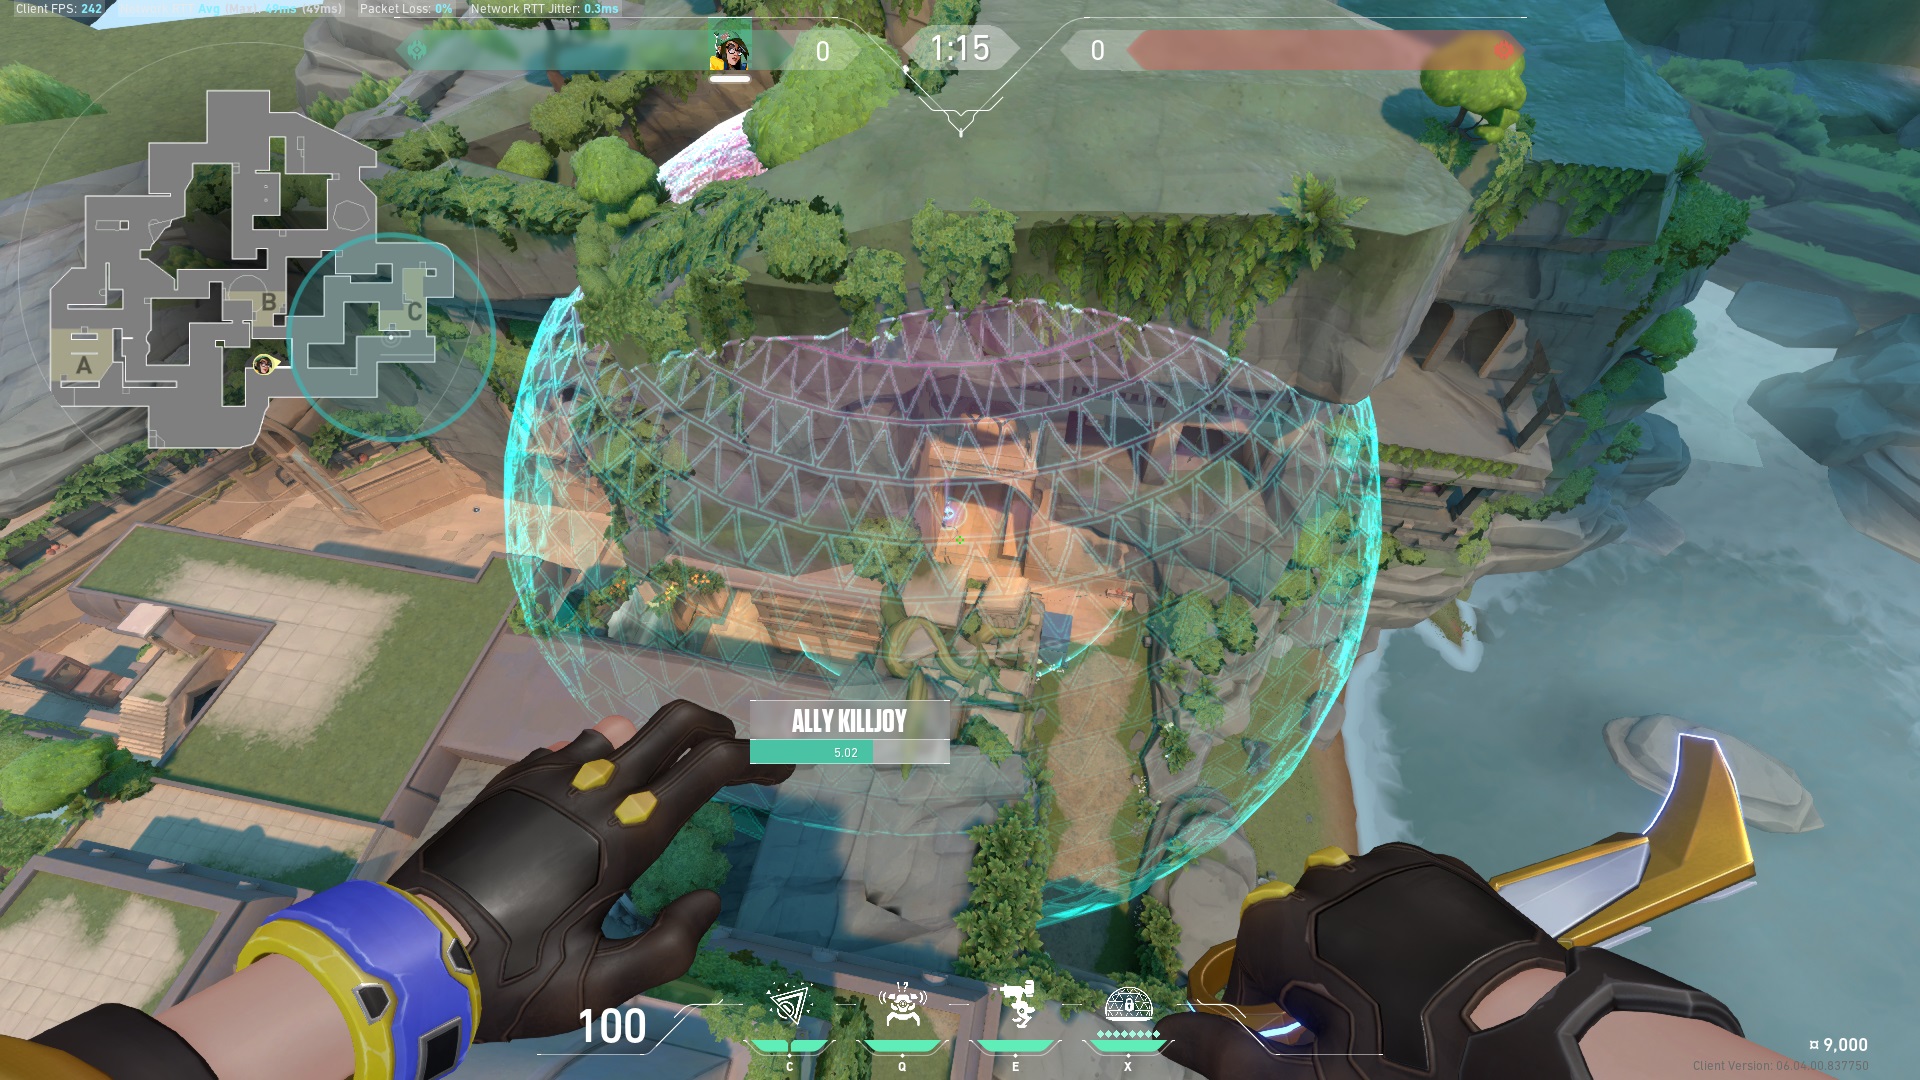
C-site is also very easy to retake when playing Killjoy on Lotus. Place Killjoy’s Lockdown device along C-Alley, and you can push the enemy team out of C-site, C-Link, and some of the C-Main area.
The Lockdown device will be very safe from the enemy team since it will be hidden within B-Alley.


Press The Counter-attack
Killjoy’s Lockdown is a valuable ability guaranteed to give you and your team a free retake on maps such as Lotus.
Placing Killjoy’s Lockdown in optimal spots ensures you’ll be able to cover as much space on bombsites as possible and ensure the enemy team cannot get their hands on the Lockdown device. Just make sure you use Killjoy’s Lockdown as soon as it is available so you can start collecting Ultimate Points and hopefully be able to use Lockdown a second time later in the round.


