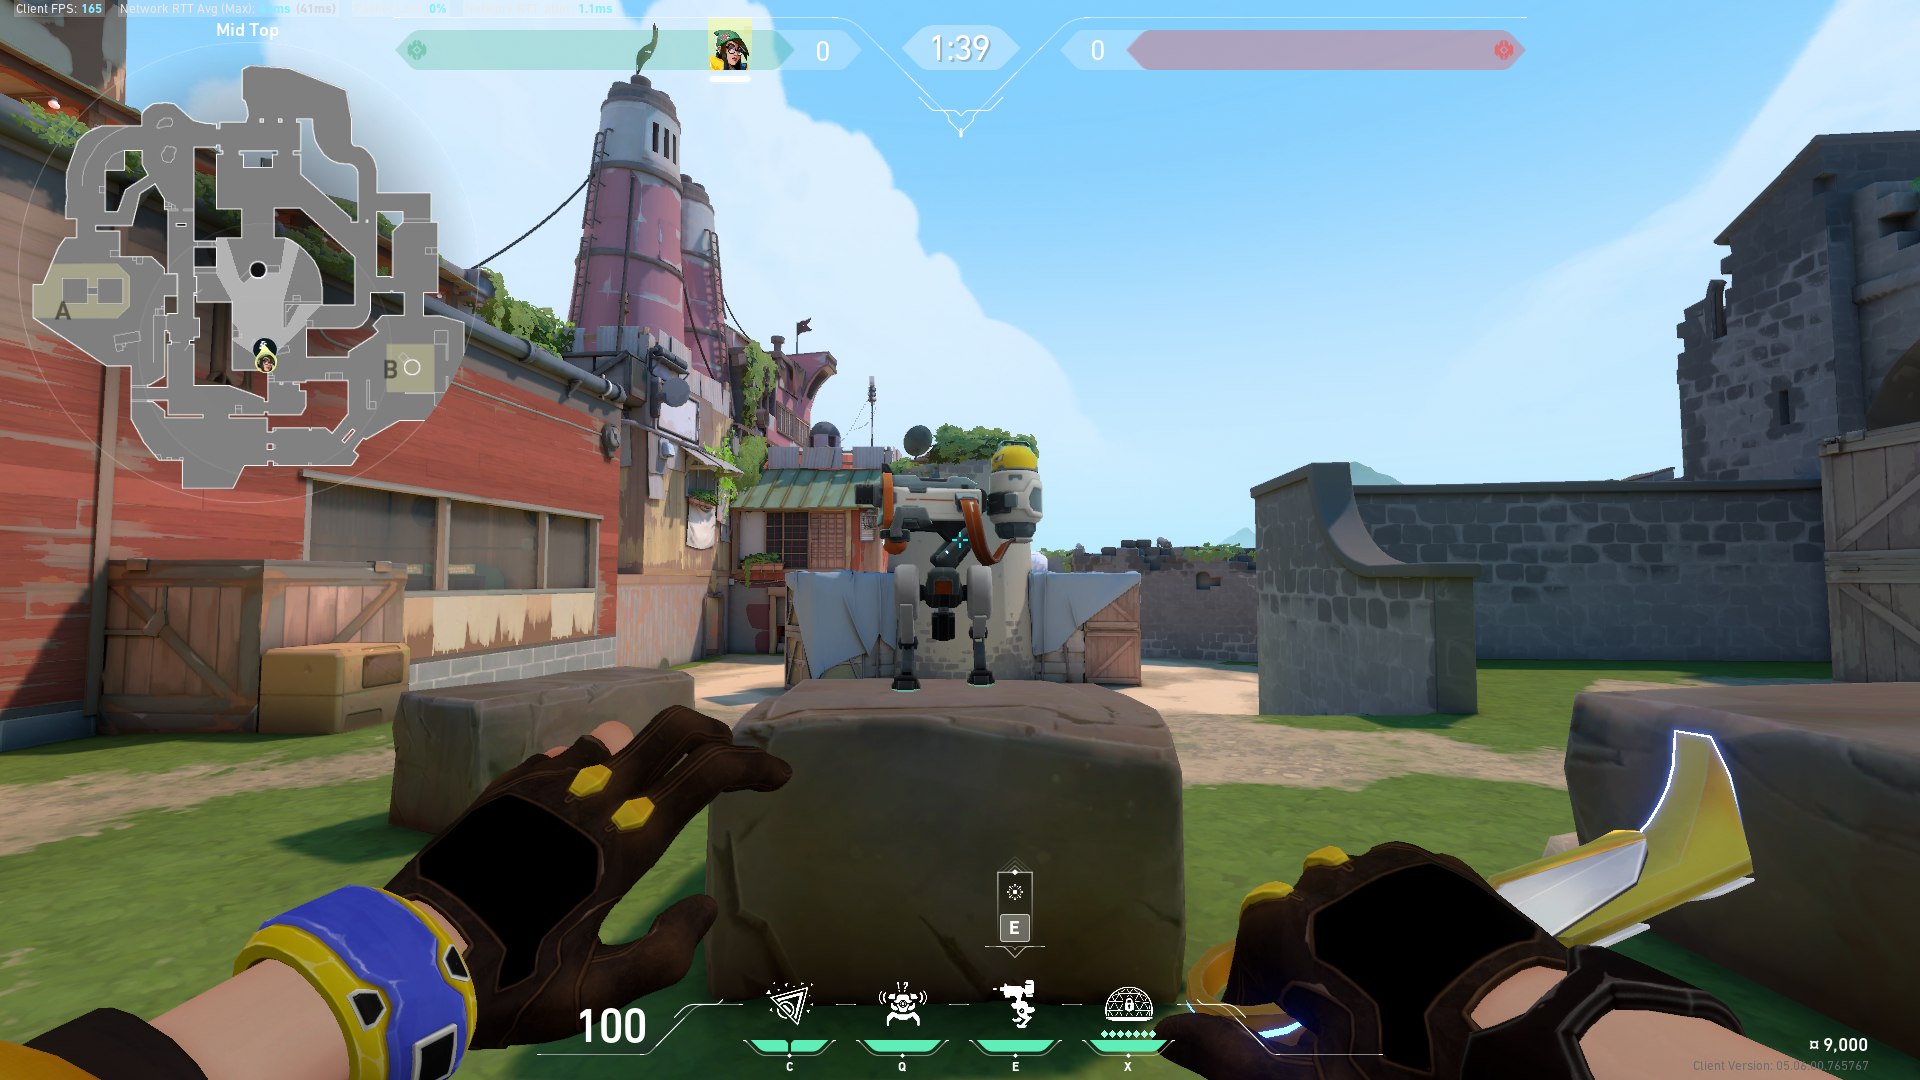
Knowing the best spots to place Killjoy’s trusty Turret will help with Attacking and Defending Breeze.

Breeze is one of the biggest maps in the game, which means that the bombsites on Breeze are equally wide and spacious. Breeze also has the farthest sightlines of any map in VALORANT, and it is here that long-range weapons such as the Vandal and Operator shine the most.
Sentinel Agents such as Killjoy excel in maps that feature smaller bombsites laden with multiple corners and cubbies. Unfortunately, Breeze is not one of those maps, and Killjoy cannot set up her traps to cover a large area or choke entrances to stall the enemy team. Doing these things on Breeze is a bit more difficult because of its layout and size, but there are ways to take advantage of Killjoy’s kit to make her a bit more valuable on Breeze.
This article explores the best Killjoy Turret spots on Breeze that you can use to watch important map areas.
Killjoy Turret

VALORANT veterans will tell you just how broken Killjoy’s Turret was in the early days. Not only was Killjoy’s Turret tanky, but it also dealt decent damage with its burst fire. Oh, who can forget about getting slowed to a crawl whenever the Turret landed a few shots on them?
Many players complained about Killjoy’s Turret and how broken. They overpowered it, especially on Ascent, which led to a nerf back in patch 3.05 that significantly reduced the Turret’s bullet-tag slow from 72.5% to just 29.5%.
This change significantly reduced Killjoy’s control over key entry points on most bombsites in VALORANT and forced Killjoy mains to be more creative in their bombsite setups.
Still, Killjoy’s Turret is as close as teams will get to having another player on their team and gives Killjoy’s team the ability to hold an extra lane/sightline on any map passively.
Best Killjoy Turret Spots on Breeze
A-site Pyramid Turret

Typically, players will place Killjoy’s Turret outside the Mechanical doors’ steps to cover A-Main. While this isn’t a terrible Turret spot by any means, it does not cover Mid Doors, which is arguably one of the most important entry points for the Attacking team when taking control of the A-site.

This Turret spot on Breeze is a lesser-known placement that can also spot enemies coming from Middle Doors. However, placing this Turret will be quite challenging as you must run and jump from the top of the pipes at A-Pyramid.
A-Halls Turret

A-Halls is an important space to take control of when playing on Breeze. A-Halls provide an easy flanking lane that the Defenders can use to backstab Attacking team players at A-Cave or A-Shops.
On the flip side, the Attacking team can cut off the Defenders’ rotation lane at Defender Spawn, making retake just a bit more complicated for the Defending team.
This Turret for A-Halls will easily spot anyone trying to push up the area. The good news is that this Turret will remain active even if you are playing from behind A-Pyramids.
A-Cubby Turret

This next Turret spot is great for playing close with a shotgun or a Frenzy around the A-Main entrance. The Turret will give you a quick heads up once it spots enemies inside A-Cave. Take this time to swing out and catch the Attackers by surprise.
B-Backsite to B-Tunnel Turret

The only other lane the Attacking team can use to initiate a double-entry into B-site is through B-Tunnel. B-Tunnel control will give the Attacking team control of the Wall and B-Backsite, as both are common hiding spots for Defenders.

With B-Tunnel control, the Attacking team players at B-Main can safely enter the bombsite.
This B-Backsite to B-Tunnel Turret will easily spot incoming Attackers at B-Tunnel and B-Main. Swing out as soon as the Attackers try to shoot down the Turret so you can trade it for an easy pick.
B-Backsite to Window Turret

B-Window is home to players with an affinity for scoped weapons. You can expect to go against Marshalls, Operators, and Chamber players at B-Window.

This Killjoy Turret should help spot, tag, and slow enemies at B-Window and B-Main. If you are feeling sharp, capitalize on the situation by swinging out as soon as the Turret starts shooting enemies at B-Main or B-Window.
A-Lobby Anti-Flank Turret

As mentioned in the A-Halls Turret spot, the Defending team can easily sneak up and flank the Attacking team from A-Halls. To counter this, simply place a Turret outside A-Shops. This Turret will spot flankers coming from A-Halls or Attacker Spawn.
B-Lobby Anti-Flank Turret

The B-Main flank is even more difficult to guard against because the Defending team has access to three different lanes on their way to B-Main – B-Elbow, Snake, and Middle.
Regardless, you can simply place a Turret at B-Lobby to spot incoming flankers from B-Elbow, Middle, or Snake.
Easy Breezy
Breeze is not Killjoy’s ideal map, but you can still make good use of her kit on either side of the map. All you need is good knowledge of where enemies might come from when Defending or Attacking, so you can set up your Turret to cover important sightlines and lanes around the map.
Visit the PlayerAssist website for more Gaming Guides, Gaming News, Game Codes, and other Gaming Content!


