
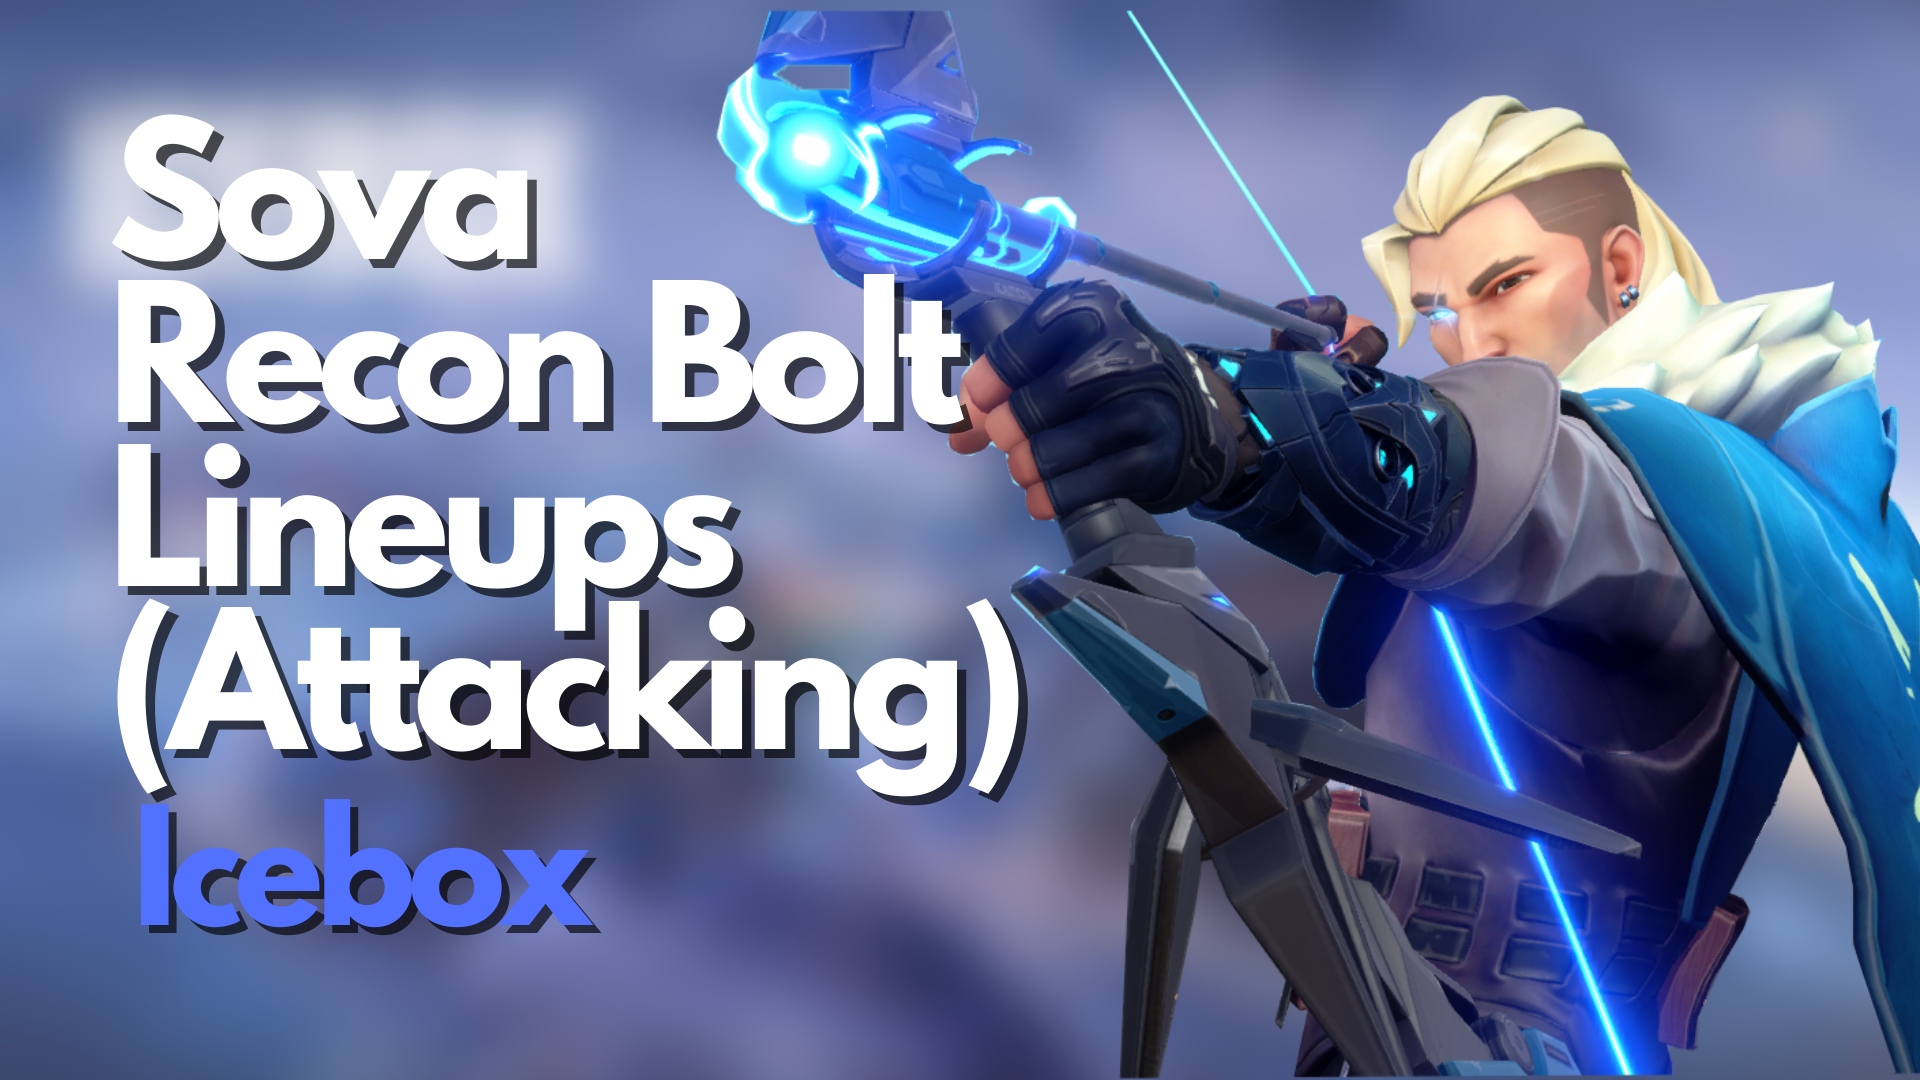
You can run, but you can never hide from Sova.
Attacking is probably the more challenging side to play on Icebox. There are numerous angles to check around the map, both vertical and horizontal, making it a very tedious map to play in as an Attacker.
Fortunately for Attackers, Icebox’s size forces Defenders to split up between the two bomb sites and the middle Boiler area. Because of this, Attackers usually have the upper hand in terms of sheer numbers when taking control of bombsites on Icebox.
Around maps that are cramped with a ton of tall walls and corners, a Sova pick is usually skipped in favor of more flexible Agents such as Skye.
Icebox will be an exception this time, as the Recon Dart Lineups featured here will let you scan a ton of space on either A or B-site on Icebox, which will help Sova’s team when taking space towards bombsites.
Sova Recon Bolt
Sova’s Recon Bolt is arguably one of the most valuable Signature Agent Abilities in VALORANT.

Recon Bolt is a cooldown-based Ability that refreshes every forty (40) seconds. His Recon Bolt also features a charge meter so Sova players can alter the total distance the arrow travels before it lands. Players can add up to two Bounces to the Recon Bolt Arrow, opening a world of possibilities in terms of lineups.
When used correctly, Sova’s Recon Bolt is the closest thing players can get to wallhacks without the repercussions associated with hacking. When placed at certain spots within Spike Sites, Recon Bolt can reveal most of, if not everything, inside the Spike Site, which makes it a potent tool when Attacking or Defending bomb sites.
This article focuses on Attacker-side Sova Recon Bolt Lineups, which can increase your team’s chances of securing a bomb plant in any of the two bomb sites on Icebox. Let’s get started!
Icebox A-site – A-site God Recon Bolt Lineup
When compared to Icebox B-site, Icebox’s A-site feels much more cramped and has a ton more angles, which Attackers will have to check diligently when taking more space towards the site.

This quick Sova Recon Bolt Lineup for B-site will reveal a ton of space on-site so you and your teammates can take up more space within A-site without worrying too much about the initial close corners.
- Align yourself with this dark spot at A-Belt wall:


2. Turn around and look for this corner on the wall:

3. Aim just under the upper point of the glass:

4. Do one-bounce + max charge:

When done the arrow is lined up correctly, the Recon Bolt should land at the edge of the A-Screen wall:

And cover all of these areas on A-site:
Icebox A-site – Anti-Rush Recon Bolt Lineup
If you notice your enemies are rushing towards A-Belt and A-Nest on round start, shoot this simple Early Information Recon Bolt Arrow to scan the tight corners before your team enters the A-site.

- Stand a few feet behind the barrier at round start:

2. Aim for the edge of this wall:

3. No-bounce + max charge:

When the Recon Bolt Arrow is lined up perfectly, it should land on the edge of the wall:

And cover tight corners around A-Pipes and under Nest:
Icebox A-site – A-Maze Close Corners Recon Bolt Lineup
A-Maze gives Defenders an easy angle towards A-Belt – an area Attackers use to clear A-Maze/A-Pipes/Headshot/A-Nest/A-Rafters.

A-Maze is also a typical Defender angle for eco round Shorty and Bucky play due to the easy and close angle it gives Defenders against incoming Attackers.
By removing the boost spot for the Attacking side on A-Pipes, A-Maze has become an even deadlier spot for Defenders since they no longer have to worry about getting picked from A-Pipes – more reason to clear it out with this next Sova Recon Bolt Lineup.
- Stand between the control box and the barrrels just behind A-Pipes:


2. Turn towards the A-Pipes platform:

3. Aim for this line on the A-Belt wall:

4. One-bounce + 2-bar charge:

When the Recon Bolt Arrow is lined up perfectly, it should land on the A-Screen wall:

And cover these tight corners around A-Pipes:
Icebox A-site – A-Backsite/A-Rafters
A-Rafters is a pretty standard spot for Defenders to hang around in because of the elevation advantage that it gives Defenders against the incoming Attackers.

More often than not, the A-Rafters area is also home to the Defending team’s Operator player, while other A-site Defenders might opt to use B-Backsite for close-range engagements.
Use this following Recon Bolt Lineup to clear our A-Rafters and A-Backsite.
- Stand on top of these barrels at A-Belt:


2. Aim for the dark inner corner of this spot on the A-site ceiling:


3. No-bounce + one-bar charge:

When the Recon Bolt Arrow is lined up perfectly, it should land at A-Rafters’ back wall:

And cover the entire A-Rafters area and even some of A-Screen:

Icebox Middle – Boiler God Recon Bolt Lineup
A-Boiler is the only thing stopping Attackers from gaining complete control of Icebox’s B-site.

When Attackers gain control of Middle on Icebox, they can usually control a large portion of the map, making rotations much more difficult for the Defending team.
With that in mind, it is vital to gain middle and Boiler control on Icebox because of the strategic advantage for Attackers.
Here is a quick Recon Bolt Arrow Lineup that will easily reveal any Defenders around the Boilers area.
- Stand in this corner between the wall and the barrels at Attacker Spawn:


2. Turn towards the control tower area:

3. Aim for the small dark spot on the mountain along the steel rails:

4. No-bounce + 2-bar charge:

When the lineup is done correctly, the Recon Bolt Arrow should land on the Boiler wall:

And cover the following areas:
Icebox B-site – B-Green Recon Bolt Arrow Lineup
This following Recon Bolt Lineup is best used when the enemy team has a Jett, Raze, or Omen.

B-Green is a choke point, and the number of cubbies and corners that Attackers have to check upon entry is ridiculously many. The fact that Agents such as Jett, Omen, and Raze can easily get on top of the container van in B-Green makes it all the more dangerous for any Attacker trying to get to B-site.
Thankfully, Sova can easily clear out most of these corners and cubbies with a well-placed Recon Bolt Arrow.
- Hug this right wall at B-Main:

2. Look towards the stacked container vans at B-Green:

3. While still hugging the wall, inch forward until the upper left corner of the second green container van from the right is visible:


4. Aim for the spot just under the caution markings on the upper left corner of the container van:

5. One-bounce + max charge:

When the Recon Bolt Arrow is lined up perfectly, the Arrow should land on the orange crane:

And cover most of the B-Green area:
Icebox B-site – Behind Yellow/Snowman/B-site
This next Recon Bolt Arrow Lineup will reveal Defenders around B-Yellow, Snowman, and B-site.

This Recon Bolt Lineup is incredible for both site entry and post-plant situations. The latter is a more potent lineup since B-Defenders don’t usually hold the Snowman angle early in the round anyway.
This Recon Bolt Lineup can help your team prepare for the incoming Defending team on post-plant.
- Align yourself with the edge of this container van at B-Green:


2. Look up towards the crane that is carrying a green container van:

3. Aim for this corner on the crane:


4. No-bounce + 1-bar charge:

When lined up correctly, the Recon Bolt Arrow should land on the crane’s main shaft:

And scan B-Yellow, B-Snowman, and B-site itself:
Icebox B-site – B-site Post-plant Recon Bolt Lineup
Here is a quick and easy post-plant Recon Bolt Lineup for Icebox B-site to round things off.
On post-plant, Attackers will most likely be hiding to buy the Spike time to detonate, while Defenders will be on the hunt for the Attackers so they can safely defuse the Spike without any complications.
Since you will probably be hiding along with your teammates around B-Yellow or even B-Green, here is an easy Recon Bolt Lineup from B-Green for B-site post-plant.
- Stand in this corner at B-Green:

2. Look towards the green container van on the crane:

3. Aim for the upper left corner of the green container van:

4. Do a jumping no-bounce + 1-click Recon Bolt:

The Recon Bolt Arrow should land on B-Default’s 2nd Floor entrance when done correctly.

And scan B-Default, B-Default 2nd floor, and B-Orange lane.

Sova’s Backyard
As previously mentioned, Icebox’s layout makes it pretty tricky for the Attacking team to safely enter either of the two bomb sites present on Icebox. A-site alone has numerous cubbies and corners that will give any Attacker a headache.
With the lineups featured in this article, Sova players should have no problem clearing tight corners and cubbies around Icebox’s A and B-sites. Sova players can double up with their Owl Drone to quickly secure contested spots around the map.
So, there you have it! Hopefully, you liked this guide on Sova Recon Bolt Lineups for Icebox.
For more Sova Lineup Guides such as this one, visit PlayerAssist.com. Tons of VALORANT content, gaming guides, gaming news, and game codes await!


