You’re getting less XP in Tomb of Fahir but quite a bit more loot.
Tomb of Fahir is the third dungeon you can unlock in Diablo Immortal. Here you’ll find tons of loot from chests scattered around the dungeon, as well as a few more bosses than you’re probably used to seeing coming from previous dungeons such as the Mad King’s Breach and the Forgotten Tower.
Here’s everything you need to know about Tomb of Fahir, including dungeon strategy, unlock requirements, rewards, and bosses.
Tomb of Fahir Details
The Tomb of Fahir is located in the Shassar Sea region, which you can access by speaking to Captain Rehm at the ship transport west of Westmarch. Upon arrival at Shassar Sea, bring up the map and mark the Tomb of Fahir entrance in the west.

Unlike Mad King’s Breach and the Forgotten Tower, Tomb of Fahir offers fewer chances of maintaining your Massacre bonus, leading to lower XP gains. This is because the Tomb of Fahir is massive and features two floors, making it difficult to group enemies together.
Add that to the fact that players must move toward opposite sides of the Dungeon to clear the Icon bosses before the dungeon story progresses, making the Tomb of Fahir a less-than-ideal dungeon for maximum XP farming.
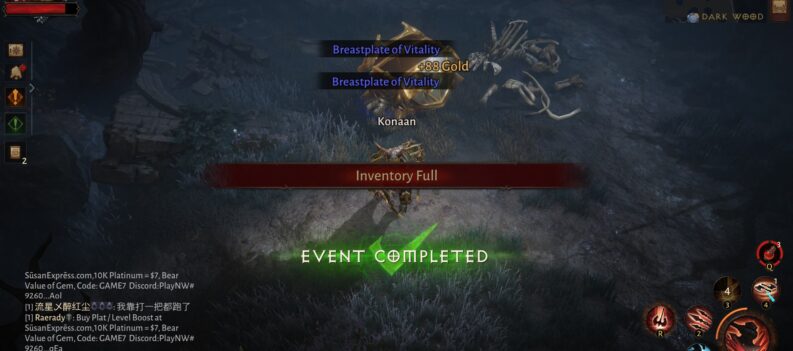
To make up for the reduced XP gains, Tomb of Fahir offers numerous chests that you can open along the way, making the dungeon less viable for XP farming but great for getting as much loot as possible.
Tomb of Fahir Rewards

Every dungeon in Diablo Immortal will feature varying levels of rewards. Tomb of Fahir offers decent XP gains, but don’t expect to get as much as the Mad King’s Breach and the Forgotten Tower.
However, you’re getting a lot more loot from Tomb of Fahir as the dungeon has multiple chests just laying around the dungeon and a dedicated treasure room with five chests.

Aside from the decent loot, you will be rewarded 20 Battle Points for completing the Dungeon, plus a chance to get one of six different Set Items.
At Hell I and above, expect to get the Wind-Trods of Shal’baas (Boots of War Rags of Shal’baas Set) and the Issatar Contained (Belt of Issatar Imbued Set)
At Hell II and above, the Shepherd and Architect (Neck of Sheperd’s Call to Wolves Set) and the Hurtling Steel (Hands of Windloft Perfection Set)
Finally, at Hell IV+, you can get the Shameless Urge (Ring of Vithu’s Urges Set) and The Turnkey (Ring of Feasting Baron’s Pack Set) as drops for completing the dungeon.

Tomb of Fahir Requirements
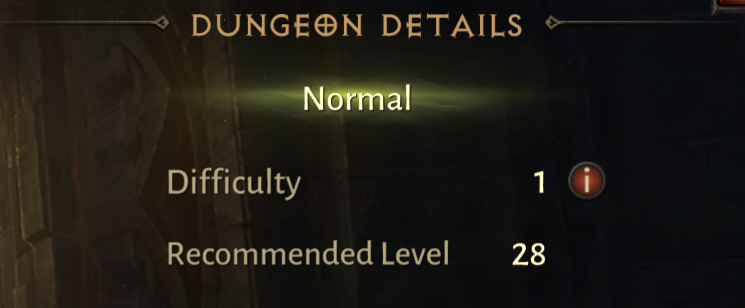
You can start going on Tomb of Fahir dungeon runs as soon as you reach Level 28 in Diablo Immortal. With the generous amount of XP, you can gain from the first two dungeons (Mad King’s Breach and Forgotten Tower), getting to Level 28 should be quite easy.
Tomb of Fahir Strategy
Tomb of Fahir is unlike the first two dungeons in Diablo Immortal. Having a spammable mobility skill is almost a requirement if you want to clear the Tomb of Fahir as quickly as possible, as bosses are situated at opposite ends of the dungeon. The dungeon’s layout makes it challenging in a solo run but very easy if you have a team with you.
Icon of Rebirth/Icon of Souls


These two boss fights are required to progress in the Tomb of Fahir. The good news is that both Icons are easy to beat and do not deal too much damage to you, even if you’re lazy with your movement.
In the Icon of Rebirth fight, focus on clearing the enemies the Icon spawns to help it in battle. These monsters deal more damage consistently to you compared to the Icon itself.
On the other hand, focus your efforts on taking down the Icon of Souls, as the monsters it spawns deal minor damage.
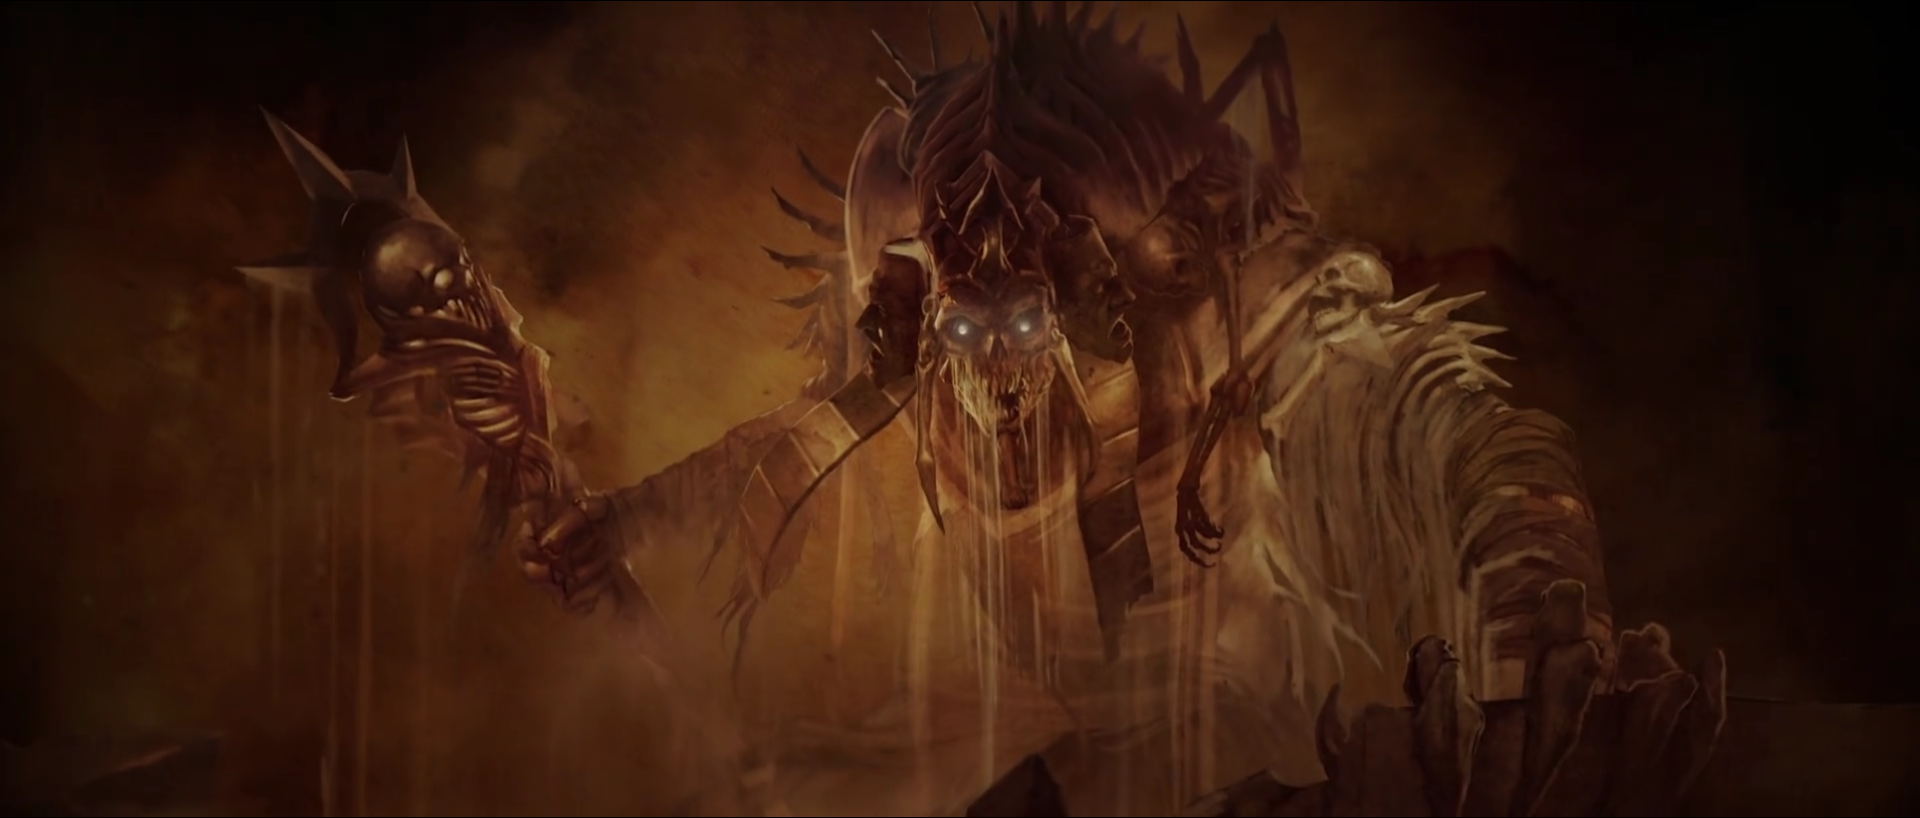
King Fahir


The first real boss enemy you will face in Tomb of Fahir is no other than the dungeon’s namesake himself – King Fahir.
Despite his enormous size, the King Fahir fight is a fairly simple boss fight since he stays in place and does not move much in battle. Just be careful of his sand gravity well, which he will use to secure his powerful blast attack.
Colossal Tomb Borer

After you deal with King Fahir, Segithis will come in a swoop King Fahir’s corpse away from the battlefield. Follow Segithis, and you will eventually arrive at an elevator where you will face multiple enemies and a Colossal Tomb Borer.

The fight is very manageable, and there are no noteworthy attacks that will catch you off guard. Multiple health globes will drop during the boss fight as well, which should help sustain you for the entirety of the battle.
Segithis

Finally, we arrive at the real boss of the Tomb of Fahir – Segithis. Despite Segithis’ menacing stature, this boss battle is even easier than King Fahir as you only need to focus on Segithis’ legs.
Start by attacking Segithis’ right leg and then remove the left leg. Do this several times until most of Segithis’ legs are decommissioned. After all the legs are dealt with, you can start attacking Segithis himself. Watch for Segithis’ leg sweep, poison orbs, and web spin attacks.


King Fahir and Segithis
If you’re looking to get as much loot as possible from your dungeon run then give the Tomb of Fahir a run. The dungeon offers lots of chests that contain valuable loot along with a decent XP gain if you can keep your Massacre streak up consistently.