Michael plays dead once more to double-check a dead body for Dave.

Michael’s past comes back to haunt him when Dave gives him a call to double-check on the body of an informant named Ferdinand Kerimov, who holds important information about Dave and Michael’s past.
To complete this mission, you will play as Michael and look for Kerimov’s dead body in the coroner’s office. This guide also outlined what you need to do to get a Gold Medal completion for the Dead Man Walking mission in GTA 5.
Dead Man Walking Synopsis
Warning: Gameplay/plot spoilers ahead.
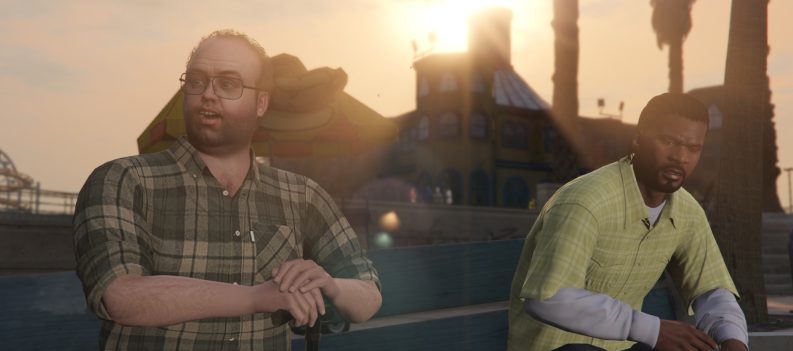
After Michael and Trevor take care of Lazlow Jones in the previous mission, Michael gets a call from Dave Norton asking him to make his way to the Galileo Observatory as soon as possible.

During their meeting, Dave tells Michael he knows it was Michael who did the Jewelry store job just recently. Michael eventually admits his crime to Dave and even proceeds to persuade Dave to arrest him on the spot.

Dave slowly sweet talks his way into blackmailing Michael to “save his career.” Michael knows he will be in big trouble if Dave loses his job at the FIB, so he obliges and asks Dave what he wants done, and Dave refuses, and the two eventually start talking about their past.

Dave shows Michael a picture of the guy he wants to get a check on – a person named Ferdinand Kerimov, whom the IAA has declared dead. The FIB thinks otherwise, though, and Dave believes the information Kerimov has on the FIB will threaten Dave’s career and, by extension, Michael’s freedom.
Michael will have to check Ferdinand Kerimov’s body from the coroner’s office to confirm whether Kerimov is truly dead or if they have a dead man walking in their hands. To do that, Dave knocks Michael out and places him in a body bag so they can infiltrate the coroner’s office.


Gold Medal Objectives
- Accuracy– Finish with a shooting accuracy of at least 70%.
- Low damage weapon will allow you to shoot more and land more, improving your accuracy stat.
- Headshots – Kill 14 enemies with a headshot.
- Spam Michael’s special ability to secure all 14 headshots.
- Time – Complete within 9:30
- Skip the cutscenes to save time. Use the rear exit of the coroner’s office to evade the LSPD.
- Focused Killer – Kill four enemies using Michael’s special ability.
- Spamming Michael’s special ability and landing headshots will quickly complete this objective.
- Unmarked – Complete with minimal damage to health and armor.
- Use cover where you can get around the office.
Dead Man Walking Mission Guide
As soon as the staff opens the body bag, you can press the corresponding button to wake up.
You can also wait for the staff to complete the assessment to get a better idea of how Michael is doing physically, but this will eat through your 9:30 to complete the mission.


Take out this guard however you like. You can make up for the headshot requirement later in the succeeding floors.

There will be two bodies in the morgue. Go for the body on the farthest side of the room to save time.

Michael will immediately give Dave a call. Listen for the instructions to get out of the morgue safely.

At this point, more agents will come and try to stop you. Take cover where possible and use Michael’s special ability to get those headshot requirements.
Remember to take as little damage as possible and avoid missing shots, as this will hinder you from completing the Unmarked and Accuracy Gold Medal objectives.


Once you get to the third floor, make your way to the yellow area marked on the map.

Break the window to escape the coroner’s office.


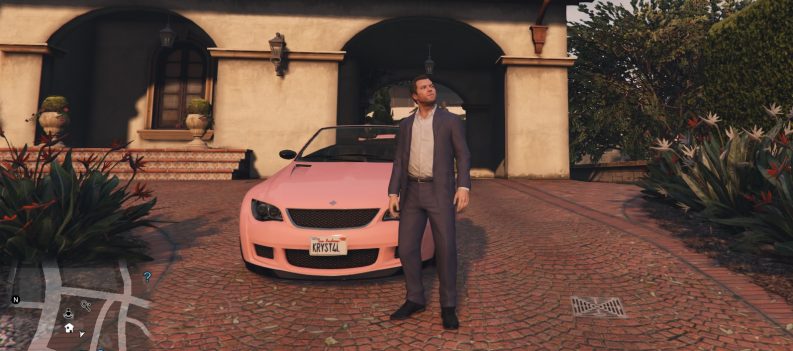
Take the sedan, as this will help you outrun the cops faster.


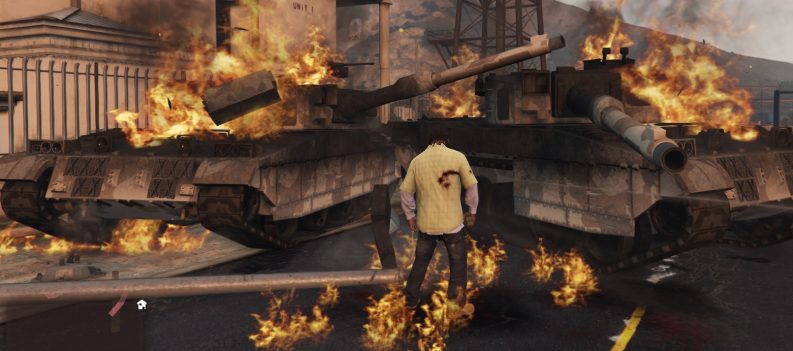
Once you lose the cops, Michael will call Franklin, asking him to meet up at the oil derricks. Follow the yellow dot on the map to arrive at the target location.


Not Your Typical Zombie
In terms of Gold Medal objectives, Dead Man Walking will require you to hit more objectives than the previous mission. Do not worry, as you can just come back and tick off the objectives you failed to complete in a re-run of the same mission later.
Michael being contacted by the FIB is just the beginning of many missions involving Michael, Trevor, and Franklin in GTA 5. Completing this mission in GTA 5 will unlock the Three’s Company mission, where all three protagonists work together for the first time in-game.
Visit the PlayerAssist website for more Gaming Guides, Gaming News, Game Codes, and other Gaming Content!