Pearl’s multiple angles are no match for Viper’s Toxic Screen and Poison Cloud combo.
With the nerfs that Riot Games slapped on Viper a few episodes back, players can no longer put up their Toxic Wall and Poison Clouds wherever they want and call it a day. Viper’s toxic fuel gauge drains much faster now when both abilities are active simultaneously, which means players must know when and when not to activate these abilities.
Despite this, Viper’s Toxic Screen and Poison Cloud remain a pair of powerful site control abilities that can help shrink bombsites down to a much more manageable size. On Pearl, this means that the Attacking team won’t have to waste time clearing every corner of the bombsite on site entry.
Below are some of the best Viper Toxic Wall and Poison Cloud setups for Pearl that can help make Attacking on the map much easier.
Pearl A-site Toxic Wall & Poison Cloud Setup
There are a lot of corners and hiding spots within Pearl A-site. There’s the rightmost corner upon site entry, Flowers, A-Link, Dugout, and Secret, and you can expect a Defender or two hiding around these spots.
This Viper A-site Wall and Smoke setup addresses A-Link, A-Flowers, Dugout, and Secret, effectively making the entire A-site a smaller and more manageable space for your team. Remember to ask your team to prioritize post-plant, which means your goal is to plant the Spike and clear the site immediately.
Please use the post-plant Viper Snake Bite lineups featured on the PlayerAssist website to secure your post-plant play on Pearl.
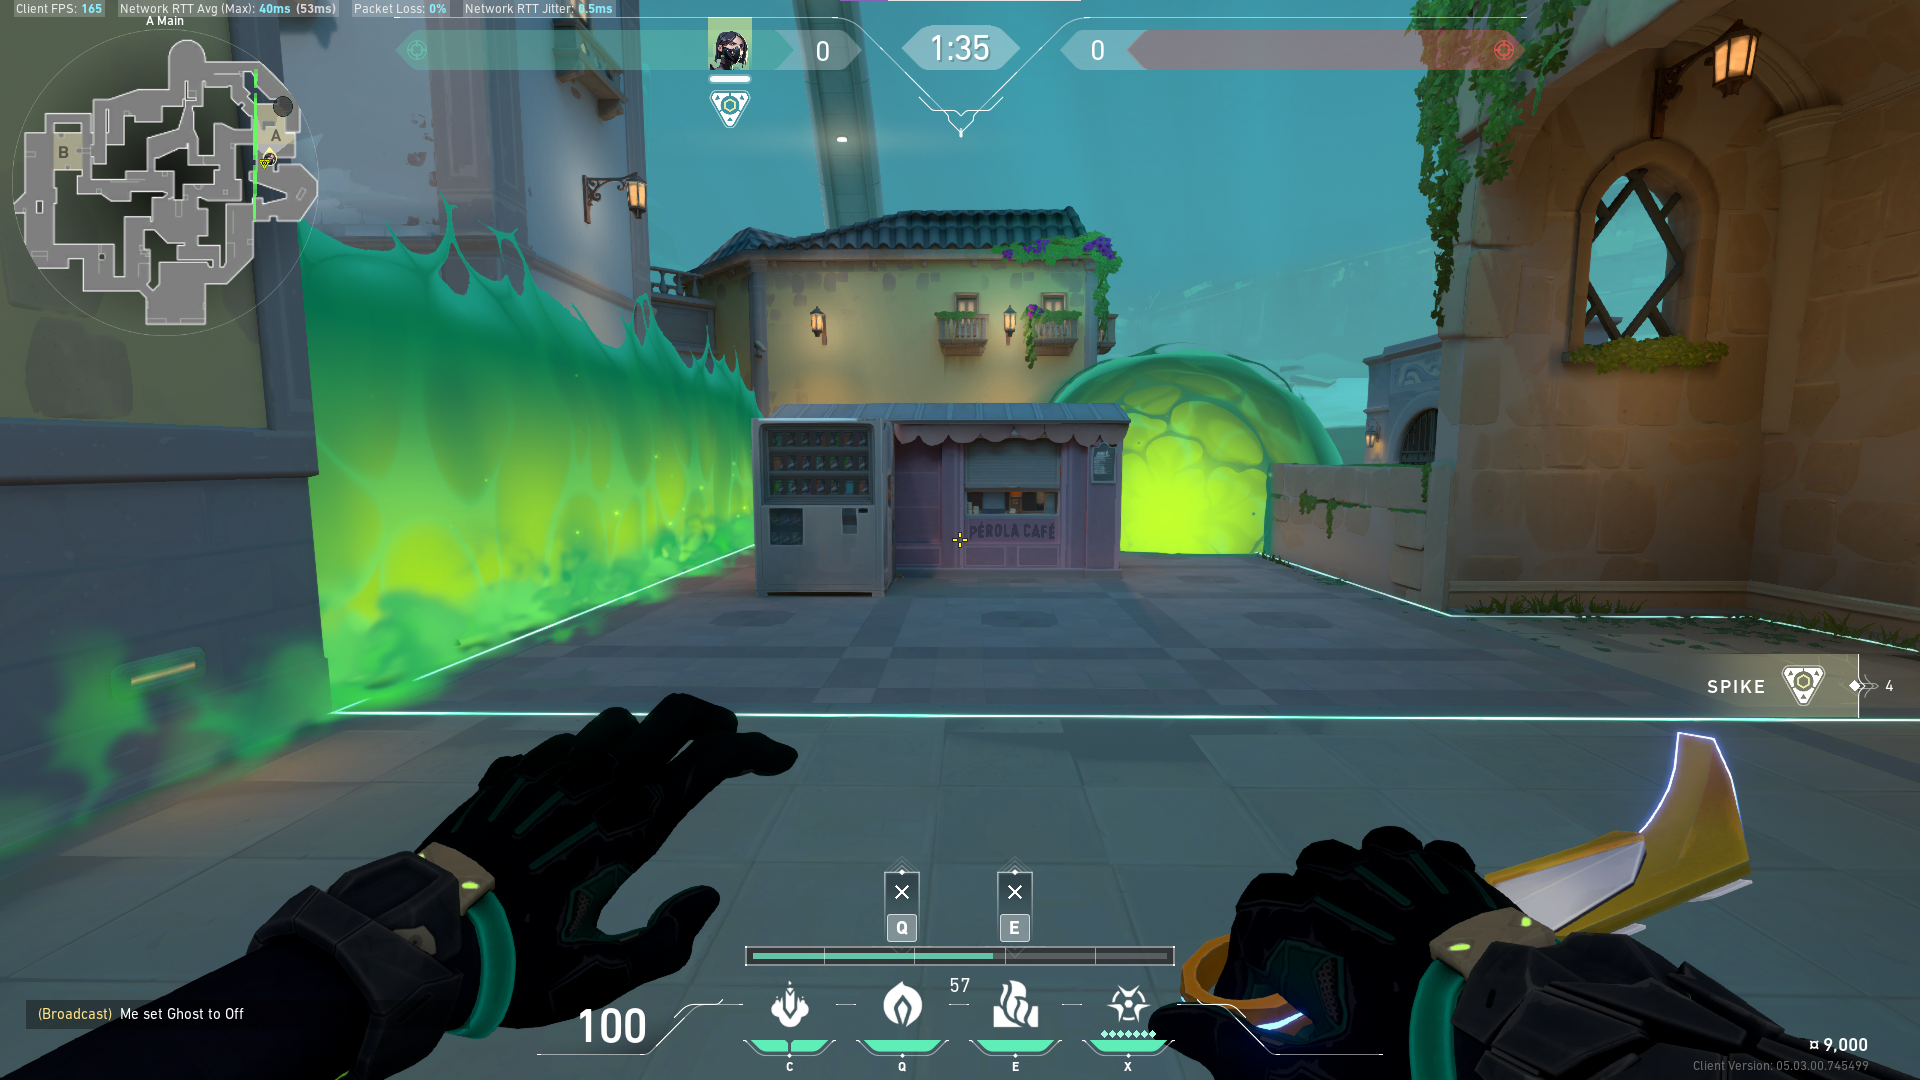
- Stand in this corner in A-Main:

2. Aim for this gap on the pillar:


3. Throw Viper’s Poison Cloud canister:

When done correctly, Viper’s Poison Cloud canister should land at A-Secret and cover both A-Secret and A-Dugout:

4. From the first position at A-Main, move a little bit to the left until you’re aligned with the left side of this recessed wall:

5. With Viper’s Toxic Screen, aim for the right edge of the left stripe on the wall:

When done correctly, Viper’s Toxic Screen should be able to cover both A-Link and A-Flowers with no problems:

Pearl Middle Toxic Wall & Poison Cloud Setup
Pearl has a more traditional tactical shooting game map layout-wise, which means the Middle is where most of the action will be, and whichever team takes hold of the area gains the positional advantage for the rest of the round.
As an Attacker, your goal is to control the Middle and the connecting lanes toward whichever bombsite your team plans on Attacking.
We won’t be using Viper’s Toxic Screen for this setup, as Middle is simply too small to take advantage of Toxic Screen’s coverage. Instead, we will smoke off the Defending team’s sightlines towards the Middle (Art/Mid Doors), so your team can safely walk towards the A-site or B-site from the Middle.
Mid-Doors to B-site
- Stand in this corner at A-Restaurant:

2. Place the middle line of the Poison Cloud mouse click indicator at the bottom of the satellite dish:


3. Throw Viper’s Poison Cloud:

When done correctly, Viper’s Poison Cloud canister should land at A-Art/Mid Plaza:

A-Art to A-site
- Stand in this corner between the wall and the bench at Attacker Spawn:

2. Place the rightmost line of the Poison Cloud mouse click indicator against the left side of this column on the balcony:


3. Throw Viper’s Poison Cloud:

When done properly, Viper’s Poison Cloud should land at Mid Doors:

Pearl B-site Toxic Wall & Poison Cloud Setup
As mentioned above in the A-site setup, Viper’s Toxic Screen and Poison Cloud are great for shrinking bombsites to a more manageable size.
For B-site, this means using Toxic Screen to cover parallel sightlines on the bombsite (B-Tower, B-Link, B-Tunnel) and using Toxic Cloud to cover more obvious sightlines towards B-Ramp (B-Hall)
- Stand in this corner at B-Ramp:

2. Aim just below the fifth tile on the roof:


3. Jumpthrow Viper’s Poison Cloud:

When done properly, Viper’s Poison Cloud should land at the other B-Hall entrance:

4. For the Toxic Screen setup, simply stand against this wall at B-Ramp and aim along this line on the wall:


5. Use the line on the minimap as a guide – make sure you cover B-Tower and B-Tunnel with the Toxic Screen:

When done properly, Viper’s Toxic Screen should cover B-Tower, B-Tunnel, and B-Link:

Together, they should look like this:

Toxins Going Up
Despite the shorter overall duration on Toxic Screen and Poison Cloud, Viper remains a viable pick on almost any map in VALORANT. She is also exceptionally good on Pearl, able to cover many key sightlines when Attacking just about any major area on the map.
The setups above should help your team plant the bomb consistently every round. Remember that the key to winning with these setups is prioritizing post-plant play, where Viper also shines, thanks to her post-plant Snake Bite lineups.
Visit the PlayerAssist website for more Gaming Guides, Gaming News, Game Codes, and other Gaming Content!