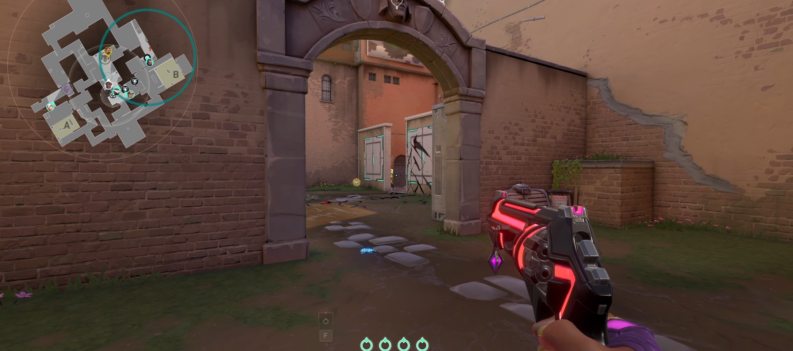
Valorant is an increasingly popular online FPS game. Since the game has very advanced graphics, the space of the game on your computer is high.

For this reason, sometimes gamers want to move the game to another drive, folder, or an SSD. This situation can become a problematic and complex issue for players.
Let’s look at how to move Valorant to another folder, drive, or PC.
Easy Steps – Move Valorant To Another Folder
2 Ways of Moving Valorant Folders
You have two ways to move Valorant from where it was installed to another location. One of them is to delete the game and re-download it where you want to move it. However, this way can sometimes be boring and a waste of time.
The second way is to move the game wherever you want by making changes in some files of the game. First of all, cut the “Valorant” and “Riot Client” folders in the Riot Games folder where you installed the game and paste it to the folder, drive, or PC you want to move.
After applying this process, you can play the game without encountering any errors by following the steps below:
- Go to “C: Disk”.
- Open the “ProgramData” folder
- Press “ProgramData” folder.
- Open the “Riot Games” folder.
- Open the “RiotClientInstalls.json” file with notepad.
- Replace the paths here with the new path.
- Save the file.
- Go to “Metadata” in the “Riot Games” folder.
- Open “valorant.live” folder.
- Open the “valorant.live.product_settings.yaml” file with notepad.
- Change the “product_install_full_path” and “product_install_root” lines with new path.
- Save the file.
If the “ProgramData” folder is not listed, you have to click on “Show Hidden Items” in tick views.
After applying these processes, you will have successfully moved Valorant to another folder, drive, or PC of your choice.
READ ALSO :


