One of the Shrines in The Legend of Zelda: Breath of the Wild is the Keo Ruug Shrine or the Fateful Stars. This shrine requires Link to determine which glowing socket the orbs should be based on the constellations provided and complete the shrine. This shrine may seem confusing, but it is relatively easy to assemble. In this guide, you will learn how to complete the Keo Ruug Shrine, get the chest, and claim the Spirit Orb.
Link is rewarded with Spirit Orbs for completing Shrines, and you can exchange them for more Heart Containers or Stamina Vessels. With 120 Shrines all over Hyrule, Link can get 120 Spirit Orbs. You get to decide whether you want Link to have more Hearts or more Stamina.
Location

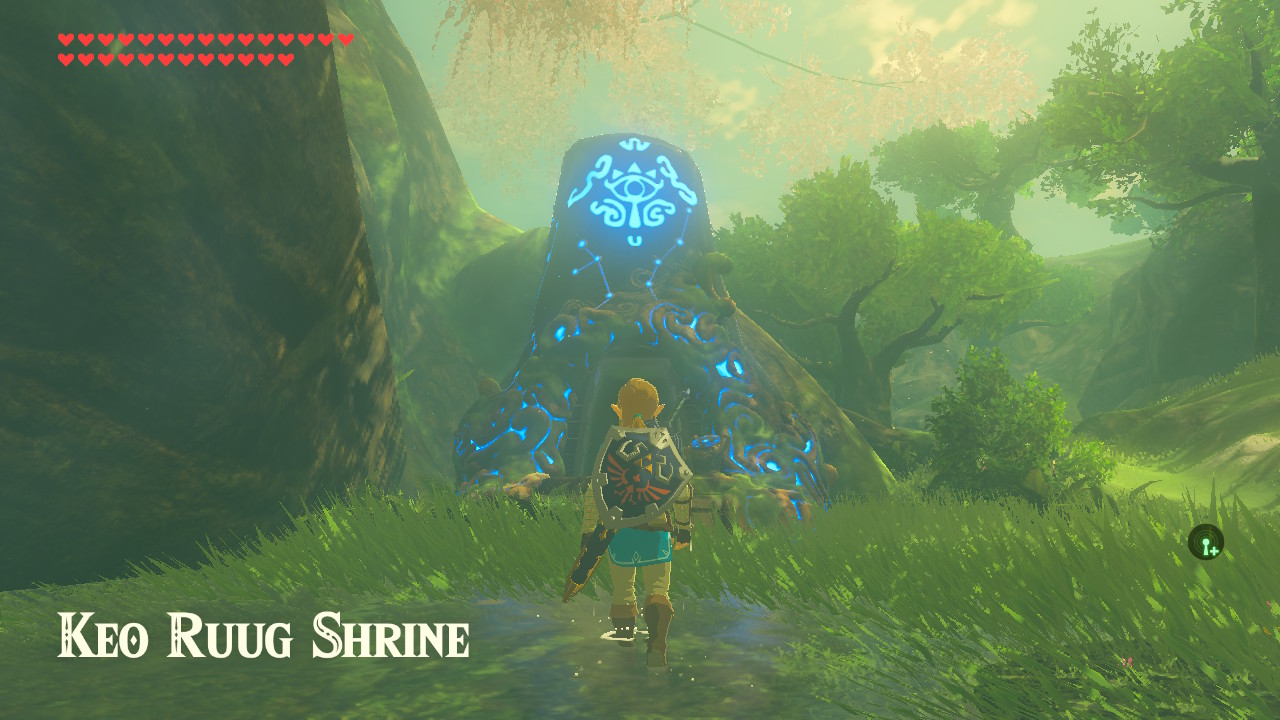
The Keo Ruug Shrine can be found on the left side of the Great Deku Tree right in the middle of the Korok Forest, which is just northwest of the Woodland Tower (northeast of the Hyrule Castle or west of Eldin Canyon and Death Mountain). As it is inside Korok Forest, Link needs to find his way through the Lost Woods to reach it for the first time. The Keo Ruug Shrine is one of eight shrines in the Woodland Tower region.
Fateful Stars

Upon entering the Keo Ruug Shrine, you will see a flight of stairs to a platform with an inscription. On the left side of the platform are two glowing orbs and two columns of five glowing orb sockets, with each socket being labeled from one to five based on the torches on the wall from top to bottom. On the right side of the platform are two more glowing orbs and two more columns of five glowing orb sockets, with each socket being labeled from one to five also based on the torches on that side of the wall from top to bottom, and on the far north wall of the shrine, there are sets of glowing constellations. Additionally, in front of the platform is a closed gate, and on the walls of this gate is a glowing constellation lined with each glowing orb socket.
Head up the platform, and you will see the following inscription:
“Look to the stars for guidance, and the constellations are the key.”
You can see that the constellations on the gate wall match the constellations on the wall on the far north of the shrine. This means that the constellations on the gate wall and the wall on the far north of the shrine are vital to completing the shrine. The game wants the player to finish the shrine by putting a glowing orb on the labeled glowing socket based on how many times the constellation for each column of glowing orb sockets is repeated on the wall of constellations in the north wall. For example, the constellation for the rightmost column of glowing orb sockets is repeated two times on the constellations wall. So, a glowing orb must be put on the glowing orb socket that is second from the top as it is labeled with two torches.
However, as you are already reading this guide for the shrine anyway, you do not have to waste any more time finding the answer to the puzzles here. To complete the shrine, this is what Link must do, starting from the left to right:
- For the leftmost glowing orb socket column, pick up one of the glowing orbs and place it on the fifth glowing orb socket (bottom, labeled with five torches).
- For the next glowing orb socket column, pick up one of the glowing orbs and place it on the third glowing orb socket (middle, labeled with three torches).
- Now, move on to the right side of the platform. For the first glowing orb socket column on this side, pick up one of the glowing orbs and place it on the first glowing orb socket (top, labeled with one torch).
- Finally, for the rightmost glowing socket column and as mentioned earlier, pick up one of the glowing orbs and place it on the second glowing orb socket (second from the top, labeled with two torches).
- After that, the gate in front of the platform will open, and you will see the altar and the monk just ahead. After going through the gate, however, look back to the gate and the wall and you will see that there is another closed gate on the left side of the just opened gate. Above it is another wall of constellations that matches with the constellations for each column of glowing socket. Inside this gate is a chest.
- In order to open this smaller gate (from left to right if facing the north of the shrine), you need to do the following:
- For the leftmost glowing orb socket column, pick up one of the glowing orbs and place it on the fourth glowing orb socket (second from the bottom, labeled with four torches).
- For the next glowing orb socket column, pick up one of the glowing orbs and place it on the second glowing orb socket (second from the top, labeled with two torches).
- Now move on to the right side of the platform. For the first glowing orb socket column on this side, pick up one of the glowing orbs and place it on the second glowing orb socket (second from the top, labeled with two torches).
- For the rightmost glowing socket column, pick up one of the glowing orbs and place it on the first glowing orb socket (top, labeled with one torch).
- After that, the smaller gate will open and the chest can now be accessed. Open the chest to obtain a Knight’s Claymore.
- Finally, head to the altar, talk to the monk, and claim your Spirit Orb!
The Keo Ruug Shrine or the Fateful Stars is one of eight shrines in the Woodland Tower region. The other shrines are the Daag Chokah Shrine or Daag Chokah’s Blessing, the Mirro Shaz Shrine or the Tempered Power, the Monya Toma Shrine or Drawing Parabolas, the Ketoh Wawai Shrine or Ketoh Wawai’s Blessing, the Rona Kachta Shrine or Rona Kachta’s Blessing, the Kuhn Sidajj Shrine or Kuhn Sidajj’s Blessing, and the Maag Halan Shrine or Maag Halan’s blessing.