One of the Shrines in The Legend of Zelda: Breath of the Wild is the Shora Hah Shrine or the Blue Flame. This shrine requires Link to overcome a bunch of puzzles that involve lighting up torches with a blue flame to reach the altar and talk to the monk. This shrine may seem intimidating and confusing, but even though this shrine is one of the longest shrines in the game, the shrine is fairly easy to complete, and in this guide, you’ll learn how to complete the Shora Hah Shrine, obtain the chests inside, and claim the Spirit Orb.
Link will be rewarded with Spirit Orbs for completing Shrines. The Spirit Orbs obtained can be exchanged for more Heart Containers or Stamina Vessels. As there are 120 Shrines all over Hyrule, Link can get a total of 120 Spirit Orbs. You can decide whether you want Link to have more Hearts or Stamina.
Location

The Shora Hah Shrine can be found inside a small cave in the Isle of Rabac in the northwestern part of the Eldin Tower Region (the shrine can be found in the northwest of Death Mountain or north of the Abandoned North Mine). The Shora Hah Shrine is one of nine shrines in the Eldin Tower region.
As the Isle of Rabac is surrounded by lava, a few ways that Link can reach the shrine is by using a minecart.
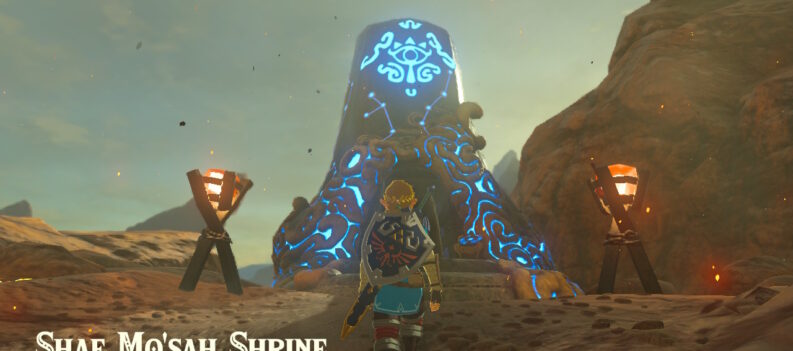
A minecart can be found on the tracks near the lava just north of the Shae Mo’sah Shrine and Goron City. To use the minecart, Link should get up on the minecart, press the up directional button, select the spherical Remote Bomb Rune ability, press the L button to conjure one Remote Bomb, go near the spherical part of the minecart, and press the A button to set it down on that part of the minecart, then press the L button to detonate the Remote Bomb which will result in the minecart to start moving. Just keep on detonating a Remote Bomb on the spherical part of the minecart so that it will keep moving and keep doing this until Link reaches the end of the tracks, which will be just in front of the Shora Hah Shrine.
It is worth noting that it is scalding in the area because, again, the place is surrounded by lava, so make sure that Link has armor that has Flame Guard like the Flamebreaker Set (Flamebreaker Helm, Armor, and Boots) or some Fireproof Elixirs so that the heat will not inflict damage to Link.
Blue Flame

Before descending on the shrine, make sure that Link has a few Bows and Arrows as they will be needed to complete certain parts of the shrine.
Upon entering the Shora Hah Shrine, you will see that Link is on top of a platform with a narrow path ahead that has a metal platform with spikes on the bottom blocking the way. Additionally, below the platforms of the shrine, the floor is filled with a pool of lava. To complete this shrine, this is what Link must do:
- First, press the up directional button, select the Magnesis Rune ability, press the L button to aim, aim at the metal platform with the spikes just ahead, and press the A button to activate the Magnesis Rune on it. Then, raise the metal platform with spikes enough so that Link can pass through and do not deactivate the Magnesis Rune ability until Link has passed through.
- On this next part of the shrine, you will see an unlit torch, a small flight of stairs on the path just ahead of the torch, but the top half of the flight of stairs is missing, and a closed entryway on the path on the right side of the torch, and, finally, on the path on the left side of the torch, is another flight of stairs that leads to some metal platforms and a platform with another torch on top that is lit by a blue flame. Head up the flight of stairs on the left side of the unlit torch, and you will see two metal platforms that can only be moved from side to side. Press the L button to aim the Magnesis Rune ability, aim at the first metal platform, press the A button to activate the Magnesis Rune on it, then bring it to the center to connect it to the path.
- Next, press the L button again to aim the Magnesis Rune ability, aim at the second metal platform, press the A button to activate the Magnesis Rune on it, then bring it to the center to connect it to the path. After that, the two metal platforms will now be like a big flight of stairs towards the platform with a blue flame.
- Then, head towards the torch with the blue flame, and beside it, you will find a Torch that Link can bring. Pick up the torch and equip it. Light up the torch that Link is holding with the blue flame by pressing the Y button to strike it, then bring it to the last unlit torch and light it with the blue flame. After that, the closed entryway near the newly-lit torch will be opened.
- Before continuing on the shrine, there is a chest on top of the platform on the left end of the second metal platform earlier. To get it, head back to the top platform with the original blue flame (where the equippable torch was found), press the L button to aim the Magnesis Rune ability, and aim at the metal platform that is connected to the platform with the chest. Press the A button to activate the Magnesis Rune ability on it, bring it next to the platform with the chest, press the B button to deactivate the Magnesis Rune ability, jump off the platform that Link is on, and quickly press the X button to use the Paraglider, and glide towards the metal platform next to the platform with the chest. Open the chest to obtain a Royal Bow.
- After that, jump off the platform with the chest and quickly press the X button to use the Paraglider, then glide down back to the path to the newly-opened entryway.
- Go through the entryway, and you will see that there is water spewing out on the left side of the path and the right side of the path ahead, and, at the end of the path, there is another unlit torch. Link must also light that torch with the blue flame to continue. To do that, light the equippable torch with the blue flame, continue on the path, evade the water on the left side of the path by walking on the right side of the path, and evade the water on the right side of the path by walking on the left side of the way, walk under the water on the right but hold down the Y button so that Link will lower the blue flame and the water will not put it out (as Link can not walk on the left side of the path as it is nonexistent), then light the unlit torch with the blue flame.
- After that, a platform in the distance on the left side of the newly-lit torch will start moving vertically. On top of this moving, platform is another unlit torch. Link must light this torch from where he is standing. To do that, hold the ZR button to aim Link’s Bow and Arrow, set the arrow on fire with the blue flame by letting the tip touch the blue flame near Link, aim and wait for the moving platform to be at its lowest point (as Link could not hit it otherwise because of the see-through gate), then, once that happens, let go of the ZR button to shoot the lit arrow towards the unlit torch to light it with the blue flame.
- Next, the top half of the flight of stairs from the previous path will rise up and create a new path. Head back to the previous path, then up the flight of stairs, and you will see a pressure plate. Before letting Link stand on the pressure plate, press the L button first to aim Link’s Magnesis Rune ability. After that, let Link stand on the pressure plate and a ramp will be lowered down, and a huge metal sphere with spikes will start rolling towards Link. Quickly aim at it and press the A button to activate the Magnesis Rune ability on it then remove the spiked metal cube from the path and set it aside then continue up the path.
- At the top of the path, you will see the moving platform from earlier when it is at its highest point, and near it is a small flight of stairs that leads to a closed area with four Guardian Scouts. Enter the closed area and defeat the four Guardian Scouts. The Guardian Scouts will drop some Ancient Screws and Springs after defeating them.
- After that, you will see a chest on the left side and another chest on the lower right corner of the closed area. Open the chest on the left to obtain a Giant Ancient Core. Open the chest on the lower right corner to obtain a Great Flameblade.
- Next, you will find another closed gate on the northern end of the area and another unlit torch in the upper left corner. Head back down the small flight of stairs, wait for the moving platform with the torch and blue flame to be at its highest point, light Link’s equippable torch with the blue flame, and bring it to the unlit torch on the upper left corner of the closed area, and light it with the blue flame to open the gate.
- Without unequipping Link’s torch, bring the blue flame to the next room, where there is an unlit torch in the middle and two more unlit torches on the left and right end of the closed gate ahead. The link must now light all three torches with the blue flame. The middle torch is easy as Link can light it by letting Link’s torch touch the unlit torch.
- The two torches ahead are tricky as lighting one will cause the hole next to it to spew out water to put the fire out. To complete this puzzle, Link must light the two unlit torches at the same time, which can be done by doing the following: hold the ZR button to aim Link’s Bow and Arrow, set the arrow on fire with the blue flame by letting the tip touch the blue flame near Link, go to either unlit torch and let Link stand on its side and face the two unlit torches so that they will be in front of Link (for example, go to the unlit torch on the left and stand on its left side and face the torches), aim on the top part of the torches, then let go of the ZR button to shoot the lit arrow so that it will pass through the top of the two torches to light them at the same time with the blue flame. After successfully doing that, the gate will be opened.
- On the next part of the shrine, you will see that there is another unlit torch near the edge of the platform. Just ahead of that are two moving platforms with unlit torches on top moving side by side and, on both sides of the moving platform, there is water spewing out of pillars that hit the platform once it reaches that side. Go back to a previous lit torch, light Link’s torch with the blue flame, and bring it to the next unlit torch near the edge of the platform.
- Next, Link must light the torches on the moving platforms with the blue flame in order to cross. However, Link must light the torches at the same time as lighting them one by one will result in the other being put out by the spewing water on both sides. To do that, hold the ZR button to aim Link’s Bow and Arrow, set the arrow on fire with the blue flame by letting the tip of the arrow touch the blue flame near Link, go to the center of the path and wait for the two moving platforms to be aligned, then once that happens, quickly aim at the top of the two torches and let go of the ZR button to shoot the lit arrow so that it will pass through the top of the two torches to light them at the same time with the blue flame. After successfully doing that, constant gusts of wind will start blowing upwards in between the platform that Link is on and the halted platforms.
- After that, jump off the platform that Link is on, quickly press the X button to use the Paraglider, and glide up the gust of wind, then land on the second halted platform with the newly-lit torch.
- From this platform, you will see another unlit torch in the left corner of the next platform. Hold the ZR button to aim Link’s Bow and Arrow, set the arrow on fire with the blue flame by letting the tip of the arrow touch the blue flame near Link, aim at the unlit torch on the next platform, then let go of the ZR button to shoot the lit arrow so that it will light up the next torch with the blue flame.
- Next, jump off the platform that Link is on, quickly press the X button to use the Paraglider, and glide up the gust of wind just in front of Link, then land on the next platform with the newly-lit torch.
- On this next part of the shrine, you will see a very narrow walkway on the right side and, on the opposite side, is a metal platform that can only be slid forwards and backward with another unlit torch on top. On the path of the metal platform, however, there is water spewing out that may put out the flame on the torch if the metal platform passes through. Light Link’s torch with the blue flame from the newly-lit torch and bring it to the next unlit torch on top of the metal platform.
- Next, go near the end of the narrow walkway on the right side, press the up directional button, select the Stasis Rune ability, press the L button to aim, aim at the source of the spewing water, and press the A button to activate the Stasis Rune ability on the source to freeze it in time and temporarily halt the spewing water.
- Then, while the water is not spewing out and before the timer for the Stasis Rune runs out, quickly press the up directional button, select the Magnesis Rune ability, press the L button to aim, aim at the metal platform with the newly-lit torch, press the A button to activate the Magnesis Rune ability on it, and bring it to the opposite side.
- Just ahead of the end of the narrow walkway, there is another constant gust of wind blowing upwards. Jump off the platform that Link is on and towards the gust of wind, quickly press the X button to use the Paraglider and ride up the wind, then land on the platform ahead.
- Near the metal platform and torch is another platform with a chest. Press the L button to aim the Magnesis Rune ability, aim at the chest, press the A button to activate the Magnesis Rune on it, then pull it towards Link. Open the chest to obtain a Silver Rupee (100 Rupees).
- Before continuing, look back in the direction of the last gust of wind, and you will see another chest on top of a small platform on the side of the small pillar near the narrow walkway. Jump off the platform that Link is on and towards the gust of wind, quickly press the X button to use the Paraglider and ride up the wind, then land on the small platform with the chest. Open the chest to obtain a Forest Dweller’s Sword.
- After that, jump off the platform that Link is on and towards the gust of wind, quickly press the X button to use the Paraglider and ride up the wind, then land on the previous platform and head down the ramp to continue.
- On this next part of the shrine, you will encounter three more Guardian Scouts, one of them armed with a spear, another one armed with an ax, and the last one armed with a Sword. Defeat the three Guardian Scouts to continue. The Guardian Scouts will drop the Guardian Spear, Ancient Battle Axe, and Guardian Sword for the taking after defeating them, along with some Ancient Springs, Screws, and Gears.
- Continue ahead, and you will find another chest. Open the chest to obtain 10 Ice Arrows.
- On the right side of the chest, you will see another unlit torch; in front of it are seven more unlit torches arranged in a circle, and just ahead of that is a flight of stairs and a closed gate to the altar. Head back to the previous lit torch on top of the metal platform, light Link’s torch with the blue flame, and bring it to the unlit torch that is not part of the circle of torches.
- Next, Link must light the circle of torches at the same time again as water will be spewed out on the torch if they are lit one by one. To do that, light Link’s torch with the blue flame, let Link stand in the center of the circle of torches, hold down the Y button to charge the spin attack, then let go after the first sound to perform the spin attack. After that, the circle of torches will be lit up at the same time, and the gate ahead will be opened.
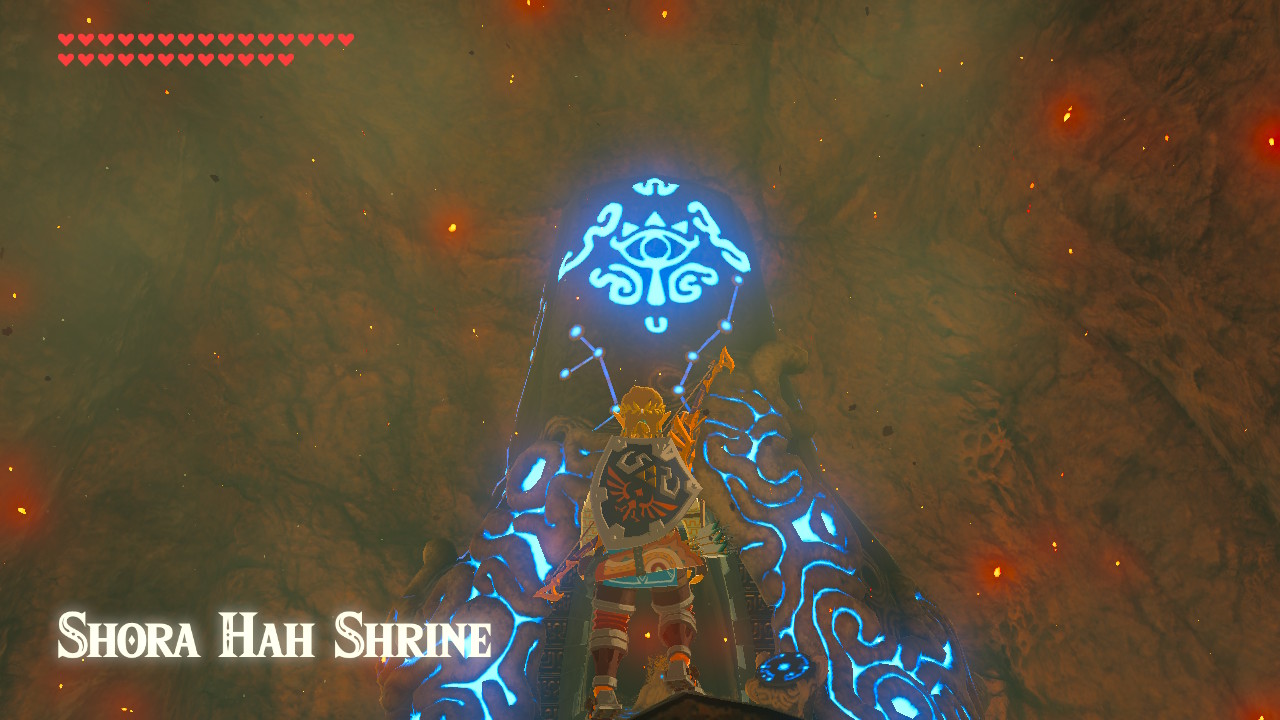
- Finally, go near the altar, talk to the monk, and claim your Spirit Orb!
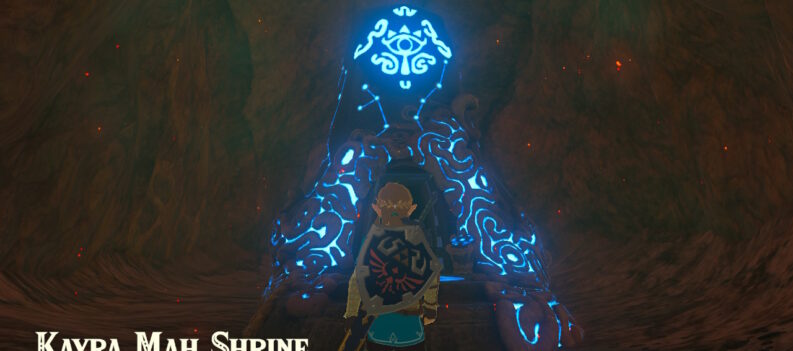
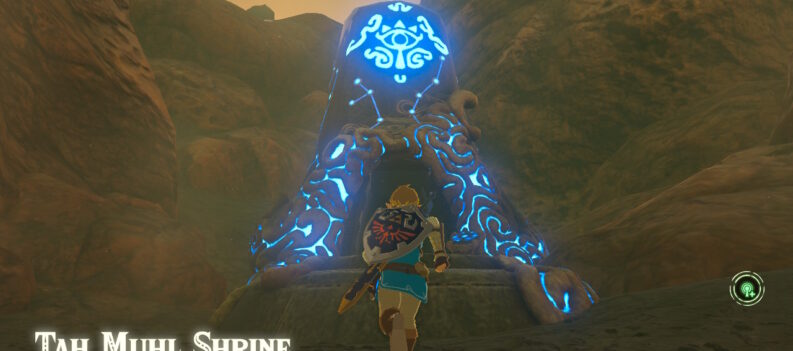
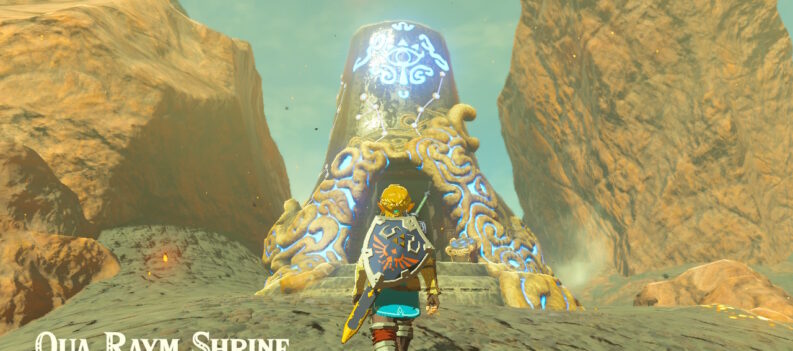
As mentioned above, the Shora Hah Shrine or the Blue Flame is one of nine shrines in the Eldin Tower region. The other shrines are the Mo’a Keet Shrine, or the Metal Makes a Path, the Daqa Koh Shrine or the Stalled Flight, the Qua Raym Shrine or A Balanced Approach, the Shae Mo’sah Shrine or the Swinging Flames, the Sah Dahaj Shrine or the Power of Fire, the Gorae Torr Shrine or Gorae Torr’s Blessing, Tah Muhl Shrine or the Passing the Flame, and the Kayra Mah Shrine or the Greedy Hill.