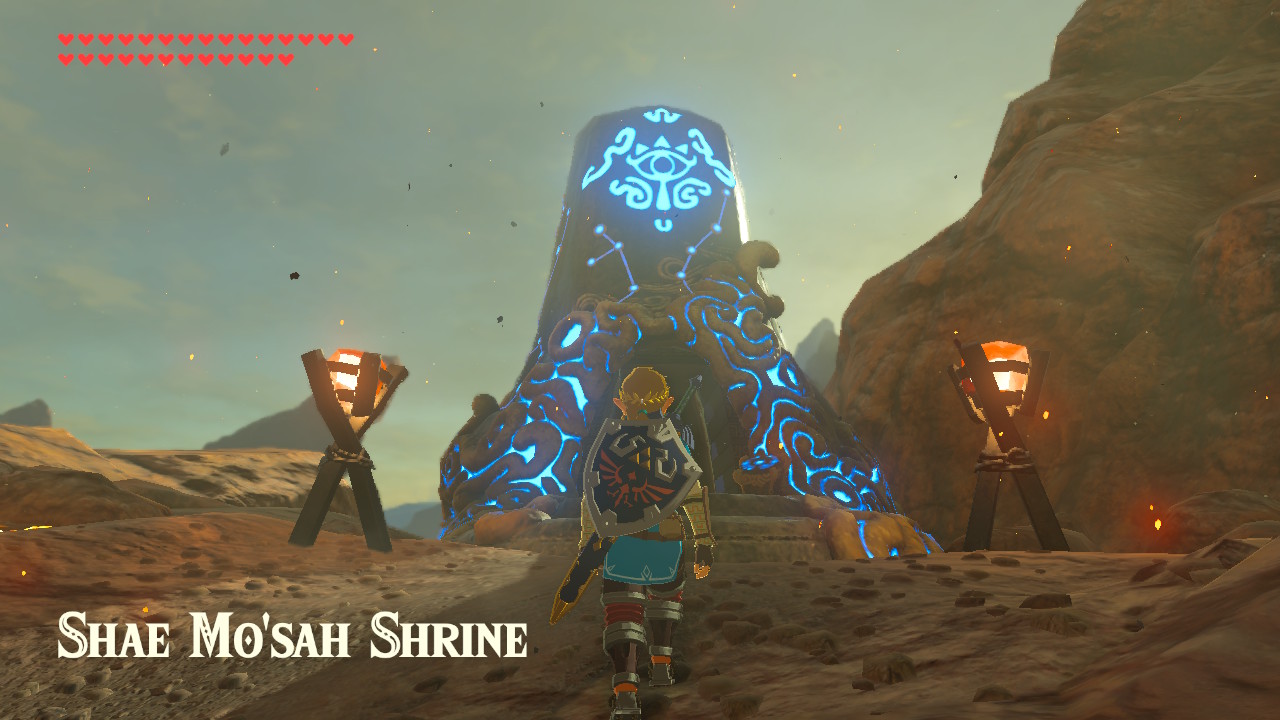
One of the Shrines in The Legend of Zelda: Breath of the Wild is the Shae Mo’sah Shrine or the Swinging Flames. This Shrine requires Link to overcome a bunch of puzzles to reach the altar and talk to the monk. This shrine may seem intimidating and confusing, but the shrine is fairly easy to complete, and in this guide, you’ll learn how to complete the Shae Mo’sah Shrine, obtain the chests inside, and claim the Spirit Orb.
Link will be rewarded with Spirit Orbs for completing Shrines. The Spirit Orbs obtained can be exchanged for more Heart Containers or Stamina Vessels. As there are 120 Shrines all over Hyrule, Link can get 120 Spirit Orbs. You can decide whether you want Link to have more Hearts or Stamina.
Location

The Shae Mo’sah Shrine can be found on the side of the road high up a cliff just a little bit northwest of Goron City, west of Death Mountain in the northeastern part of Hyrule (the shrine is north of the Goron Hot Springs or southeast of the Eldin Mountains). The Shae Mo’sah Shrine is one of nine shrines in the Eldin Tower region.
It is worth noting that it is very hot in the area because the place is surrounded by lava so make sure that Link has armor that has Flame Guard like the Flamebreaker Set (Flamebreaker Helm, Armor, and Boots) or some Fireproof Elixirs so that the heat will not inflict damage to Link.
Swinging Flames

Upon entering the Shae Mo’sah Shrine, you will see that Link is in a big room with a closed gate, a pressure plate, a pile of leaves that go all the way up the wall, and a concrete barrel ahead. To complete this shrine, this is what Link must do:
- First, let Link go near the pile of leaves near the pressure plate, then look up the ceiling, and you will find a hole in the ceiling with a lit lantern hanging and attached to a rope. Hold the ZR button to aim Link’s Bow and Arrow, aim at the rope above the lantern, then let go of the ZR button to shoot the arrow and break the rope above the lantern so that the lantern will fall on the pile of leaves and start burning the leaves.
- Pick up the concrete barrel and set it down on the pressure plate to open the gate. The flame will go all the way up the wall and burn the small wooden platform that is holding the concrete barrel. Once everything is burnt out, the concrete barrel will fall to the ground.
- Go through the gate to continue to the shrine. Then, upon entering the next room, you will see a windmill mechanism on the right and a chest on top of a pile of leaves on the left. Open the chest to obtain a Stone Smasher.
- After that, head to the area on the right side of the windmill mechanism, and Link will encounter three Guardian Scouts, one of them armed with a Guardian Sword. Defeat the weak Guardian Scouts to continue. The Guardian Scouts will drop the Guardian Sword for the taking along with a few Ancient Screws and Springs.
- Next, near a ramp, you will find another chest in the corner of the area. Open the chest to obtain a Ruby.
- After that, head up the ramp, and Link will be in a big room with a locked entryway; on the right side is a flight of stairs with a pressure plate and a small ramp. Additionally, on the wall just ahead of the pressure plate is a pile of leaves and a small metal sphere resting on top of a small wooden platform. Let Link head up the small flight of stairs, then stand on the pressure plate and another lit lantern attached to a metal chain will drop and hang from the ceiling.
- Next, hold the ZR button to aim Link’s Bow and Arrow, aim at the lit lantern, then let go of the ZR button to shoot the arrow and hit the lit lantern to push it towards the pile of leaves and set it on fire. Once all the leaves and the small platform are burnt out, the small metal cube will be dropped and rolled along the platform towards a closed entryway.
- Then, drop from the platform just ahead of the pressure plate, and you will find another chest. Open the chest to obtain 10 Ice Arrows.
- Next, continue in the direction of the small metal cube and the closed entryway, and you will find another secure entrance on the right and another pressure plate on the left. Let Link stand on the pressure plate, and the entryway blocking the small metal sphere will be opened and let the small metal sphere roll down towards the windmill mechanism earlier, resulting in the other closed gate near Link being opened.
- After that, quickly go through the newly-opened gate (as it will close back after the windmill mechanism stops spinning), and you will see a tall ramp and a chest beside it. Open the chest to obtain a Small Key.
- Next, head up the ramp to get out of the small room, head back to the locked entryway near the previous ramp and open it using the Small Key obtained earlier.
- Go through the entryway, and you will find another small flight of stairs with another pressure plate, and just ahead of that is a hole that leads to the very first room of the shrine, another closed gate, another pressure plate, another pile of leaves that goes all the way up the wall to a small wooden platform with another concrete barrel on top of it. Head up the flight of stairs, then let Link stand on the pressure plate and two lit lanterns attached to ropes will fall and hang from the ceiling, but it will not be directly above the pile of leaves.
- Next, hold the ZR button to aim Link’s Bow and Arrow, aim at the lit lantern, then let go of the ZR button to shoot the arrow and hit the lit lantern to let it swing back and forth. Then, while it is swinging, quickly hold the ZR button to aim Link’s Bow and Arrow again, aim at the rope above the lantern, wait for the lantern to swing towards the direction of the pile of leaves, then let go of the ZR button to shoot the arrow and break the rope above the lantern so that the lantern will fall on the pile of leaves and start burning the leaves.
- This can be tricky to do, so this may take a few tries. If you have used both of the lit lanterns and unsuccessfully lit the pile of leaves, Link can get off the pressure plate and stand on it again, and two more lit lanterns will be dropped. If it is still too tricky for you, Link can shoot a Fire or Bomb arrow on the leaves or strike them with a fire-based weapon to burn them.
- Pick up the concrete barrel and set it on the pressure plate to open the gate. After successfully burning the leaves, the flame will go up the wall and burn the small wooden platform holding the concrete barrel. Once everything is burnt out, the concrete barrel will fall to the ground.
- Finally, go through the newly-opened gate near the altar, talk to the monk, and claim your Spirit Orb!
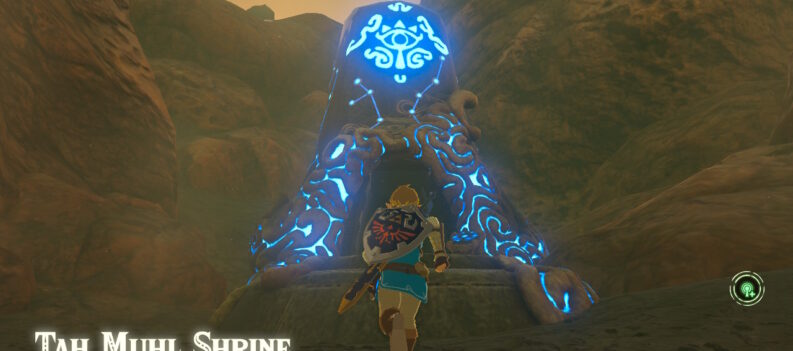
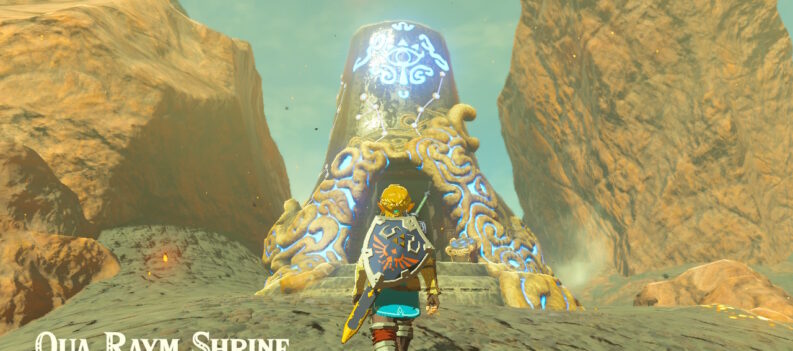
As mentioned above, the Shae Mo’sah Shrine, or the Swinging Flames, is one of nine shrines in the Eldin Tower region. The other shrines are the Mo’a Keet Shrine or the Metal Makes a Path, the Daqa Koh Shrine or the Stalled Flight, the Qua Raym Shrine or A Balanced Approach, the Shora Hah Shrine or the Blue Flame, the Sah Dahaj Shrine or the Power of Fire, the Gorae Torr Shrine or Gorae Torr’s Blessing, Tah Muhl Shrine or the Passing the Flame, and the Kayra Mah Shrine or the Greedy Hill.