One of the Shrines in The Legend of Zelda: Breath of the Wild is the Mo’a Keet Shrine, or the Metal Makes a Path. This shrine requires Link to traverse through a few ramps with large spheres rolling through them to reach the altar and the monk. This shrine may seem confusing and intimidating, but the shrine is relatively easy to complete. This guide will teach you how to complete the Mo’a Keet Shrine, obtain the chests, and claim the Spirit Orb.
Link will receive with Spirit Orbs for completing Shrines. You can exchange them for more Heart Containers or Stamina Vessels. Since Hyrule has 120 Shrines, Link can get 120 Spirit Orbs. You can decide whether you want Link to have more Hearts or Stamina.
Location

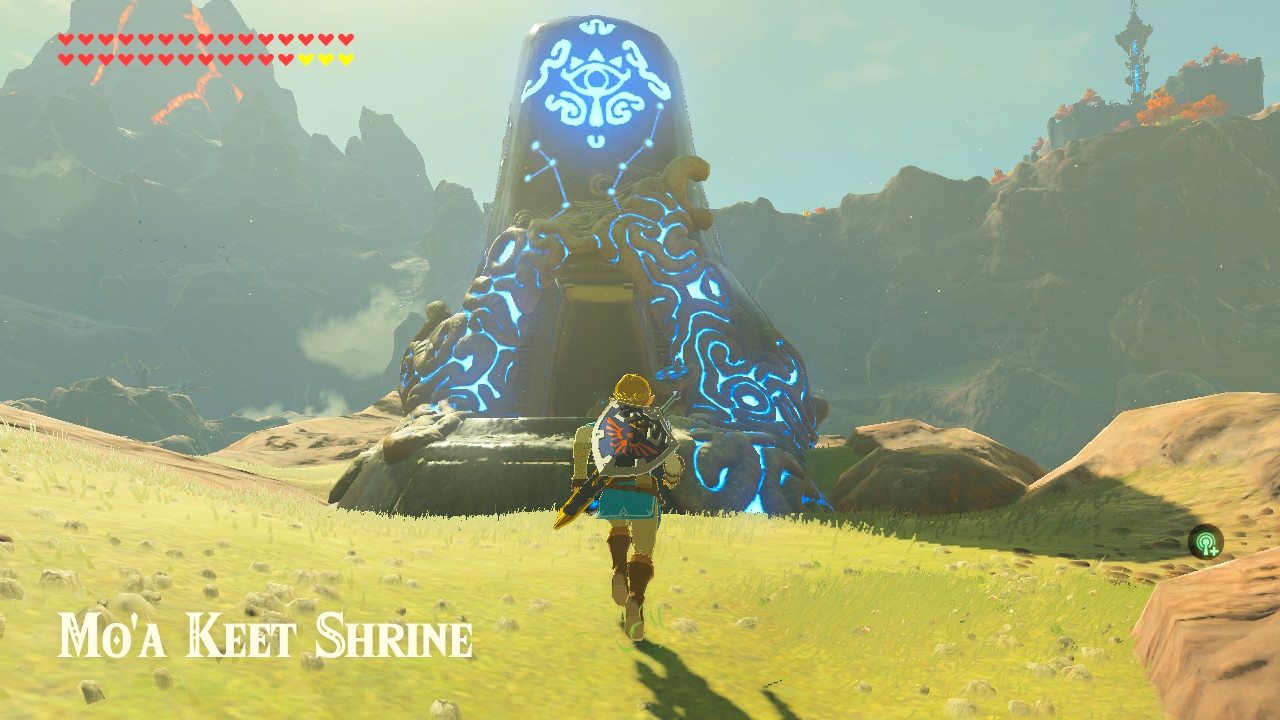
The Mo’a Keet Shrine can be found near the edge of a cliff on top of a hill east of the Foothill Stable in the Eldin Tower region (the shrine can be found southeast of the Eldin Tower and the Maw of Death Mountain or southwest of the Akkala Tower and the Akkala Citadel Ruins). The Mo’a Keet Shrine is one of nine shrines in the Eldin Tower region.
Metal Makes a Path

Upon entering the Mo’a Keet Shrine, you will see a ramp with large concrete spheres rolling one after the other in front of the Link that leads up to another platform, and on the next platform is another ramp with a constant flow of large concrete spheres. To complete this shrine, this is what Link must do:
- First, press the up directional button, select the Stasis Rune ability, and press the L button to aim and ready this ability.
- Next, go near the ramp, wait for the large concrete sphere to roll off the ramp and onto the flat surface, then quickly aim the Stasis Rune ability on it and press the A button to activate and freeze it in time.
- After that, quickly run up the ramp and head to the next platform before the timer for the Stasis Rune runs out.
- On the next platform, head to the path on the right, where you will see another ramp with a large metal sphere rolling on it one at a time. Press the up directional button, select the Magnesis Rune ability, press the L button to aim, go near the ramp, wait for the large metal sphere to be near Link, quickly aim and press the A button to activate the Magnesis Rune on the large metal sphere, and set the metal sphere aside on the platform.
- Head up the freed-up ramp and find a chest at the top. Open the chest to obtain a Knight’s Broadsword.
- Next, head back down the ramp, press the L button to aim the Magnesis Rune ability, seek on the large metal sphere, and press the A button to activate the Magnesis Rune ability on the metal sphere again. The large metal sphere must be between Link and the sizeable concrete sphere. While carrying the large metal sphere, please bring it to the last ramp to block the sizeable concrete sphere from rolling. Afterward, walk backward while still carrying the large metal sphere, blocking the large concrete sphere in front of Link, and head back down the ramp. At the bottom, bring the large metal sphere to the open space on the platform on the right side of the ramp.
- Then, bring the large metal sphere upwards, and you will see a few concrete cubes blocking a hole in the ceiling. Using the Magnesis Rune ability, smash the large metal sphere on the concrete cubes in the ceiling to break them, and, after that, a chest will be dropped. Open the chest to obtain a Ruby.
- Next, press the L button to aim the Magnesis Rune again, and aim at the large metal sphere. Press the A button to activate the Magnesis Rune on the large metal sphere again. Carry the large metal sphere and head up the ramp again while blocking the large concrete sphere. Then, upon reaching the top, take the path on the left while still carrying the large metal sphere.
- Then, for this ramp with a constant sizeable concrete sphere rolling on it, the large metal sphere at the start stops the flow of large concrete spheres and heads up the ramp while blocking and pushing the sizeable concrete sphere up the ramp.
- Finally, at the top of the ramp, you will find the altar and the monk. Press the B button to deactivate the Magnesis Rune from the large metal cube, go near the altar, talk to the monk, and claim your Spirit Orb!
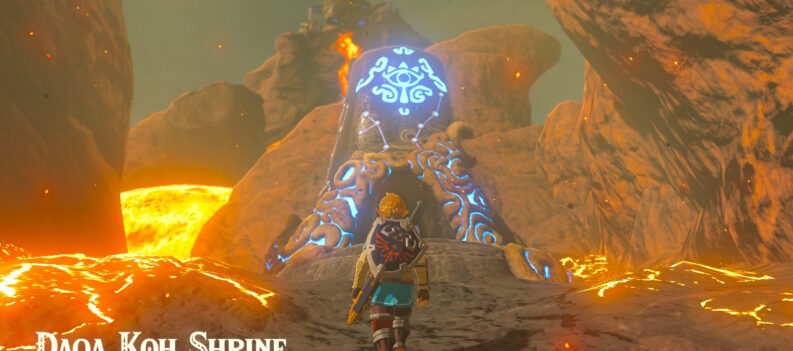
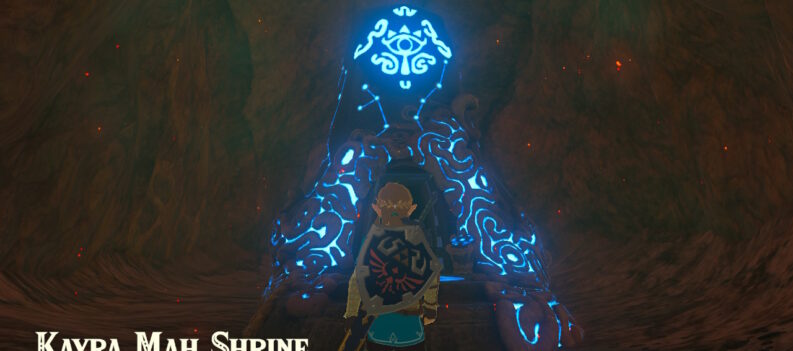
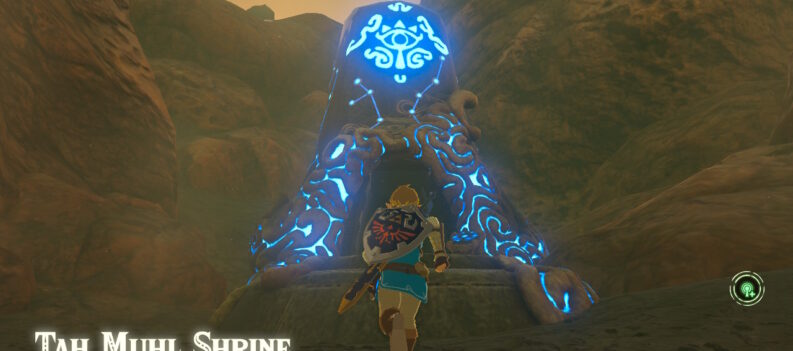
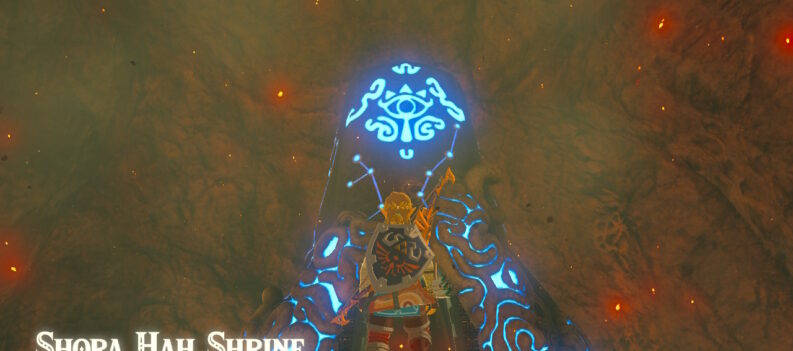
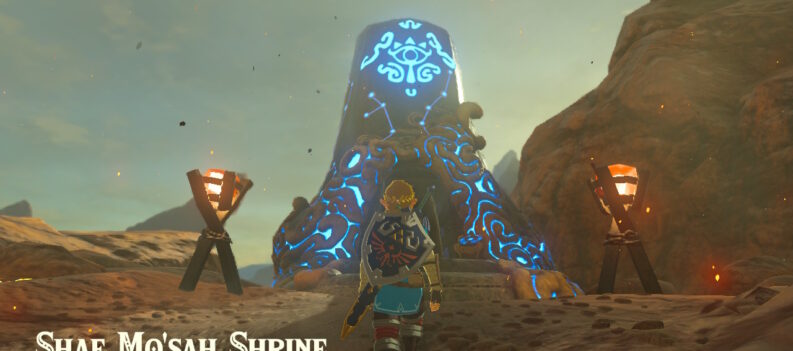
As mentioned above, the Mo’a Keet Shrine or the Metal Makes a Path is one of nine shrines in the Eldin Tower region. The other shrines are the Sah Dahaj Shrine or the Power of Fire, the Qua Raym Shrine or A Balanced Approach, the Shae Mo’sah Shrine or the Swinging Flames, the Shora Hah Shrine or the Blue Flame, the Daqa Koh Shrine or the Stalled Flight, the Gorae Torr Shrine or Gorae Torr’s Blessing, Tah Muhl Shrine or the Passing the Flame, and the Kayra Mah Shrine or the Greedy Hill.