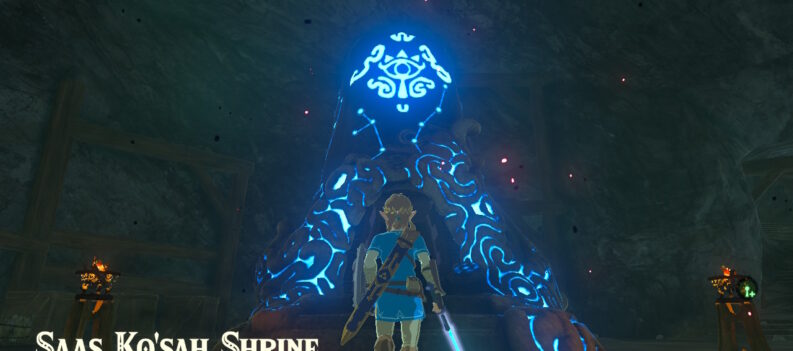
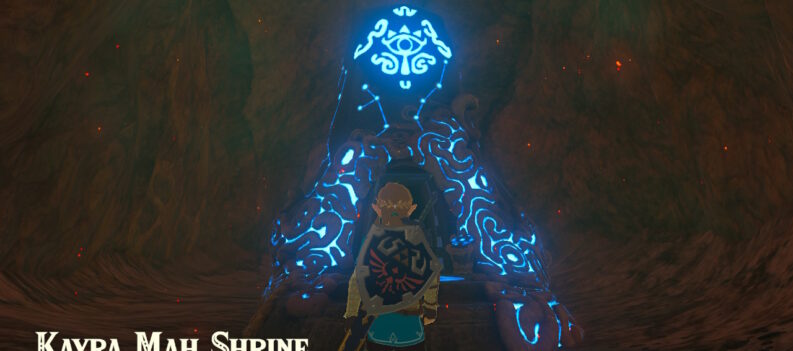
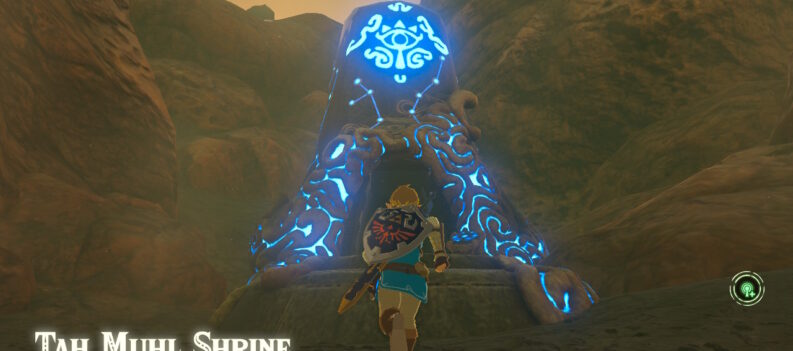
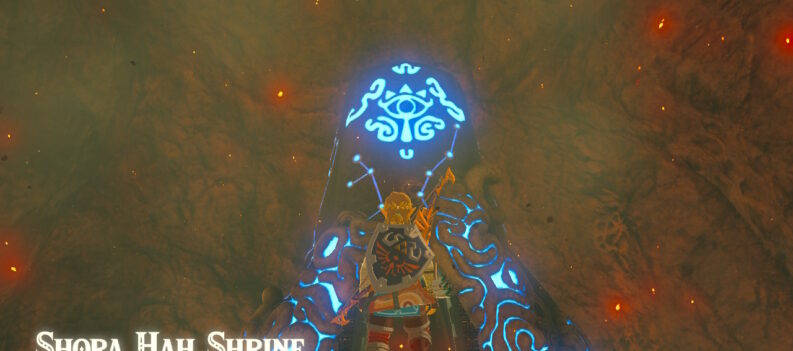
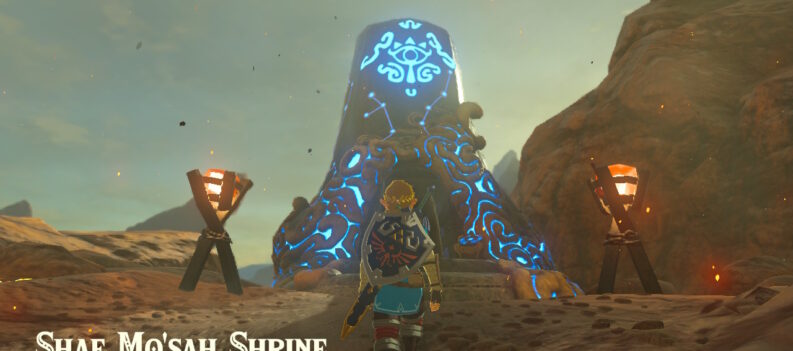
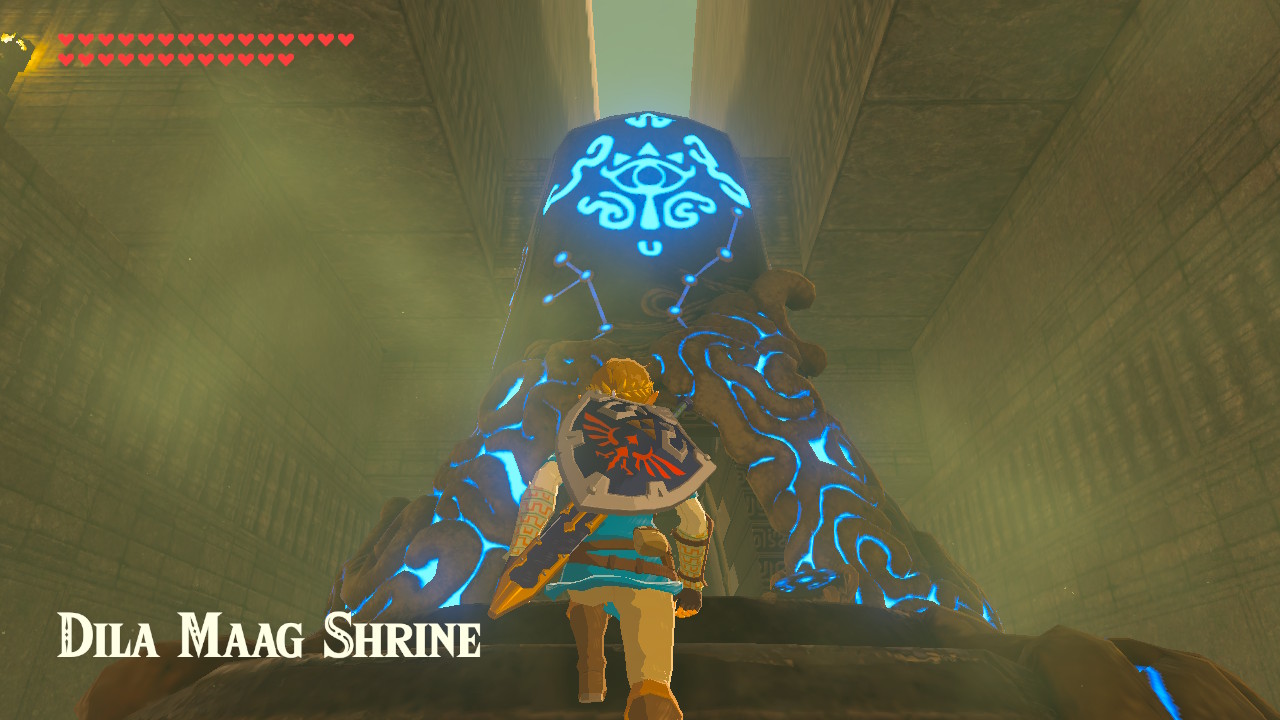
One of the Shrines in The Legend of Zelda: Breath of the Wild is the Dila Maag Shrine or Dila Maag’s Blessing. The shrine itself is no challenge at all. As you enter the Dila Maag Shrine, Link will be able to access the shrine’s chest, and he will be able to access the altar and talk to the monk immediately. The real challenge is completing The Desert Labyrinth Shrine Quest to access Dila Maag Shrine. In this guide, you’ll learn how to complete The Desert Labyrinth Shrine Quest to access and complete Dila Maag Shrine Shrine, obtain the chest inside, and claim the Spirit Orb.
Link will be rewarded with Spirit Orbs for completing Shrines. The Spirit Orbs obtained can be exchanged for more Heart Containers or Stamina Vessels. As there are 120 Shrines all over Hyrule, Link can get 120 Spirit Orbs. You can decide whether you want Link to have more Hearts or Stamina.
Location
The Dila Maag Shrine can be found in the middle of the South Lomei Labyrinth, which is in the east of the East Barrens in the Gerudo Desert (the shrine can be located west of Mount Granajh and Daval Peak or southeast of the East Gerudo Ruins, Wasteland Tower, and Spectacle Rock). The Dila Maag Shrine is one of 12 shrines in the Wasteland Tower region.
It is important to note that a few enemies like Lizalfos and Electric Chuchus are on the path from the Champion’s Gate to the South Lomei Labyrinth, so proceed with caution.
The Desert Labyrinth
To start The Desert Labyrinth Shrine Quest, Link must head to and enter the South Lomei Labyrinth. Upon stepping foot in the South Lomei Labyrinth, Link will hear a voice that will say:
“To you who sets foot here… My Blessing awaits you at the labyrinth’s end.”
After that, The Desert Labyrinth Shrine Quest started!
To complete his shrine quest, Link must reach the Dila Maag Shrine in the middle of the South Lomei Labyrinth. To do just that, this is what Link must do:
- Upon arriving at the entrance of the South Lomei Shrine, you will see that the path will be divided into three: one wide path straight ahead and narrow paths on the left and right sides. Take the narrow path on the right side.
- Take this path to the wall, take the next path to the left, then take the next path to the left that leads up a small flight of stairs.
- Head up the small flight of stairs, take the path on the left, head down the stairs, and then take the immediate path to the right.
- This path will have malice on the ground. To cross this path, climb on either side of the wall, then cross the path without taking damage.
- Continue on the path to the wall, where the path will be divided into two. Take the path on the right that heads up another small flight of stairs, take the next path on the right and down another small flight of stairs, take the path on the left, take another left, then take the immediate right, then another left, and another right.
- Continue on this path, take the second path to the right, take the immediate path on the left, then take another left that heads up another flight of stairs.
- Next, head down the flight of stairs just straight ahead, take the immediate path on the right, continue to the wall, then take the path on the left that heads up another small flight of stairs.
- After that, continue on this path where you will find that both sides of the wall are lit by torches, and just ahead of the torches is a gap. Drop down on the gap, continue on the path to the wall, take the next path on the left, continue on the path until you reach the part where malice is blocking the path, then take the path on the left that heads up another flight of stairs.
- Continue on the path, which has a gap in the middle, all the way to the wall, take the next path on the right that leads down another small flight of stairs, take the third path on the right, and continue all the way to the wall, take the path on the right, then take the immediate left.
- After that, the path will be divided into two, but the path on the right is blocked by malice. Take the path on the left, continue to the wall, take the path on the left, continue on the path until you reach the part where the path is blocked by malice, take the path on the right, then take the path on the left where there are two more torches.
- Just ahead of the torches is a gap. Drop down the gap, and Link will arrive at the Dila Maag Shrine!
Dila Maag’s Blessing
Now that you have completed The Desert Labyrinth Shrine Quest, you can enter the Dila Maag Shrine. This shrine will no longer have a challenge or puzzle inside as the puzzle was already on trying to access the shrine. Upon entering the shrine, this is what Link must do:
- Upon entering the Dila Maag Shrine, head up the stairs and open the chest to obtain a Barbarian Armor.
- Then, just after the chest, continue ahead to the altar, talk to the monk, and claim your Spirit Orb!
As mentioned above, the Dila Maag Shrine or Dila Maag’s Blessing is one of 12 shrines in the Wasteland Tower region. The other shrines are the Daqo Chisay Shrine or The Whole Picture, the Jee Noh Shrine or the On the Move, the Dako Tah Shrine or the Electric Path, the Tho Kayu Shrine or Tho Kayu’s Blessing, the Hawa Koth Shrine or The Current Solution, the Kema Zoos Shrine or the A Delayed Puzzle, the Raqa Zunzo Shrine or Raqa Zunzo’s Blessing, the Kay Noh Shrine or the Power of Electricity, the Suma Sahma Shrine or Suma Sahma’s Blessing, the Korsh O’hu Shrine or Korsh O’hu’s Blessing, and the Misae Suma Shrine or Misae Suma’s Blessing.


