One of the Shrines in The Legend of Zelda: Breath of the Wild is the Kah Okeo Shrine or the Wind Guide. This Shrine requires Link to traverse the shrine by solving a bunch of wind-related puzzles. This shrine may seem confusing and intimidating, but this shrine is fairly easy to complete, and in this guide, you’ll learn how to complete the Kah Okeo Shrine, obtain the chests inside, and claim the Spirit Orb.
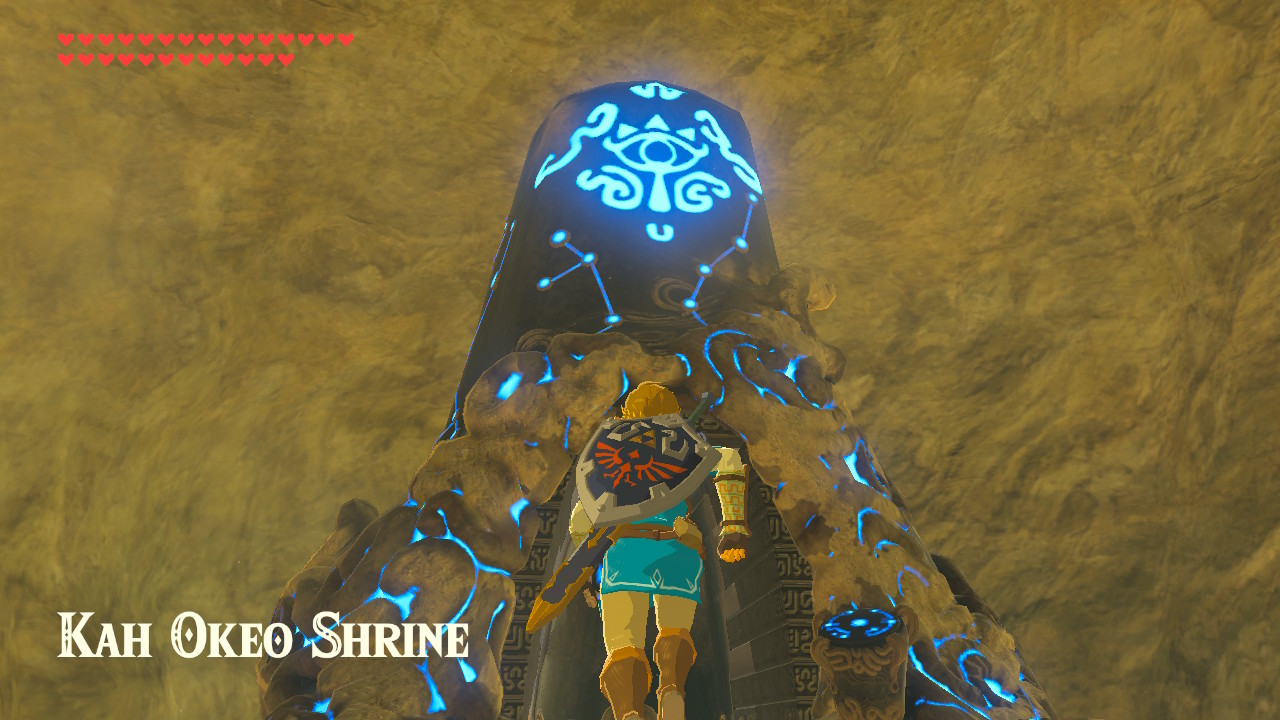
Link will be rewarded with Spirit Orbs for completing Shrines. The Spirit Orbs obtained can be exchanged for more Heart Containers or Stamina Vessels. As there are 120 Shrines all over Hyrule, Link can get 120 Spirit Orbs. You get to decide whether you want Link to have more Hearts or more Stamina.
Location
The Kah Okeo Shrine can be found inside a hole on the ground near the edge of the map west of the Rayne Highlands and the Ancient Columns on the western part of the map of Hyrule (the shrine can be found a little bit north of the Gerudo Highlands or southwest of the Tabantha Tower and the Tabantha Frontier). The Kah Okeo Shrine is one of six shrines in the Tabantha Tower region.
Upon arriving in the area, you will find a large slab of rock blocking the hole to get to the Kah Okeo Shrine. To remove it, press the up directional button, select the Stasis Rune ability, press the L button to aim, aim at the large slab of rock, press the A button to activate the Stasis Rune ability on it, then strike it with Link’s weapon as much as you can until the timer for the Stasis Rune ability runs out. After that, the large slab of rock will fly off and reveal the hole leading to the shrine. An even simpler method of removing the large slab of rock is by pressing the + button to go to Link’s inventory. Look for an Octo Balloon (if you have any), press the A button to select it, and select Hold on the prompt, press the B button to return to the game, then press the A button to drop the Octo Balloon on the large slab of rock. After that, the Octo Balloon will turn into an actual floating balloon attached to the large slab of rock and carry it away from the hole.
After the large slab of rock is gone, Link can now drop down the hole and access the Kah Okeo Shrine!
Wind Guide
Upon descending on the Kah Okeo Shrine, you will see that Link is in a small room, and just ahead of Link is a narrow entryway with a ramp and a closed gate in the distance. To complete this shrine, this is what Link must do:
- First, go through the narrow entryway, and you will see a chest on the left side of the ramp. Open the chest to obtain a Korok Leaf.
- Equip the Korok Leaf by holding down the right directional button and then selecting the Korok Leaf.
- After that, head up the ramp, and you will see a switch that needs to spin to activate it. Face the switch and blow a gust of wind on it by attacking using the Korok Leaf. Then, the entryway will be opened.
- Go through the entryway and see an explosive barrel held up by a couple of balloons. Just ignore this and continue on the path.
- At the end of the path, you will see a couple of see-through pathways below them are Guardian Scouts. Defeat the weak Guardian Scouts first to get rid of the nuisance. The Guardian Scouts may drop their Guardian Swords and some Ancient Screws or Gears for the taking after defeating them.
- Next, continue up the see-through path and ramp (if you dropped down to the Guardian Scouts, you could find the ladder back up to the see-through path on the side of the pillar in the middle of the room), and you will see another spinning switch on the right side. Face the switch and blow a gust of wind on it by attacking using the Korok Leaf. Then, a floating see-through platform will appear a bunch of balloons will hold that up.
- After that, go to the floating see-through platform, jump on top of it to ride it, let Link face back towards the southern side of the room, and blow a gust of wind on the balloons by attacking using the Korok Leaf so that the platform will start floating in that direction. On the southwestern corner of the room is a platform with a chest. Use the floating see-through platform and the Korok Leaf to go to it, then open the chest to obtain a Gold Rupee (300 Rupees).
- Next, drop down from the platform, go back to the spinning switch, and blow a gust of wind on it by attacking using the Korok Leaf to spawn another floating see-through platform held up by a bunch of balloons.
- Then, go to the new floating see-through platform, jump on top of it to ride it, let Link face towards the northern side of the room, and blow a gust of wind on the balloons by attacking using the Korok Leaf so that the platform will start floating in that direction.
- On the northern end of the room, there is another see-through platform. Jump towards it, head to the entryway on the left side, and drop down on the gap.
- After that, head down the flight of stairs, take the path on the right, and you will see the locked entryway to the altar at the top of another flight of stairs on the right. As it is still locked, head straight on the path ahead.
- On this next part of the shrine, you will see another Guardian Scout and a huge, breakable concrete cube behind it with an explosive barrel on each side. Defeat the weak Guardian Scout first. The Guardian Scout may drop some Ancient Screws or Gears for the taking after defeating it.
- Next, press the up directional button, select either of the Remote Bomb Rune abilities, press the L button to conjure one up, go near the huge, breakable concrete cube, press the A button to place the Remote Bomb next to the concrete cube, get back on a safe distance, then press the L button to detonate the Remote Bomb and break the huge concrete cube. After that, another entryway will be revealed.
- Go through the entryway, follow the path, and see a launcher platform with a spinning switch in front of it. Let Link stand on top of the launcher platform and blow a gust of wind on the switch by attacking using the Korok Leaf so that Link will be launched up in the air. On the peak of the “jump”, quickly press the X button to use the Paraglider, then glide towards the small platform on the left side with a chest. Open the chest to obtain a Forest Dweller’s Sword.
- After that, jump off the small platform, quickly press the X button to use the Paraglider, and glide towards the platform below on the right side with another launcher, another switch, and the ladders beside it.
- Next, climb up the two ladders and find another breakable concrete cube inside the pillar on top of the second ladder. Press the L button to conjure up another Remote Bomb, press the A button to set it down on top of the breakable concrete cube, drop back down from the ladder, then press the L button to detonate the Remote Bomb and destroy the concrete block. A constant gust of wind will then be revealed inside the pillar.
- Jump towards the gust of wind inside the pillar and quickly press the X button to use the paraglider to be blown out of the top of the pillar.
- On top of the pillar, you will find another see-through path. Follow the path, and at the end of the path, you will find another spinning switch. Blow a gust of wind on the switch by attacking using the Korok Leaf, and another floating platform held up by a bunch of balloons will appear on the Link’s left side.
- Just ahead of the floating platform is a spikey maze. On the right side of the floating platform, however, is a platform with a chest. Get on top of the floating platform, face the direction of the platform with the chest, blow a gust of wind on the balloons by attacking using the Korok Leaf so that the platform will start floating in that direction, get on the platform with the chest, open the chest to obtain a Giant Ancient Core.
- After that, Link would have to carefully navigate the spikey maze in order to continue on the shrine. Jump back on top of the floating pillar, head to the opposite direction of the platform with the chest, and there you will find a large enough opening for the floating platform to float through. Be careful not to hit the spikes as they will pop the balloons holding the platform up. If the floating platform is near the spikes, quickly blow a gust of wind on the balloons by attacking using the Korok Leaf in the opposite direction. Fortunately, the spikey maze is not long and can be completed immediately.
- At the end of the spikey maze, you will see a ramp that leads up to another launcher platform and another spinning switch. Go up the ramp, get on top of the launcher platform, and blow a gust of wind on the switch by attacking using the Korok Leaf so that Link will be launched in the air. At the peak of the “jump,” quickly press the X button to use the Paraglider and glide towards the platform up ahead.
- Upon landing, face behind Link, and you will see a tall and large pillar of huge, breakable concrete cubes. Shoot a Bomb Arrow towards the pillar of breakable concrete cubes to break all of them. If, for some reason, you do not have Bomb Arrows, you can go through the entryway on the left side of where you landed on the platform, and there you will find another spinning switch that if spun by blowing a gust of wind using the Korok Leaf, an explosive barrel being held up by balloons will appear and Link would have to use the Korok Leaf to blow the explosive barrel towards the pillar of breakable concrete cubes and let it explode there. After destroying the pillar, the constant gust of wind blowing upwards will continue out of the pillar.
- Next, just ahead of the platform that Link is on is another launcher and another spinning switch. Let Link stand on the launcher, blow a gust of wind on the switch by attacking using the Korok Leaf so that Link will be launched in the air. At the peak of the “jump,” quickly press the X button to use the Paraglider, then glide towards the newly revealed gust of wind.
- Link will then be blown upwards on a platform, and on top of this platform is a chest on the left side. Land on the platform and open the chest to obtain a Small Key.
- After that, climb down the ladder, head up the small ramp, jump off the ledge, quickly press the X button to use the Paraglider, then glide towards the platform below in the distance.
- Upon landing on the platform, you will see another drop, but this time, it leads to the locked entryway of the altar. There is also a chest above on the left. Jump off the ledge, quickly press the X button to use the Paraglider, then glide down towards the chest. Open the chest to obtain a Thunderspear.
- Drop down from the platform with the chest and open the locked entryway using the Small key that was obtained earlier.
- Finally, go near the altar, talk to the monk, and claim your Spirit Orb!
As mentioned above, the Kah Okeo Shrine or the Wind Guide is one of six shrines in the Tabantha Tower region. The other shrines are the Akh Va’quot Shrine or the Windmills, the Sha Warvo Shrine or the Path of Hidden Winds, the Tena Ko’sah Shrine or the Path of Hidden Winds, the Bareeda Naag Shrine or the Cannon, and the Voo Lota Shrine or The Winding Route.


