Valheim with its complex building and crafting mechanics can be a bit limiting. Yes, of course, it has revolutionized survival gaming for forever probably, but sometimes it can be hard to build structures and objects which are essential. Valheim has been the subject of comparison with Minecraft for quite a while now, but its no secret that you can’t do as much stuff in Valheim as in Minecraft building-wise.
Nonetheless, this game is on the rise and is liked by many, and its quirky building might be because the game is still in early access.
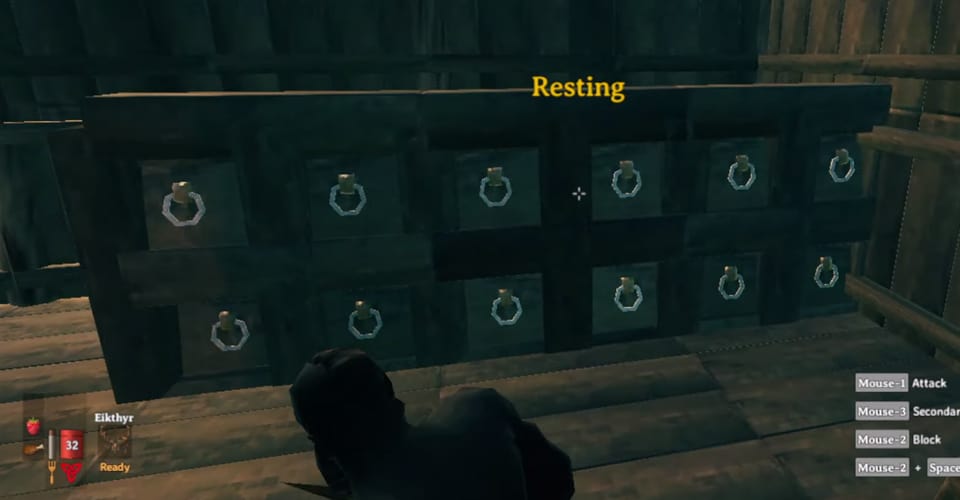
Storage is most essential, and what better way to have one than to have storage cubbies?
How to Make Storage Cubbies – Valheim
Making these storage cubbies is quite a hassle since you have to do some “magic” to make them. The point is that, you might have to break the game a bit in order to make these.
Still, it is a great way to use up your space more efficiently and have all of your chests at one place. On top of that, it will be much easier to remember which ones have certain resources and items.
Let’s make some storage cubbies! It’ a bit tricky, but make sure you follow the steps carefully, and you should be fine. Here is how to make Storage Cubbies in Valheim:
- Go into your lodge/house/shelter.
- Make sure you have at least 200 wood.
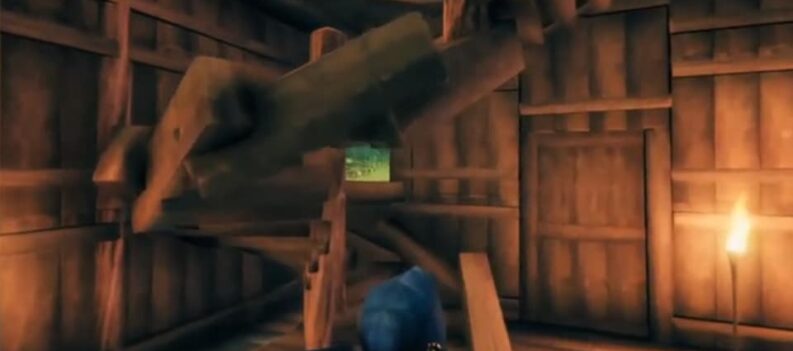
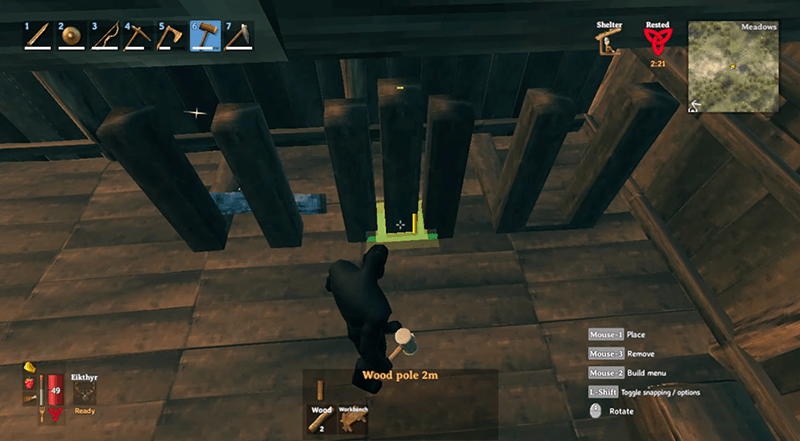
- Get 2m Wood Beam and place three on the edges of the floor pieces, parallel to each other.
- After that, use the 1m Wood Beam and place it similar to the other one, just stick them together in order to get the “L” shape.
- Use the vertical 2m beam and place in on the end of each (2m wood beam that you placed), and after each 1m beam like so:
- Remove all 1m wood beams.
- Get the 2m horizontal beam, and then place it under each of the middle pieces. It might be tricky to place it correctly.
- Now put all of the chests in, and make sure that they’re close to the edge, so that you can access them easily.
- Replace the 2m beam on the far left with a 1m one. This is so you can start connecting horizontal beams to it.
- Use 2m horizontal beams to make the “second floor”. Go from one end to the other.
- Go on top of the chests and put floor pieces on the horizontal beams.
- Rinse and repeat as much as you need, you can place the second floor chests on the floors again.
Like I said, it is very tricky to do this, but it is possibly the best way to organize your storage units/chests in Valheim at the moment.
Because the process is so difficult, make sure that you watch the video to see exactly how you need to place each piece. Good luck!
READ NEXT : Valheim: Can You Farm Mushrooms