Valorant is a fast-paced 5v5 FPS shooter. Being fast-paced and an FPS game, it means that you will have to have a connection that is stable enough to run the game smoothly.
But what happens if you have a stable connection, but you are still getting high ping and latency spikes? Well, there are a lot of ways you can improve this with the methods we will outline below.
How to Fix High Ping and Latency Spikes – Valorant
This problem is a connectivity issue, and you must troubleshoot and try everything you can do eradicate it. Valorant have pretty strong server architecture, so it’s unusual for this to happen, but it can.
Riot Games are the developers of Valorant, and with their first initial game League of Legends, they had a lot of connectivity issues with third-party companies. However, since then they have made their own infrastructure and they’re leading in the industry.
Nonetheless, let’s get to the main topic at hand.
Fix High Ping and Latency Spikes in Valorant
1. Enable Packet Loss and Network Round Trip Time
- Open up Valorant.
- Go to Settings and then Video.
- Navigate to Stats and enable both Packet Loss and Network Round Trip Time.
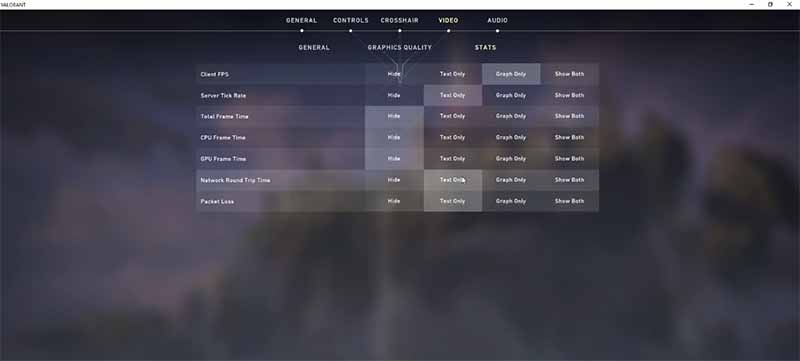
- It doesn’t matter to which settings you set them. You can do it on your own personal preference.
This method alone can sometimes fix connectivity issues, so restart the game and try it out. If it didn’t, move to the second method.
2. Test Your Internet Connection
Before we get into another fix, it’s important to know whether your connection is stable enough and the issue isn’t your internet. To do so, follow the steps below carefully:
- Go into your browser.
- Open Speedtest.net or any other speed testing service.
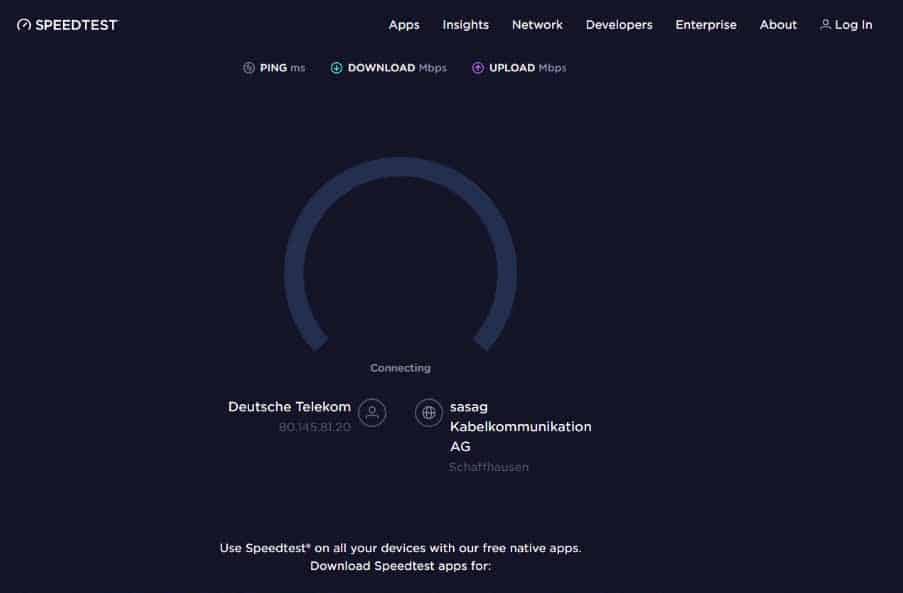
- Test your connection and make sure it’s below 100ms. If it is then you have a stable enough connection.
If you found out that your ping exceeds 100ms, then you can try to fix it with the next method.
3. Switch to Ethernet or Wi-Fi and Router Restart
- Wi-Fi can be bad if you are gaming. Usually, using an ethernet cable is faster by a substantial amount. So, if you are using Wi-Fi, switch to ethernet. You can also try vice versa but, that has a smaller chance of changing anything.
- However, sometimes this won’t change anything. You can try to restart your Wi-Fi, so the IPS settings get reset.
The next step would be to check out your packet loss and ping again. Follow the steps below to do so. If you are at this stage, consider disconnecting connected devices to your network while you are at it.
4. Flush DNS
- Open up your Command Prompt from Start.
- Type “ping google.com” and see whether your ping has gotten better.
- After you do so, type “ipconfig /flushdns”.
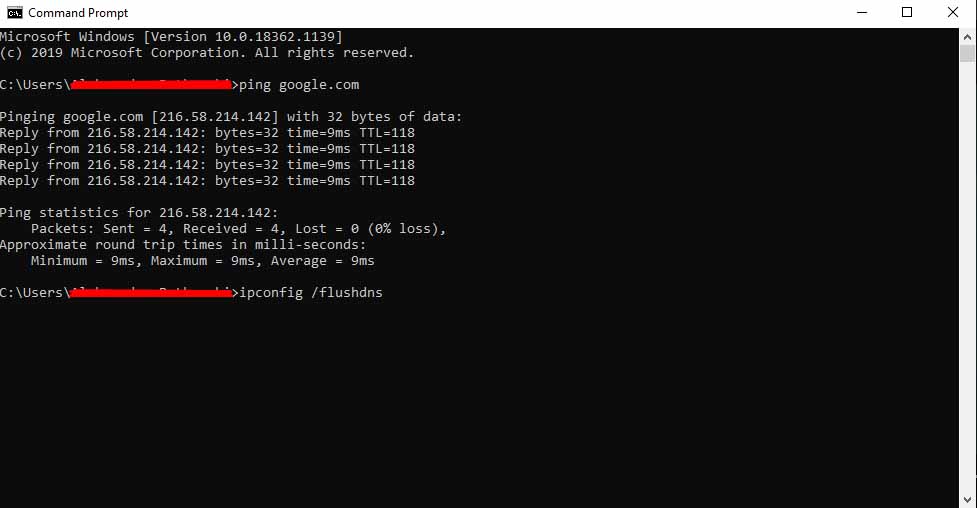
- This will flush the DNS Resolver Cache.
In any case, this will improve your latency and ping, not just for Valorant. The next method is similar, and it can greatly improve your connection.
5. End Unnecessary Network Resources Using the Resource Monitor
- Open up your Task Manager by clicking CTRL + Shift + Esc.
- Navigate to the Performance tab and open the Resource Manager, found at the bottom of the window.
- Go to the Network tab and open Processes with Network Activity.
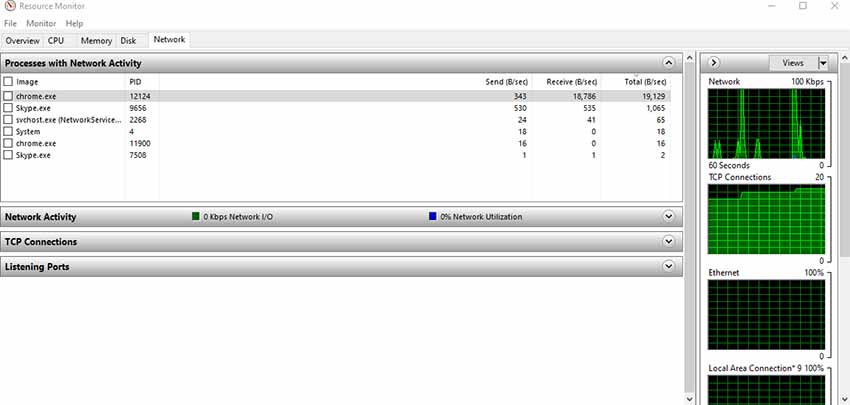
- There will be many Processes which needn’t run in the background while you are playing Valorant. Choose which don’t and end them.
Don’t worry they’ll start again once you launch the particular applications again. The Resource Manager won’t show you the processes very fast, so wait a bit before you close it.
There is another thing which you must do if you want to get the most out of your system. I know that it’s cliché and that most of the guides will tell you to do it, but it really works.
6. Update Windows
This is probably one of the most important things you need to do. It has become such a common thing that people don’t believe that it could change anything.
However, when Windows launches a new patch or an update, most of the applications do so too. So, Windows to applications compatibility might be nonexistent when you don’t have you Windows up to date.
You can check for updates by searching the term “Check for updates” in the Start menu.
Lastly, if none of the fixes work for you, then it’s time to contact Valorant support team or your network provider.
It’s also important to mention that server issues might happen and the problem might not be from your side, so check before you try anything to fix it.
READ NEXT :


