One of the Shrines in The Legend of Zelda: Breath of the Wild is the Goma Asaagh Shrine or A Major Test of Strength. This shrine requires Link to, as the title of the shrine suggests, prove his strength by defeating a Guardian Scout and complete the shrine. It may seem a little intimidating, but this shrine is actually the same as the other test of strength shrine with just the difference of a stronger Guardian Scout. In this guide, you’ll learn how to defeat the Guardian Scout, complete the Goma Asaagh Shrine, get the chest, and claim the Spirit Orb!
Link receives Spirit Orbs for completing Shrines. You can exchange them for more Heart Containers or Stamina Vessels. As there are a total of 120 Shrines all over Hyrule, Link will be able to get a total of 120 Spirit Orbs. You get to decide whether you want Link to have more Hearts or more Stamina.
Location

The Goma Asaagh Shrine can be found inside a hollow part of the mountain southwest of Hebra Peak in the Hebra Mountains on the northwestern part of Hyrule (Hebra Peak can be found north of Hebra Headspring or southwest of Pikida Stonegrove). The Goma Asaagh Shrine is one of 13 shrines in the Hebra Tower region.
It is worth mentioning that the climate in the area is very cold so make sure that Link has cold-resistant armor.
Upon arriving in the area, you will see that the shrine itself is obstructed by a couple of large icebergs. To access it, you can set up some campfire (set down some Wood and Flint and hit them with a metal weapon) near the ice, strike the ice with flame-based weapons, or shoot some Fire or Bomb arrows on it to melt the ice. A tip that can help save items or the durability of your weapons is to equip a Flameblade or Great Flameblade then, with it just equipped and on Link’s back (not on his hands ready to strike), let Link’s back and the Flameblade touch the ice and it will slowly melt.
The large icebergs, however, are actually frozen monsters so, after completely melting the ice, Link will face a few Moblins.
After defeating the monsters, you can now get close to the shrine. However, when you are near the shrine, you will see that the machine to access the shrine is also frozen so Link would also have to melt it using the methods mentioned above.
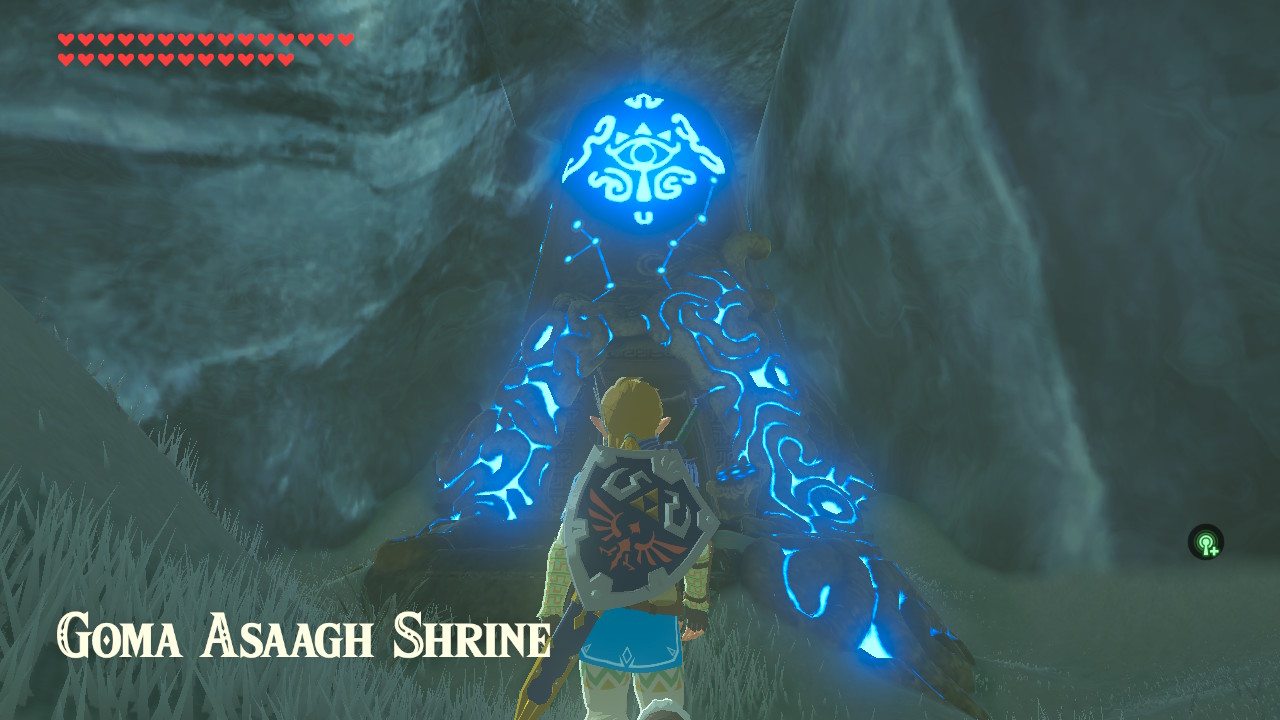
After that, Link can now access the Goma Asaagh Shrine!
A Major Test of Strength

Before descending to the Goma Asaagh Shrine, make sure that Link has enough weapons (especially Guardian weapons as they are very effective against Guardians), shields, bows, arrows, and food for health (cooked or not) to use.
Upon entering the Goma Asaagh Shrine, you will see an entrance to a very big room just ahead of Link and the whole floor is filled with water. In order to complete this shrine, this is what Link must do:
- Proceed to the entrance and after going through the door, a Guardian Scout will emerge on the ground after the gate closes behind Link. This Guardian Scout is armed with a sword, a spear, and a battle axe.
- Now you must kill the Guardian Scout. At the beginning of the battle, the Guardian Scout will come towards Link with stabs with its spear, slices with its battle axe, and attacks with its sword, which you’ll know because it will wind up. You can simply dodge this attack or dodge at the perfect time to perform a Flurry Rush to inflict major damage. The Guardian Scout may also shoot lasers but this can be evaded by dodging away or deflected using the shield.
- After taking enough damage, the Guardian Scout will eventually jump back and start spinning rapidly towards Link. Before it charges towards Link, quickly press the up directional button, select the Cryonis Rune ability, press the L button to aim, aim a small distance away from Link, and press the A button to activate and create an ice block. Make sure that the ice block is in the middle of Link and the Guardian Scout. Then, when it spins towards Link and hits the ice block, there may be two possibilities: the Guardian Scout will be stunned and will then be an opportunity to deal damage, or the Guardian Scout will hit and destroy the ice block but won’t be stunned. This, however, will decrease the speed that the Guardian Scout is spinning towards Link and will be an opportunity to dodge.
- After depleting its health to around half, the Guardian Scout will start to jump back and fire a constant laser in a large arc around it which will inflict damage if Link is hit. Fortunately, the spinning laser will also cause an updraft. You can jump towards the updraft and quickly use the Paraglider to go high up in the air. Once Link is up in the air, aim the bow and arrow to slow down time and fire an arrow on its eye to stun it and deal damage. If you don’t want to do that, you can simply stand out of the laser’s range then aim and fire an arrow at the right time to hit the Guardian Scout’s eye and stun it and deal damage (but, come on, that first method is just cooler to do).
- When its health is nearly depleted, the Guardian Scout will turn blue and will start absorbing energy while targeting Link with a red laser (just like Guardian Stalkers and Decayed Guardians). After absorbing enough energy, it will fire several blasts toward its target which can inflict major damage. To evade this, simply sprint or close the distance by running towards it and dodging the blasts or you can fire arrows at its eyes and deal some damage. It is worth mentioning that you can also attack it while the Guardian Scout is still absorbing energy.
- After defeating it, the Guardian Scout will drop its Guardian Sword++, Guardian Spear++, and Ancient Battle Axe++ for the taking, along with a couple of Ancient Shafts and Screws.
- Continue up ahead towards the altar where you will see a chest just before the altar. Open the chest to obtain a Royal Claymore.
- Finally, continue up the stairs and talk to the monk to claim your Spirit Orb!
As mentioned above, the Goma Asaagh Shrine, or A Major Test of Strength, is one of 13 shrines in the Hebra Tower region. The other shrines are the Rin Oyaa Shrine or the Directing the Wind, the Sha Gehma Shrine or the Shift and Lock, the Hia Miu Shrine or A Major Test of Strength, the Mozo Shenno Shrine or A Major Test of Strength, the Shada Naw Shrine or the Red Giveaway, the To Quomo Shrine or To Quomo’s Blessing, the Rok Uwog Shrine or the Power of Reach, the Maka Rah Shrine or the Steady Thy Heart, the Lanno Kooh Shrine or Lanno Kooh’s Blessing, the Dunba Taag Shrine or the Build and Release, the Gee Ha’rah Shrine or the Tandem, and the Qaza Tokki Shrine or Qaza Tokki’s Blessing.