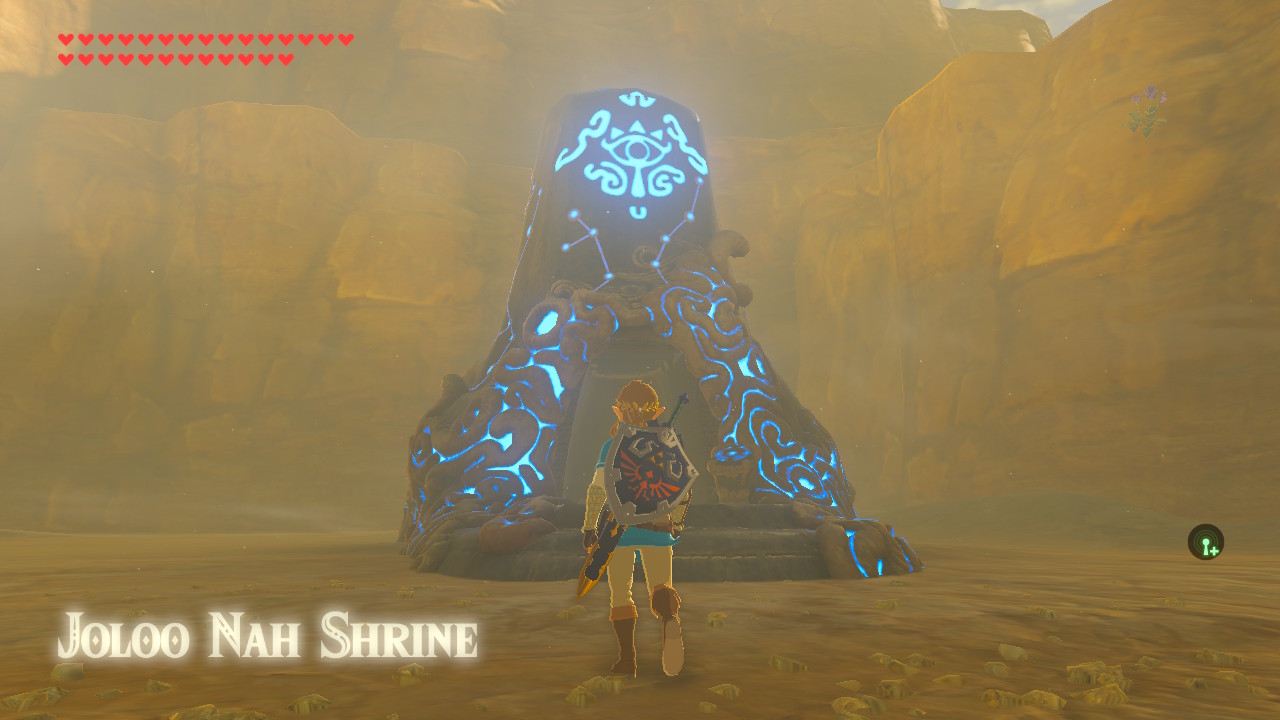
One of the Shrines in The Legend of Zelda: Breath of the Wild is the Joloo Nah Shrine or the Joloo Nah Apparatus. This shrine requires Link to solve a couple of puzzles using a machine that manipulates the rotation of a floating cube in the middle of the room to get to the altar. However, before Link can access the shrine, he must first complete the Test of Will Shrine Quest. This shrine and shrine quest may seem intimidating, but it is fairly easy to complete. In this guide, you will learn how to complete the Test of Will Shrine Quest, complete the Joloo Nah Shrine, get the chest, and claim the Spirit Orb.
Link will receive Spirit Orbs for completing Shrines, and you can exchange them for more Heart Containers or Stamina Vessels. There are 120 Shrines all over Hyrule, so that Link can get 120 Spirit Orbs. You get to decide whether you want Link to have more Hearts or more Stamina.
Location
Link can not find and access the Joloo Nah Shrine immediately, but it will emerge from the ground at the top of a cliff just north of the Wasteland Tower (or northeast of Koukot Plateau, north of Mount Nabooru, or southeast of Nephra Hill). To reach the area, Link can take advantage of the wooden pathways high up on the side of the cliffs. However, these wooden pathways are filled with Bokoblins, so make sure you have enough weapons and armor to fight them off and be careful not to fall.
Another (and arguably easier) way of reaching this area is paragliding from the Wasteland Tower, which would take less than two stamina wheels. Also, Link can consume stamina-replenishing items while paragliding if you do not have enough stamina.
Although near the Wasteland Tower, the Joloo Nah Shrine is one of six shrines in the Gerudo Tower region.
The Test of Will
Before trying out the shrine quest, make sure Link has a lot of hearts, as he needs to stand and survive a couple of challenges to complete the shrine quest.
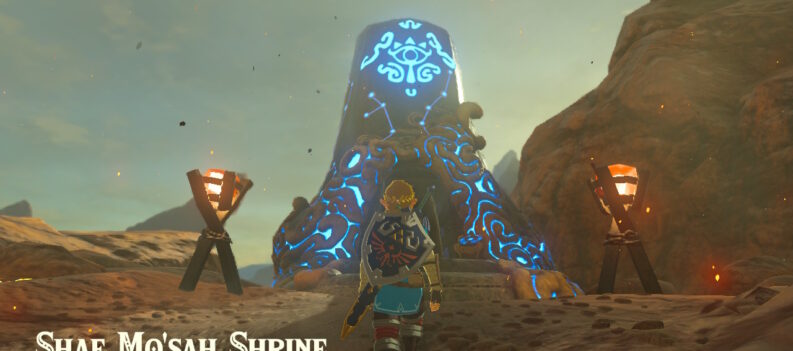
To start this shrine quest, head on to the location where the Joloo Nah Shrine will appear (the site mentioned above). You can find three Gorons named Bayge, Kabetta, and Heehl near two platforms surrounded by fire. Talk to them, and Bayge will tell Link that this area is their ancestral training ground and that they are in the middle of their endurance contest.
Heehl will then mention that they are training to become even manlier Goron men, and they are competing to find out who can beat the heat. Kabetta will invite Link to try out the challenge, too, as it would be fair because they can’t stand the extreme heat either, which is why they are training. After that, they will invite Link to do the challenge with them. And, just like that, the Test of Will Shrine Quest has started.
Link must survive being on the platform surrounded by fire two times to complete this shrine quest. For the first one, Link can use the Flamebreaker Armor, or better if the whole set, and take advantage of its fireproof bonus. Link can purchase the Flamebreaker Set at Goron City in the Eldin Region (the Flamebreaker Armor costs 600 Rupees, the Flamebreaker Boots cost 700 Rupees, and the Flamebreaker Helm costs 2,000 Rupees).
Put on the Flamebreaker set and step on the platform with the Goron brothers to start the first phase of the Test of Will Shrine Quest. With the Flamebreaker Set, this challenge would be a piece of cake; Link would have to stand on the platform and wait for the Goron brothers to pass out, which is not that long.
After completing that Challenge, the Goron brothers will give Link a chance to participate in the contest of ultimate endurance. They will also mention that passing this test will reveal a shrine.
On this next challenge, Link would not be able to wear the Flamebreaker Set. However, Link can still consume Fireproof Elixirs. Link can purchase Fireproof Elixirs from Offrak in Goron City and Gaile from Foothill Stable southeast of Eldin Canyon. Link can also cook up some Fireproof Elixir by cooking Fireproof Lizard or Smotherwing Butterfly and monster parts.
Remove the Flamebreaker Set (and any wooden weapons, or they will burn up), drink up some Fireproof Elixirs, and step on the next fiery platform. All Link has to do is stand and survive the heat for less than two minutes. While burning and losing hearts on the fiery platform, you can go to Link’s inventory to replenish up on Fireproof Elixirs or eat food to replenish your hearts.
After passing the contest of ultimate endurance, the Joloo Nah Shrine will emerge from the ground, and the Test of Will Shrine Quest is completed!
Joloo Nah Apparatus
Upon descending on the shrine, ahead of Link, you will see a machine that uses your Nintendo Switch’s motion controls to rotate the floating cube with orange electrical terminals. You can find this just ahead of the machine and at the top of the floating cube is an electric power supply. Additionally, just ahead of the floating cube is a closed gate. To complete this shrine, this is what Link must do:
- Head towards the motion control machine and interact with it to use it. This puzzle aims to set the orange electric terminals to blue and green by letting each touch the electric power supply at the top. To solve this puzzle, rotate your Nintendo Switch or controller until all the orange electric terminals are activated and are now blue and green colored. After that, the gate up ahead will open.
- Drop down from the platform and proceed to the next part of the shrine.
- In this next part, you will see another motion control machine on top of a ramp, and on its left is another ramp up. Go up the platform with the machine and see another floating cube. This time it is blowing air out of four of its sides: a platform with a fan on the top right and top left of the floating cube, a lowered platform with a fan and a pressure plate on the bottom right of the floating cube, and another platform with a giant metal cube and one part of it higher than the others with another fan on top.
- Before solving this puzzle, head to the motion control machine and, using your Nintendo Switch or controller, rotate the floating cube so that one of the air streams is blowing on the southwest corner of the shrine. Let go of the machine and head up the ramp on its left. You will see another platform on the southwest corner of the room with a chest.
- With the stream of air pointing towards the platform with the chest, jump and use the paraglider to ride the stream of air and reach the platform. Open the chest to obtain a Golden Claymore.
- This next puzzle aims to blow a constant air stream to the four fans on top of the platforms. There are also many ways to solve this puzzle, but this is arguably the easiest method: first, rotate the floating cube to form an X, and the stream of air hits the fans on the top left, top right, and bottom left. Next, drop down from the platform and head back to the motion control machine.
- Then, let go of the motion control machine, press the up directional button, select the Magnesis Rune ability, press the L button to aim, aim at the huge metal cube, press A to activate, and pick up the huge metal cube. Picking it up will reveal a now not-pressed pressure plate, resulting in the fan near it being lowered. Bring the huge metal cube to the pressure plate on the bottom right platform, resulting in the fan near it rising and being hit by the stream of air.
- After that, head up the ramp on the left side of the motion control machine, then jump and glide towards the now not-pressed pressure plate on the bottom left platform. Let Link stand on the pressure plate, and the fan will rise back up again and be hit by the stream of air. After that, the gate to the other side of the shrine will be opened!
- However, before heading to the newly opened gate, press the up directional button, select the Stasis Rune ability, press L to aim, aim at the pressure plate that Link is standing on, and press A to activate it. After that, quickly run towards the newly opened gate before the timer for the Stasis Rune runs out. This is necessary as stepping out of the pressure plate without the Stasis Rune activated will lower the fan so that the gate will close back again.
- On this next and final part of the shrine, you will see another motion control machine; just ahead of it is another floating cube with unlit torches on all of its sides, a lit lantern hanging on top of it, on the left and right side of the floating cube are flowing water, a pressure plate near the pillar on the left side of the floating cube, and just ahead of the floating cube is the altar blocked by a gate.
- However, before solving this puzzle, there is a wooden platform with a chest and some leaves above the hanging lantern. Shoot a fire arrow at the leaves to drop the chest. Open the chest to obtain a Gerudo Spear.
- To solve this puzzle, all torches must be lit on fire. What makes this challenging is the flowing water which turns off the fire if it touches. To complete this puzzle, Link must use the Magnesis Rune ability to bring the chest to the pressure plate, which will cause the pillar and the flowing water to be lowered.
- Next, head to the motion control machine and rotate the floating cube to light the torches on fire. It is possible just carefully to avoid the flowing water on the right. However, if it is still hard for you, Link can also activate the Stasis Rune ability on the hydrant to stop water flow for a short while. After lighting all the torches on fire, the gate to the altar will be opened.
- Finally, go near the altar, talk to the monk, and claim your Spirit Orb!
The Joloo Nah Shrine or the Joloo Nah Apparatus is one of six shrines in the Gerudo Tower region. The other shrines are the Kuh Takkar Shrine or the Melting Ice Hazard, the Sho Dantu Shrine or the Two Bombs, the Sasa Kai Shrine or A Moderate Test of StrengthJoloo Nah Shrine or the Joloo Nah Apparatus, the Kema Kosassa Shrine or A Major Test of Strength, and the Keeha Yoog Shrine or the Keeha Yoog’s Blessing.


