One of the Shrines in The Legend of Zelda: Breath of the Wild is the Ne’ez Yohma Shrine or Pushing Power. This shrine requires Link to roll an orange, glowing boulder from the top of a ramp to its slot at the bottom of the ramp and complete the shrine. This shrine may seem a little intimidating and confusing, but you will learn how to complete the Ne’ez Yohma Shrine and how to get the chest in this guide.

Link will be rewarded with Spirit Orbs for completing Shrines. The Spirit Orbs obtained can be exchanged for more Heart Containers or Stamina Vessels. As there are 120 Shrines all over Hyrule, Link can get a total of 120 Spirit Orbs. You get to decide whether you want Link to have more Hearts or more Stamina.
Location

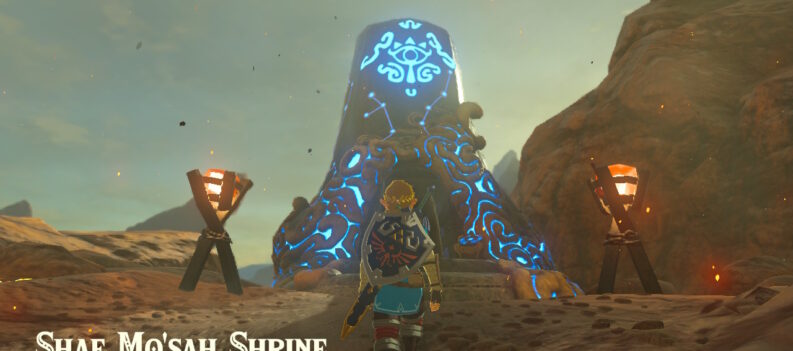
The Ne’ez Yohma Shrine or Pushing Power is located inside Zora’s Domain on the middle floor. The shrine can immediately be seen after arriving at Zora’s Domain. The Ne’ez Yohma Shrine is one of nine shrines in the Lanayru Tower region.
Pushing Power
Before descending on the shrine, make sure Link has the Cryonis Rune ability and the Stasis Rune ability.
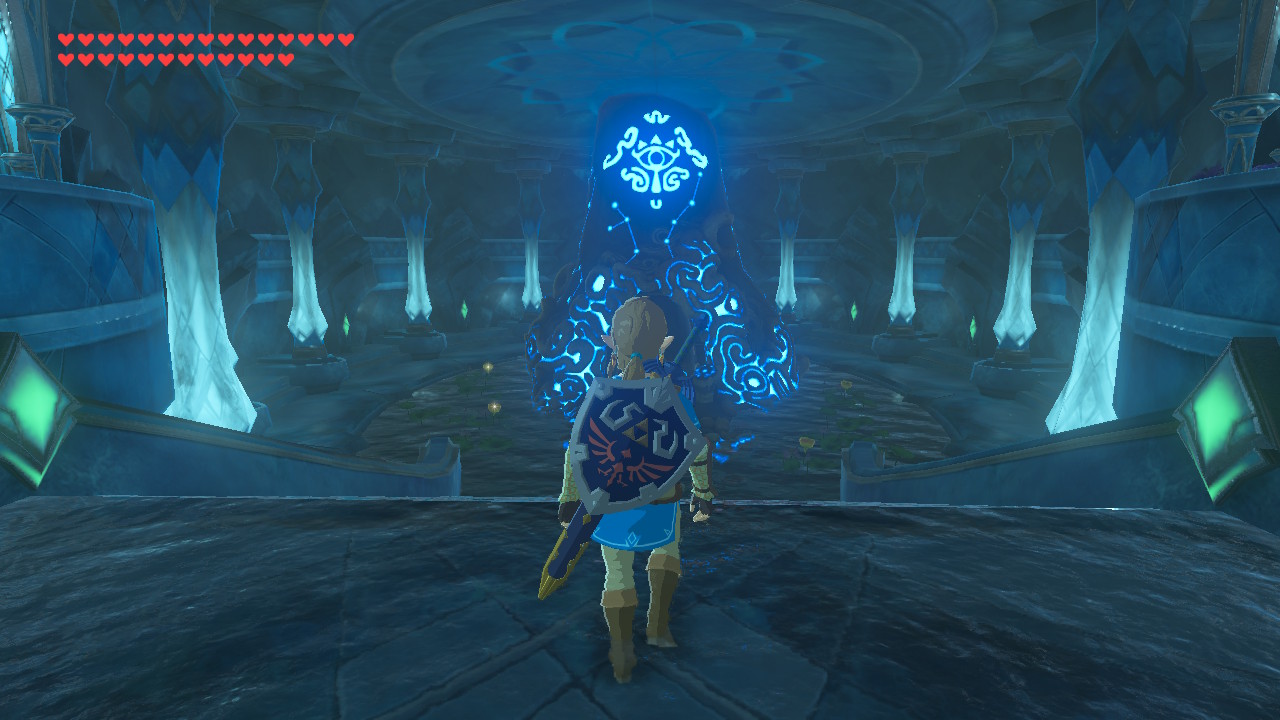
Upon entering Ne’ez Yohma Shrine, you will see a steep, wide ramp with flowing water. On top of the ramp is an orange, glowing boulder, and on the bottom is a hole or slot for that boulder. On the steep ramp are platforms for the orange, glowing boulder to roll on, lots of concrete, rolling boulders, a laser, and a chest.
To complete this shrine, this is what Link must do:
- After descending on the shrine, make your way up the top of the ramp. Use the right side of the ramp to avoid the laser and the rolling concrete boulders.

- At the top of the ramp, you will see the glowing boulder on the left side and a path to a walkway on the right. Follow the walkway on the right to get to the southwest end of the ramp where you will find a chest on top of a platform. Open the chest to obtain a Zora Spear.

- Drop down the platform (on the right side if you are facing the top of the ramp so you will not get hit by the laser beam), press the up directional button and select the Cryonis Rune ability. Press L to aim the Cryonis Rune ability and aim it in between the platform with the chest and the platform that is being hit by the laser beam. Press A to create an ice block there. This ice block is for when the glowing boulder starts rolling down later and it will not drop down on the gap.

- Next, make your way up the ramp again and head towards the orange glowing boulder.

- Once at the top, create another ice block directly behind the orange glowing boulder to push it out of its pedestal.

- After that, the orange glowing boulder will stop behind a platform just a little below the pedestal. Create another ice block directly below the glowing boulder to raise it and let it roll on top of the platform. It will then roll on the next platform with the chest on it, the ice block created earlier (create one as fast as you can if that ice block happened to be destroyed for creating multiple ice blocks), and the platform that is being hit by the laser beam.

- After those platforms, the orange glowing boulder will stop on another platform on the southeast part of the ramp. Create an ice block to raise it and let it roll again on top of the platform and onto the next one (there are instances where this step may not be needed as the glowing boulder will keep rolling down because of concrete boulders that may stop on this platform).

- As it will slowly roll down, run and sprint towards the edge of the ramp, press L and select the Stasis Rune ability, aim and face towards the hole or slot of the glowing boulder. As the glowing boulder will roll from the last platform, press A to activate the Stasis Rune ability on it just before it reaches the edge and falls off then hit the glowing boulder once or twice with a spear or a sword. Make sure that the direction of the arrow of the Stasis Rune ability is pointed towards the hole or slot for the glowing boulder.

- Use the Stasis Rune ability on it again if it would stop rolling towards the hole or slot.

- Then, after the glowing boulder is successfully placed on the hole or slot, the gate to get to the altar will be opened. Head towards the altar and talk to the monk to claim your Spirit Orb.

As mentioned above, the Ne’ez Yohma Shrine or the Pushing Power is one of the nine shrines in the Lanayru Tower region. The other shrines are the Rucco Maag Shrine or the Five Flames, Kaya Wan Shrine or the Shields From Water, Sheh Rata Shrine or the Speed of Light, Dagah Keek Shrine or Dagah Keek’s Blessing, Soh Kofi Shrine or A Minor Test in Strength, Daka Tuss Shrine or the Sunken Scoop, Shai Yota Shrine or Shai Yota’s Blessing, and the Kah Mael Shrine or the Drop and Rise.